Configuring Automation Controller
Read this in other languages:
 English,
  日本語,
日本語,  Français.
There are a number of constructs in the Automation Controller UI that enable multi-tenancy, notifications, scheduling, etc. However, we are only going to focus on a few of the key constructs that are required for this workshop today.
-
Credentials
-
Projects
-
Inventory
-
Job Template
Logging into Controller
Your Automation Controller instance url and credentials were supplied to you on the page created for this workshop.
Your Automation Controller subscription has already been applied for you, so after logging in, you should now see the Dashboard.
Creating a Machine Credential
Credentials are utilized by Controller for authentication when launching jobs against machines, synchronizing with inventory sources, and importing project content from a version control system.
There are many types of credentials including machine, network, and various cloud providers. For this workshop, we are using machine and source control credentials.
Step 1
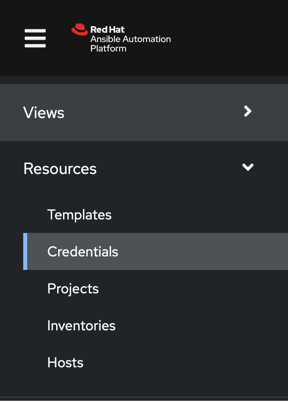
Select CREDENTIALS from the left hand panel under resources
Step 2
Click the  icon and add new credential
Step 3
Complete the form using the following entries:
| Key | Value | |
|---|---|---|
| Name | Windows Credential | |
| Organization | Default | |
| Type | Machine | |
| Username | student# | Replace # with your student number |
| Password | Replace with your student password |

Step 4
Select SAVE 
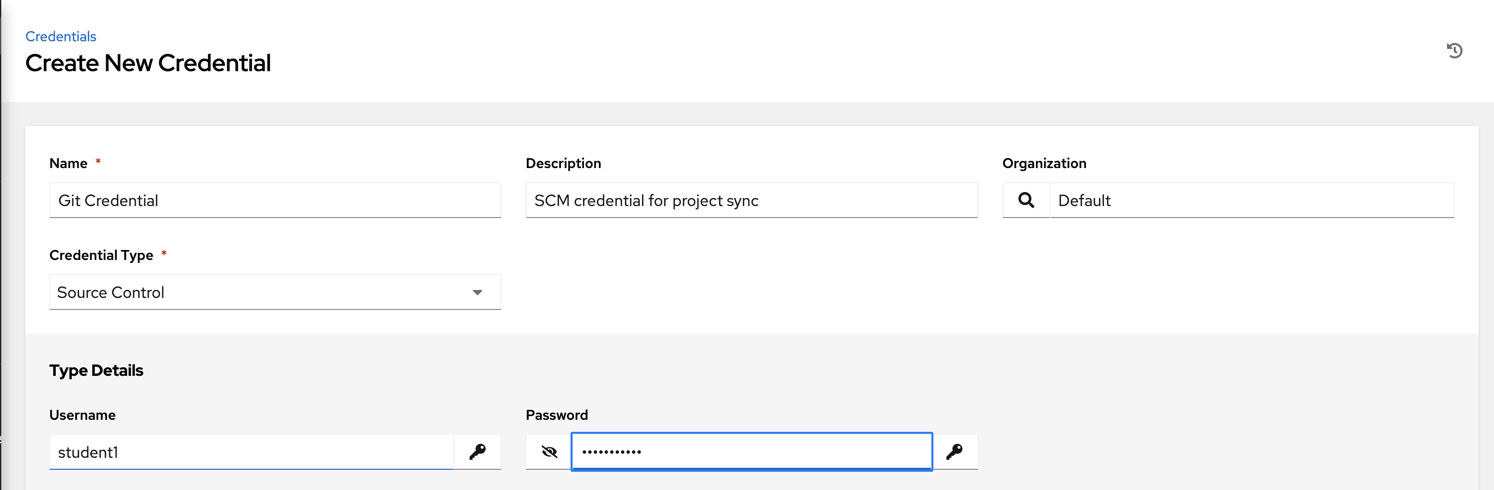
Create an SCM Credential
Our first credential was to access our Windows machines over WinRM. We need another to access our source code repository where our automation projects will live. Repeat the process as above, but with the following details:
| Key | Value | |
|---|---|---|
| Name | Git Credential | |
| Description | SCM credential for project sync | |
| Organization | Default | |
| Credential Type | Source Control | |
| Username | student# | Replace # with your student number |
| Password | Replace with your student password |
Select SAVE
Creating a Project
A Project is a logical collection of Ansible content, represented in Controller. You can manage projects by placing your ansible content into a source code management (SCM) system supported by Controller, including Git and Subversion.
Step 1
In this environment, playbooks are stored in a git repository available on the workshop Gitea instance. Before a Project can be created in Automation Controller, the git URL for the repository is needed. In order to obtain the URL of your project, login to the Gitea instance, select your workshop project and copy the https url presented after clicking the “Copy” button.
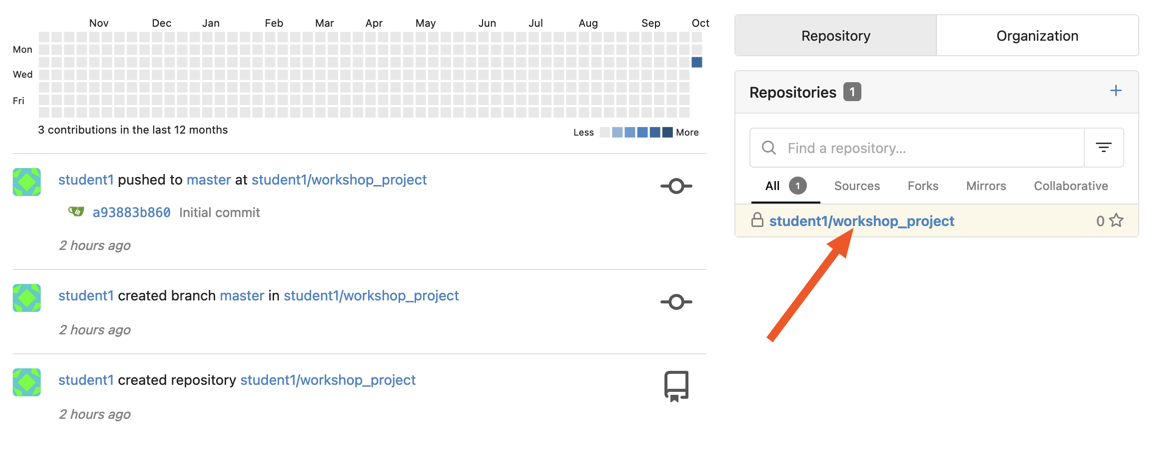

The repo url will be used in Step 3
Step 2
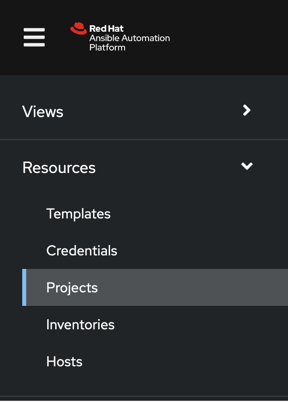
Click Projects on the left hand panel.
Click the icon and add new project
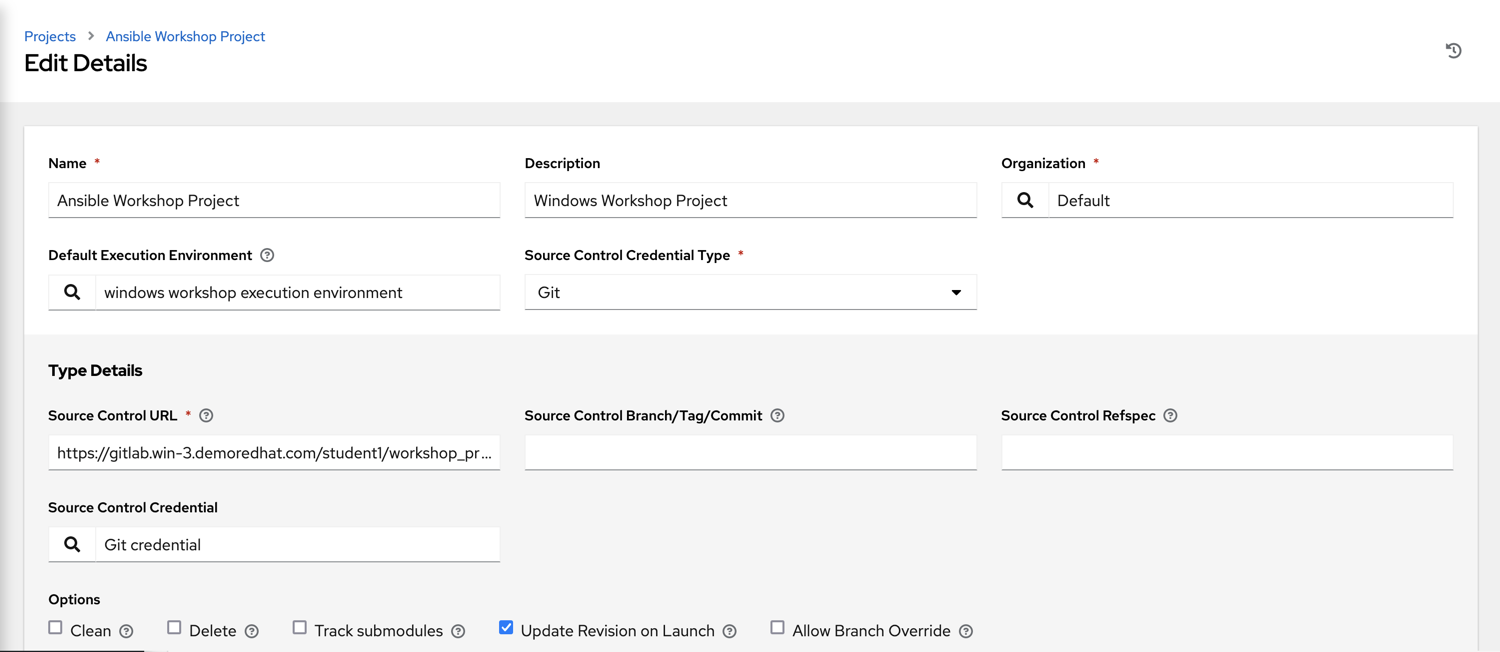
Step 3
Complete the form using the following entries (using your student number in SCM URL)
| Key | Value | |
|---|---|---|
| Name | Ansible Workshop Project | |
| Description | Windows Workshop Project | |
| Organization | Default | |
| Default Execution Environment | windows workshop execution environment | |
| SCM Type | Git | |
| SCM URL | https://git.WORKSHOP.demoredhat.com/student#/workshop_project.git | URL obtained from Step 1 |
| SCM BRANCH | Intentionally blank | |
| SCM CREDENTIAL | Git Credential |
OPTIONS
- Clean
- Delete
- Track submodules
- Update Revision on Launch
- Allow Branch Override
Step 4
Select SAVE
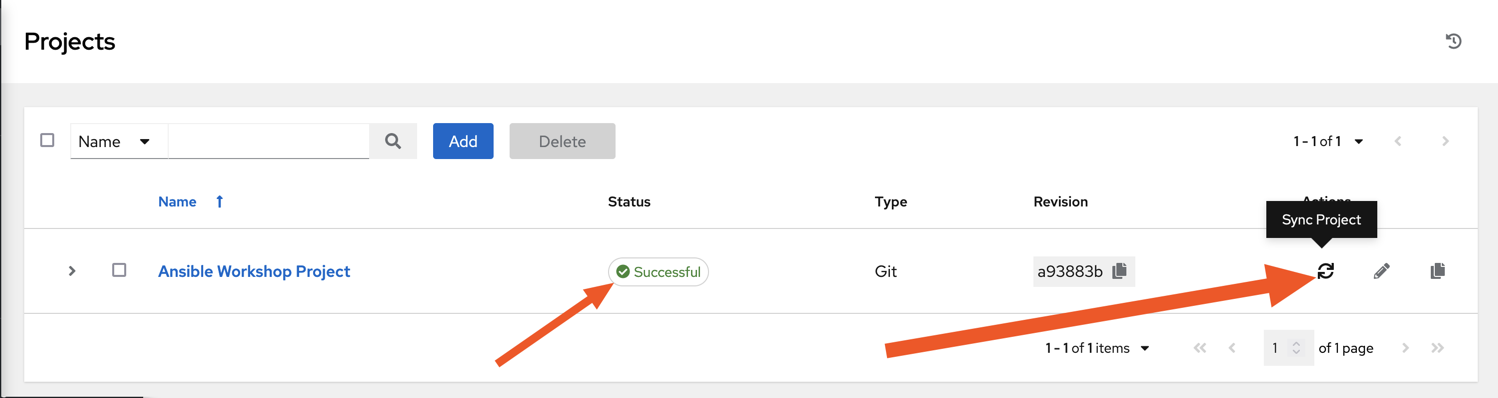
Step 5
Scroll down and validate that the project has been successfully synchronized against the source control repository upon saving. You should see a green icon displaying “Successful” next to the project name in the list view. If the status does not show as “Successful”, try pressing the “Sync Project” button again re-check the status.
Inventories
An inventory is a collection of hosts against which jobs may be launched. Inventories are divided into groups and these groups contain hosts. Inventories may be sourced manually, by entering host names into Controller, or from one of Automation Controller’s supported cloud providers or inventory plugins from Certified Content Collections on Automation Hub.
A static Inventory has already been created for you today. Let’s take a look at this inventory and highlight some properties and configuration parameters.
Step 1
Click Inventories from the left hand panel. You will see the
preconfigured Inventory listed. Click the Inventories’ name Workshop Inventory or the Edit button. 
Step 2
You are now viewing the Inventory. From here, you can add Hosts, Groups, or even Variables specific to this Inventory.
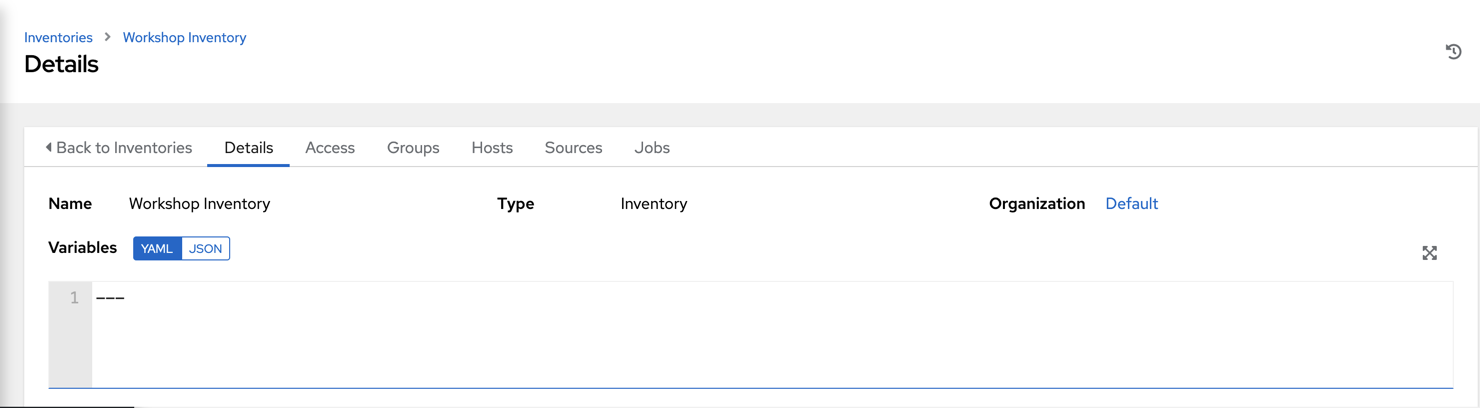
We will be viewing the hosts, so click the HOSTS button.
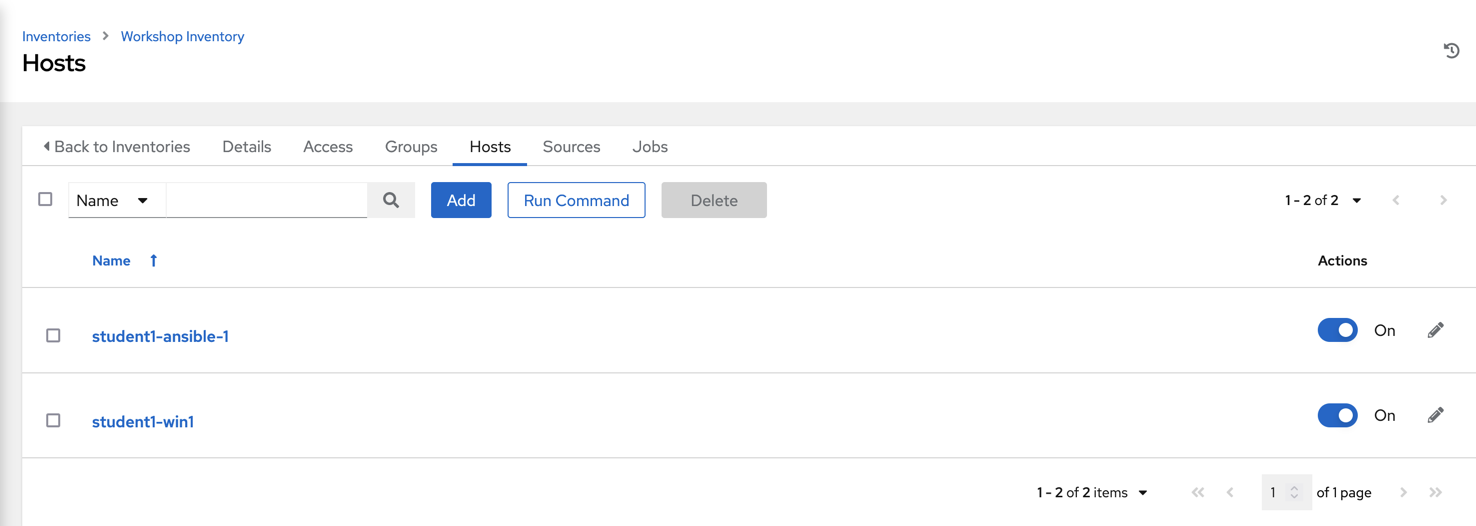
Step 3
In the Hosts view, we can see every host associated with this inventory. You will also see which groups a host is associated with. Hosts can be associated with multiple groups. These groups can later be used to narrow down the exact hosts we will later run our automation on.
Step 4
If you click the GROUPS button and then select the Windows group, you can inspect variables set at the group level that will apply to all hosts in that group.
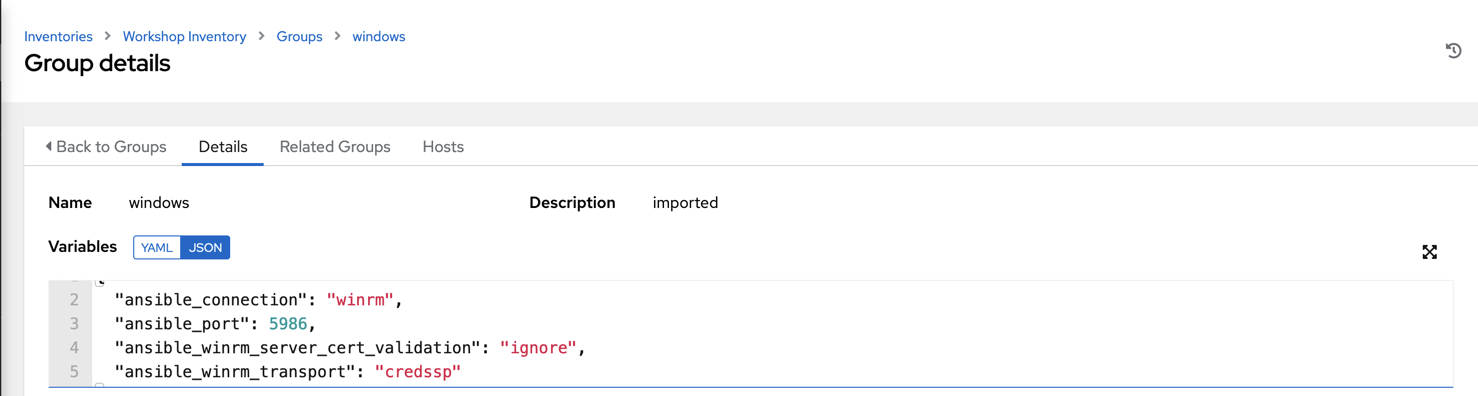
Today, we have already defined a handful of variables to tell Controller how to connect to hosts in this group. You do not have to define these variables as a Group variable here, they could also be Host variables or reside directly in your Template or Playbook. However, because these variables will be the same for ALL windows hosts in our environment, we defined them for the entire windows group.
By default, Ansible will attempt to use SSH to connect to any Host, so for Windows we need to tell it utilize a different connection method, in this case, WinRM.
ansible_connection: winrm
We also instruct Ansible to connect to the WinRM SSL port 5986 (the non-SSL port runs on 5985 but is unencrypted).
ansible_port: 5986
We also tell Ansible to ignore the WinRM cert, since our lab doesn’t have a proper certificate store setup.
ansible_winrm_server_cert_validation: ignore
Windows also has various authentication methods that we can utilize to connect. Here we tell Ansible to use the CredSSP Transport Method to authenticate to our Windows host:
ansible_winrm_transport: credssp
If you click the HOSTS button, you can view the hosts belonging to the windows group. If you click the link for the host on this page, you can view the host specific variables that have been defined.
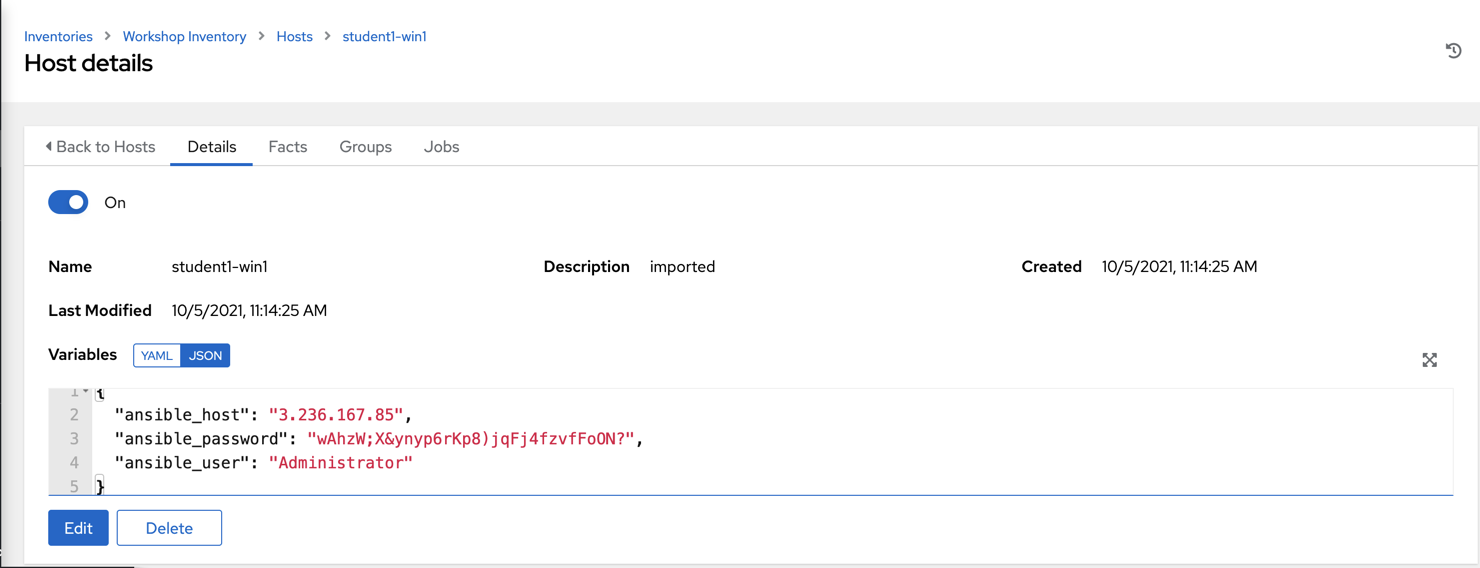
ansible_host
This is the IP address of this particular server
ansible_password
This is the password needed to connect to this server
ansible_user
This is the username that Ansible will use along with the password to connect to this server
These variables are very host specific thus have been defined at the host level instead of at the group level.
You can find more information about these and other settings in our Windows Guides. The authentication settings are particularly important and you will need to review them and decide which method is best for your needs.
Automation mesh

Automation mesh is an overlay network intended to ease the distribution of work across a large and dispersed collection of workers. Mesh nodes establish peer-to-peer connections with each other across your existing networks bringing automation closer to the endpoints that need it.
Automation mesh is already configured and ready to use in your workshop environment.
Note
Learning about automation mesh falls outside the scope of this workshop. However, please try our hands-on, interactive labs to learn more about automation mesh and other Ansible Automation Platform features.