Exercise 5: Explore Automation controller
Read this in other languages:  English,
  日本語,
日本語,  Español.
Table of Contents
Objective
Explore and understand the lab environment. This exercise will cover
- Determining the Ansible Automation Platform version running on the control node
- Locating and understanding:
- Automation controller Inventory
- Automation controller Credentials
- Automation controller Projects
Guide
Step 1: Login to Automation controller
-
Return to the workshop launch page provided by your instructor.
-
Click on the link to the Automation controller webUI. You should see a login screen similar to the follow:
Screenshot of Automation controller login window.
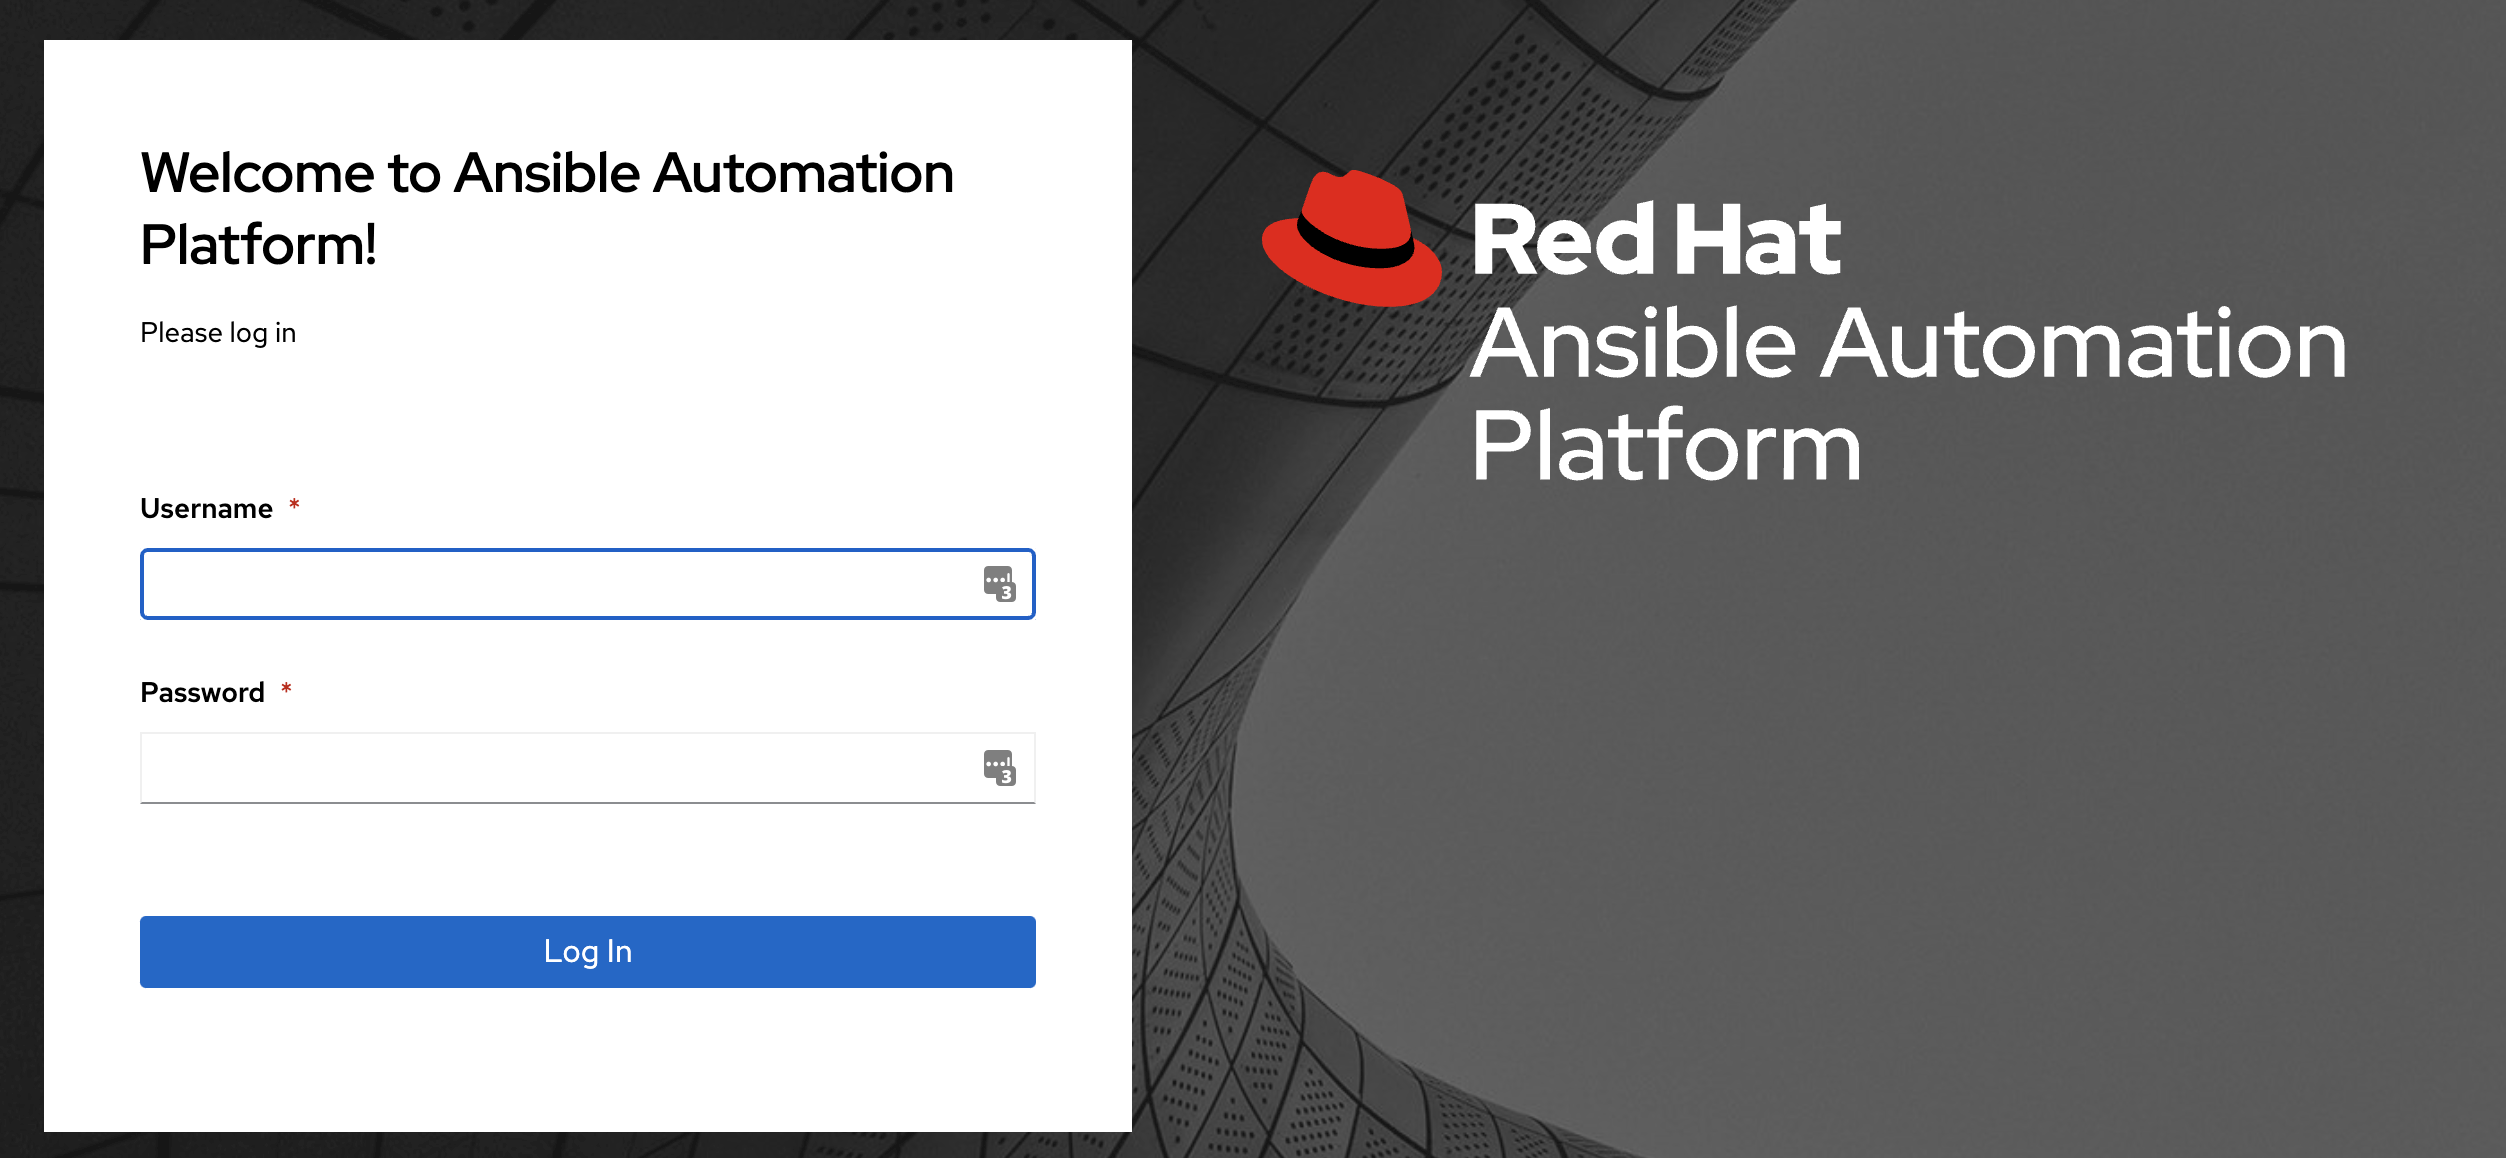
- The username will be
admin - password provided on launch page
-
After logging in the Job Dashboard will be the default view as shown below.
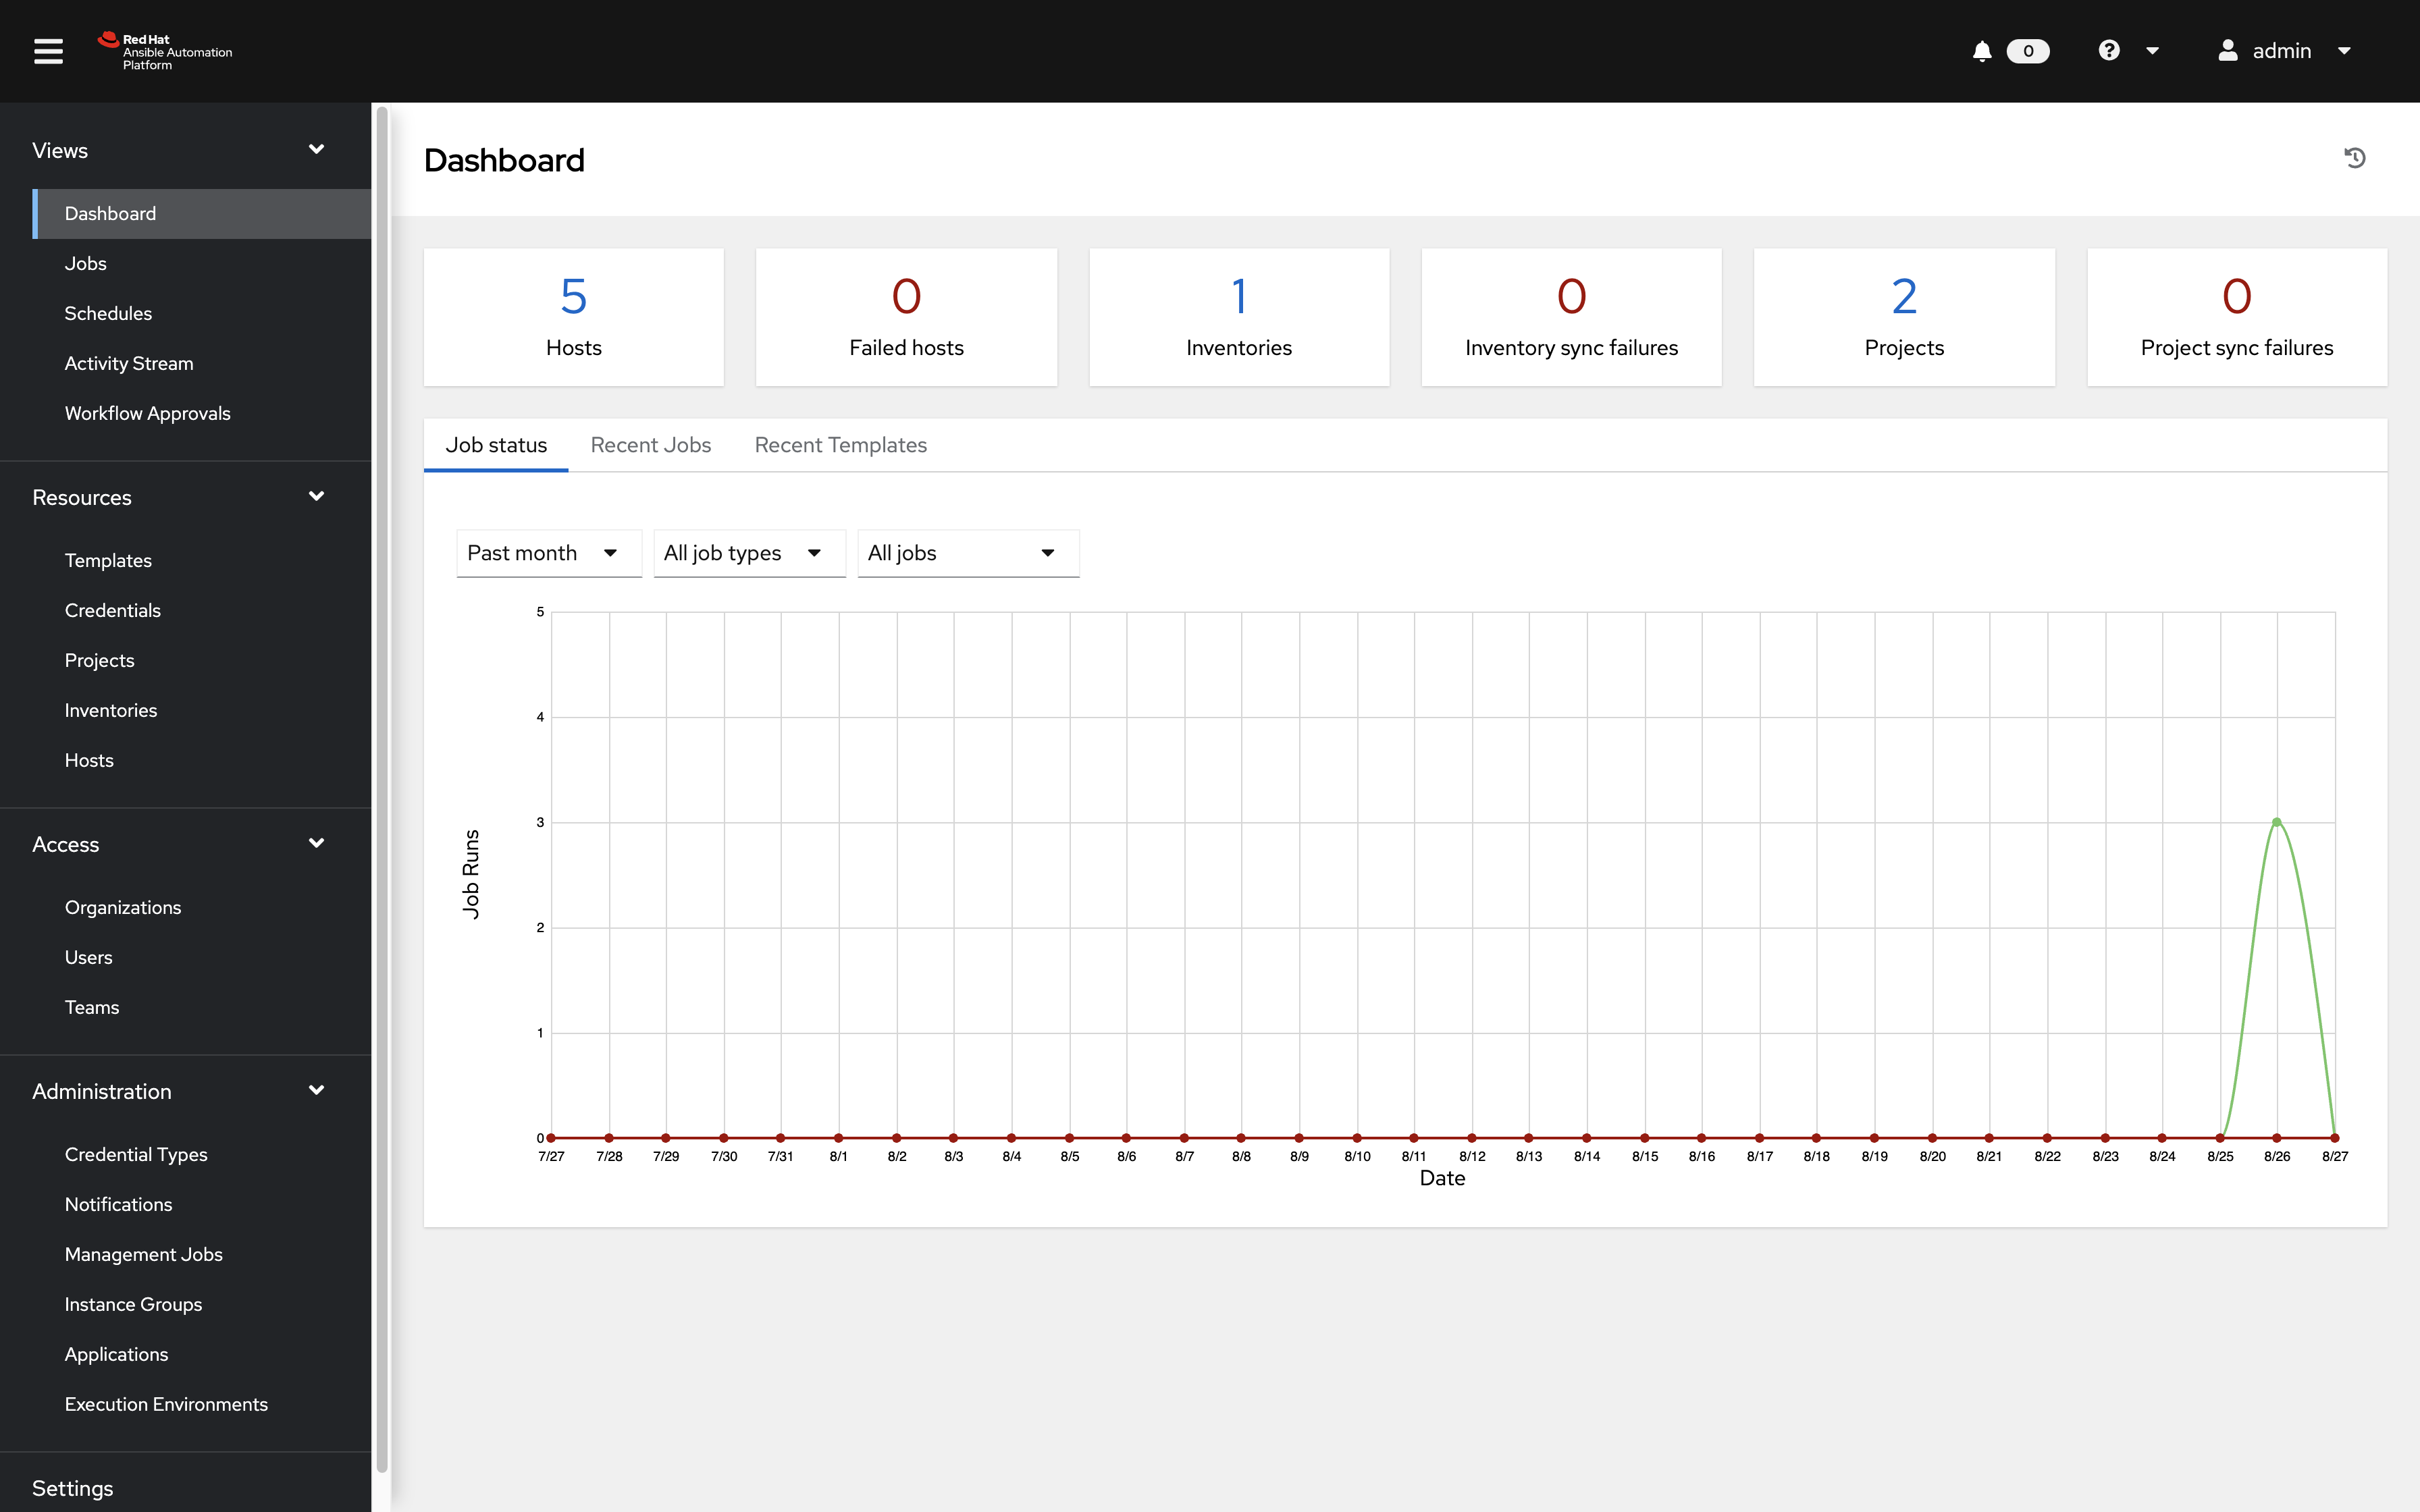
-
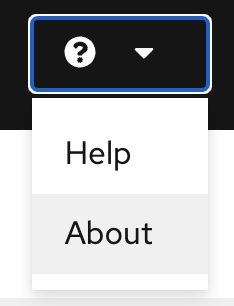
Click on the ? button on the top right of the user interface and click About
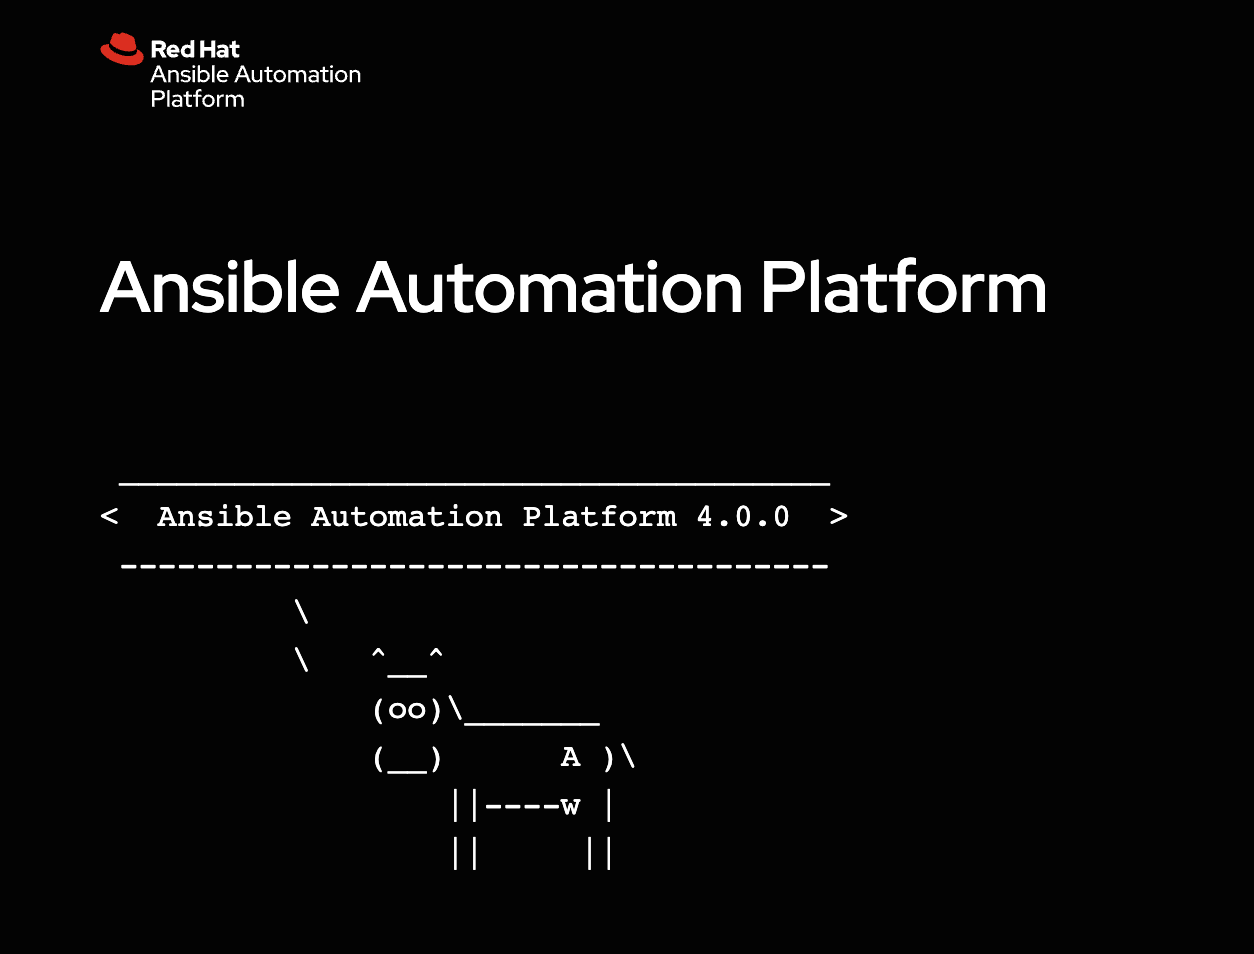
-
A window will pop up similar to the following:
Step 2: Examine the Automation controller Inventory
An inventory is required for Automation controller to be able to run jobs. An inventory is a collection of hosts against which jobs may be launched, the same as an Ansible inventory file. In addition, Automation controller can make use of an existing configuration management data base (cmdb) such as ServiceNow or Infoblox DDI.
Note:
More info on Inventories in respect to Automation controller can be found in the documentation here
-
Click on the Inventories button under RESOURCES on the left menu bar.
-
Under Inventories click on the
Workshop Inventory.
-
Under the
Workshop Inventoryclick the Hosts button at the top. There will be four hosts here, rtr1 through rtr4 as well as the ansible control node.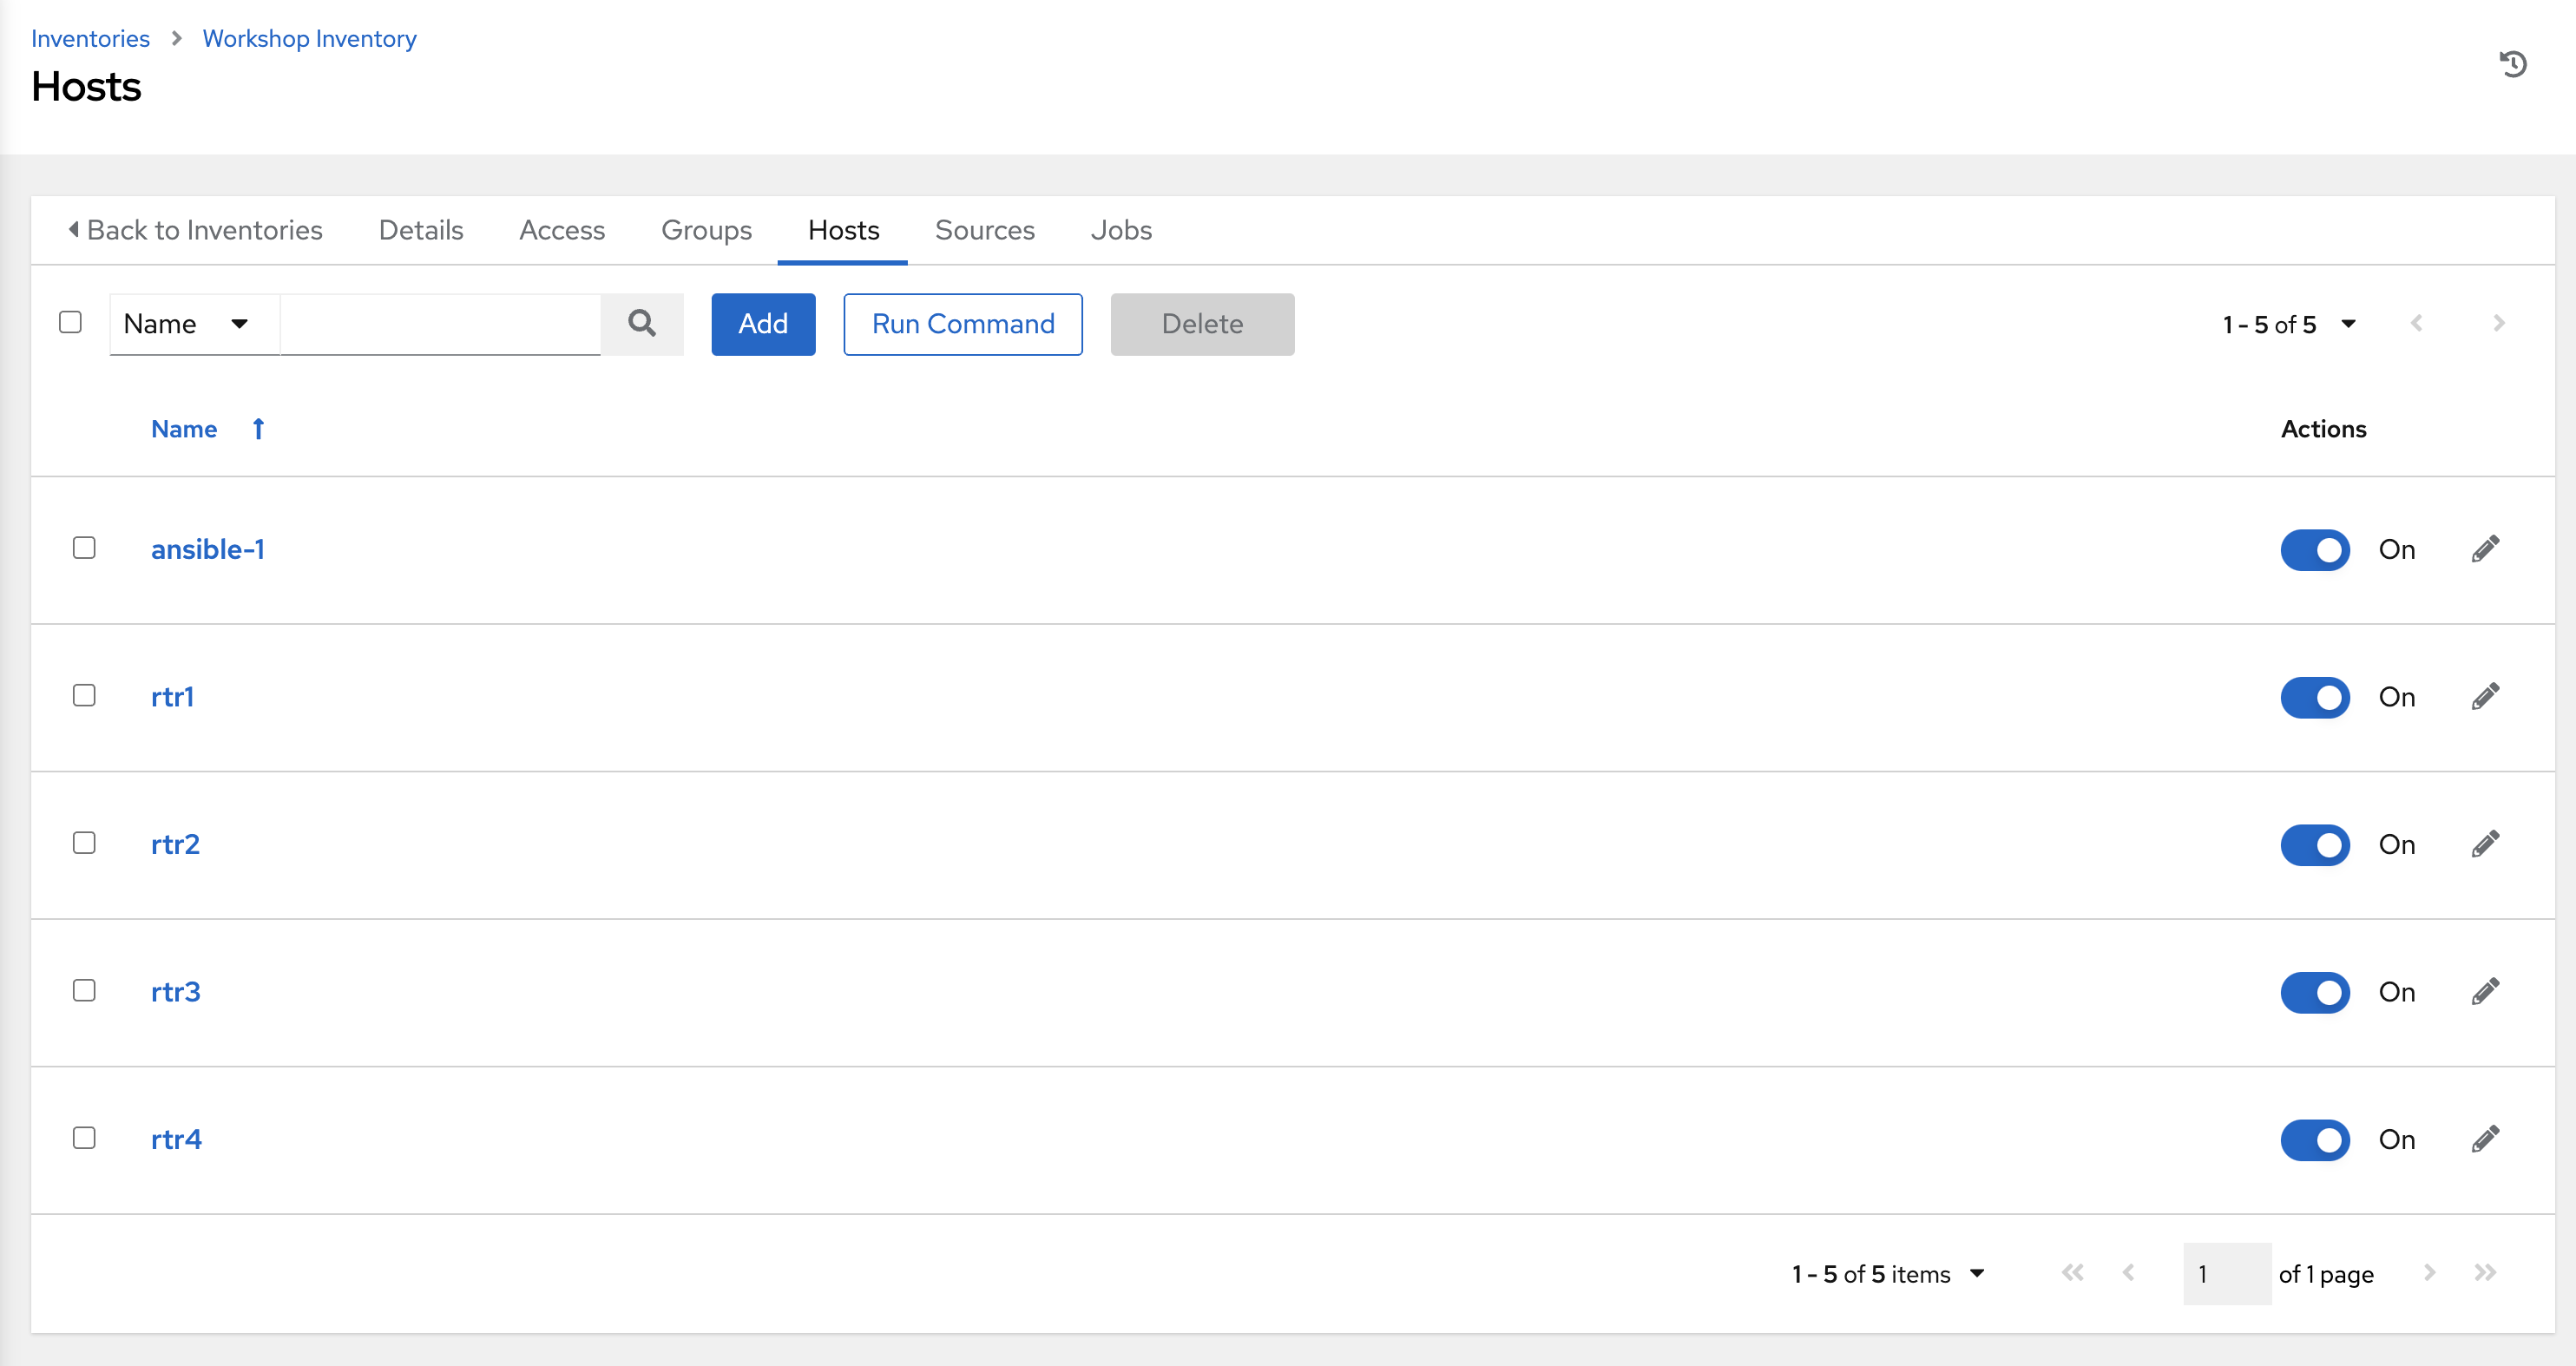
-
Click on one of the devices.
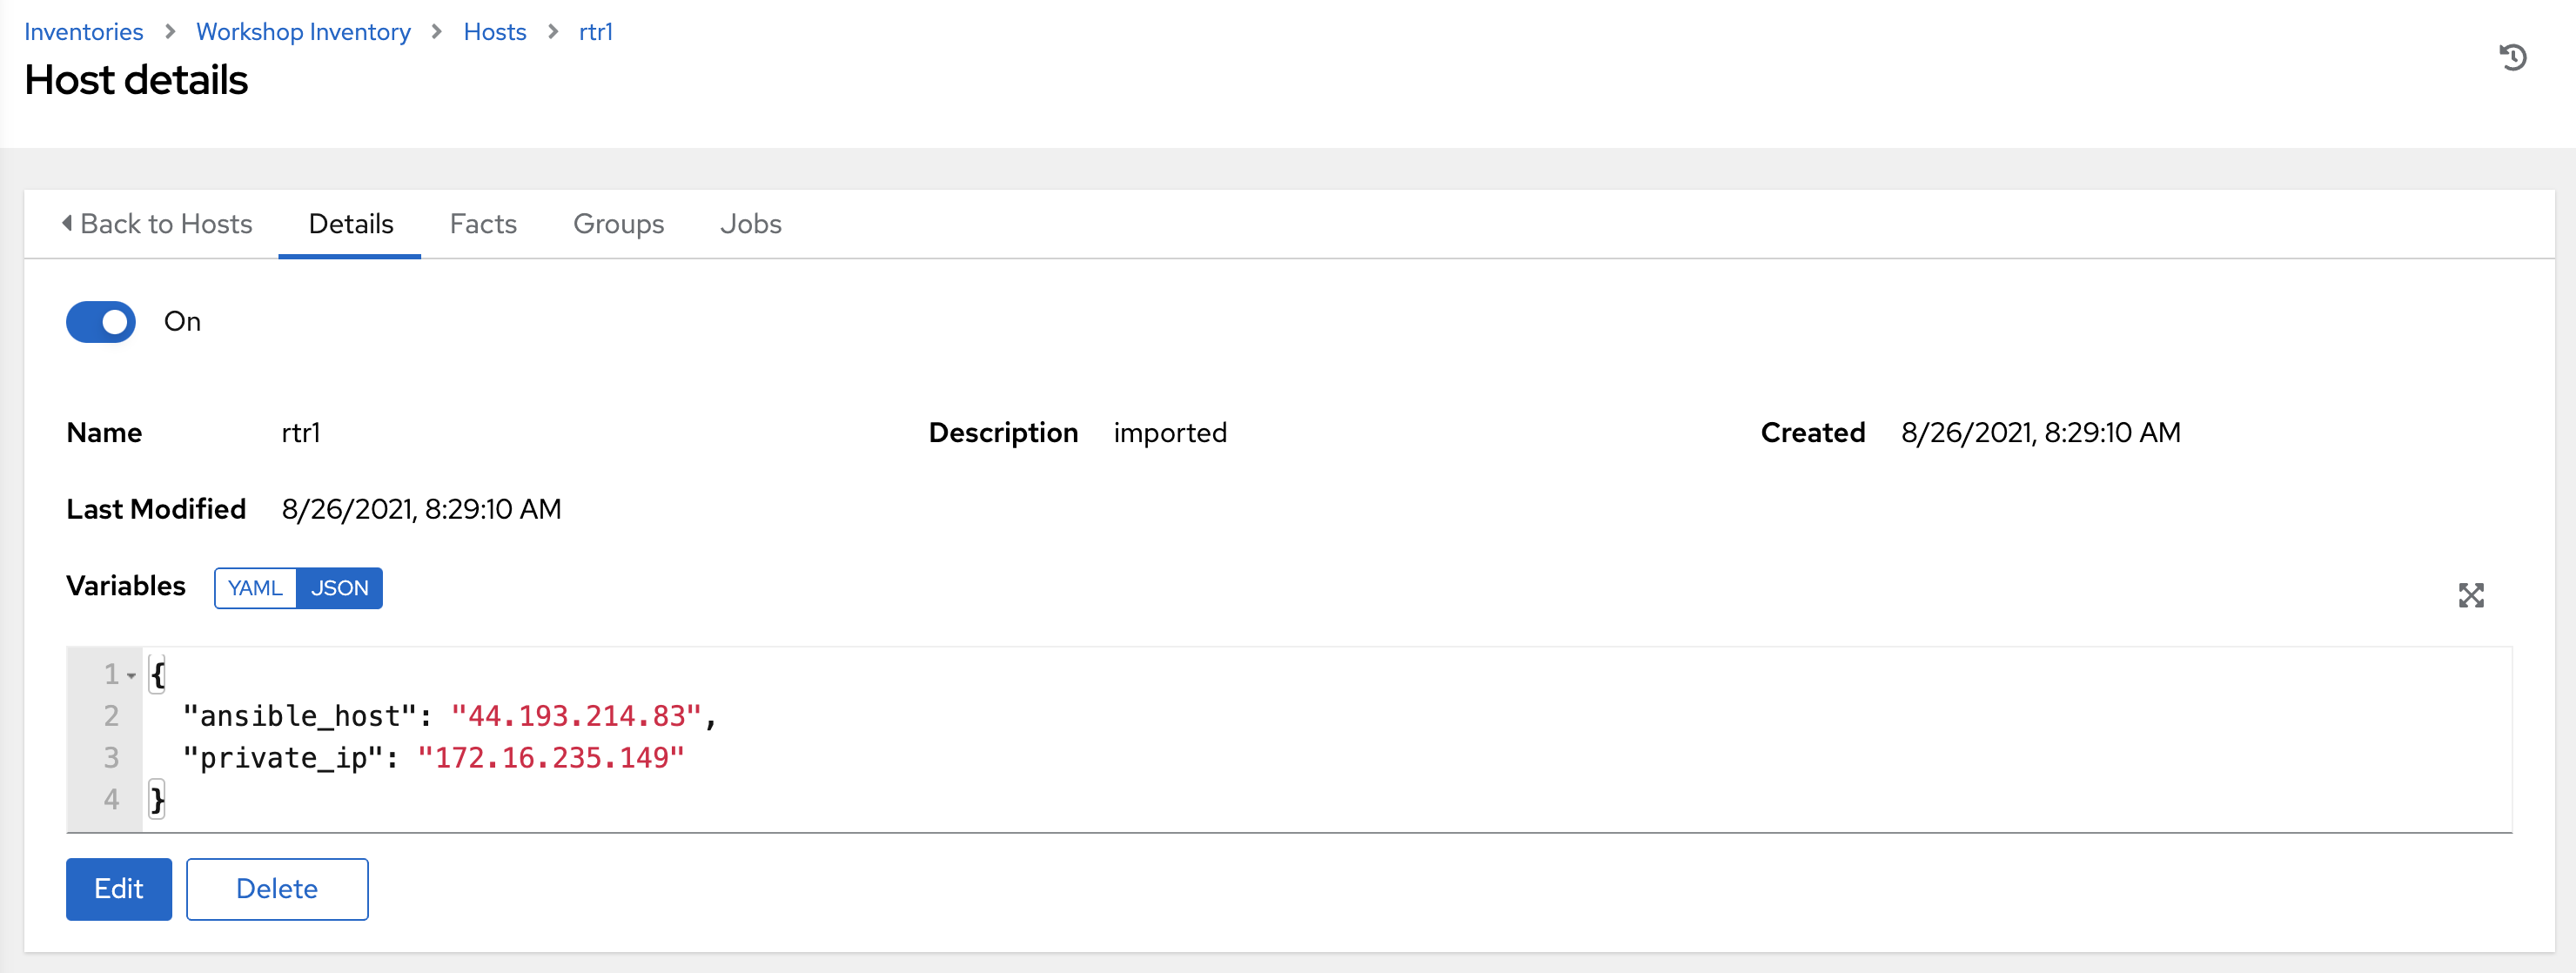
Take note of the VARIABLES field. The
host_varsare set here including theansible_hostvariable. -
Click on GROUPS. There will be multiple groups here including
routersandcisco. Click on one of the groups.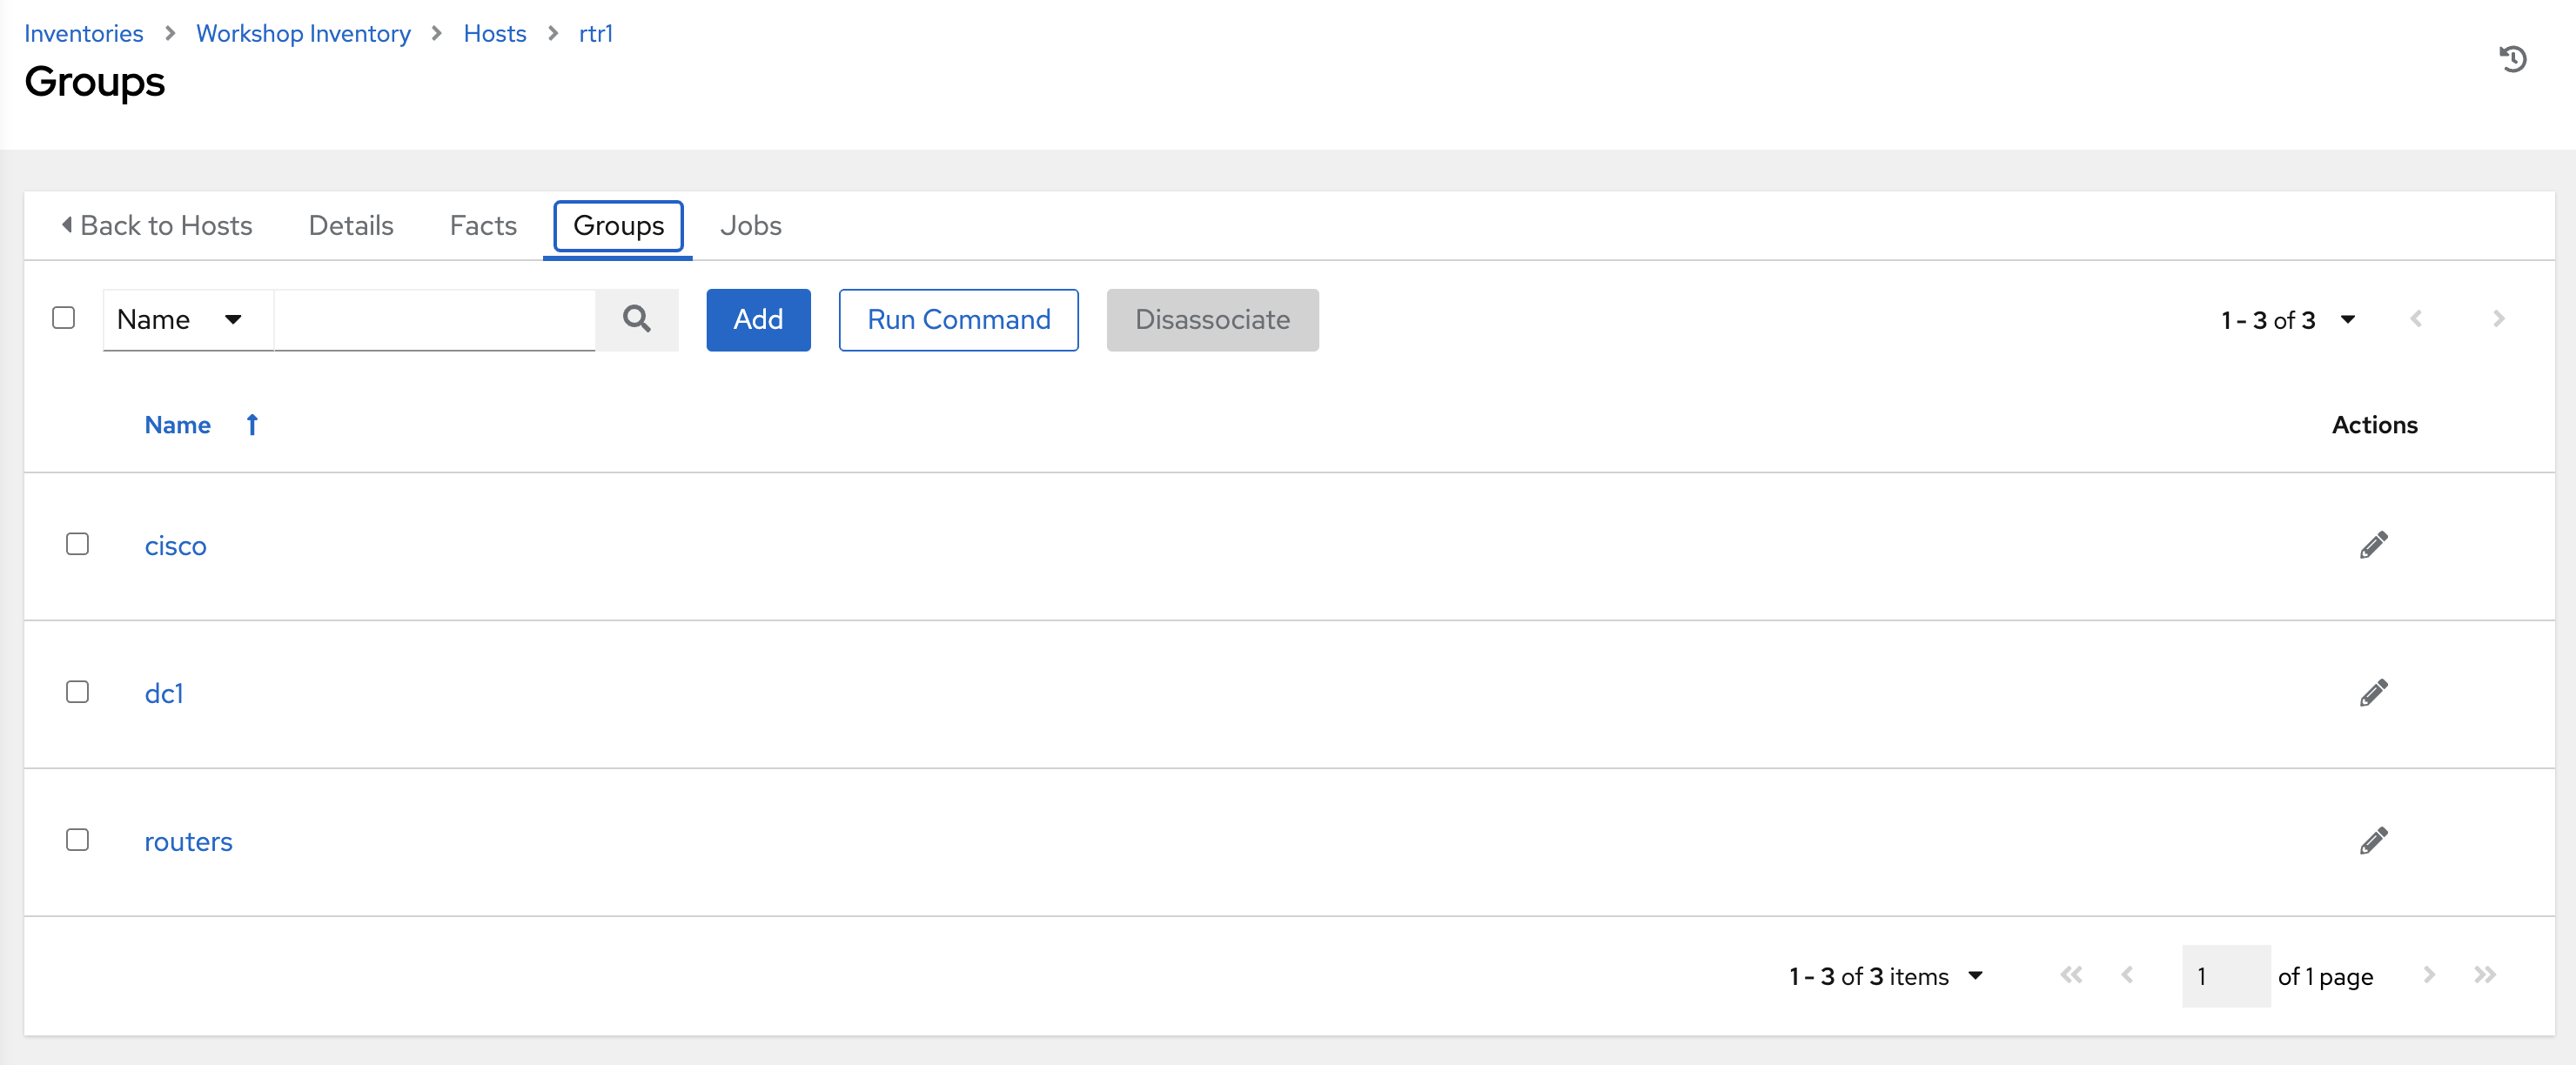
-
Click on one of the groups.
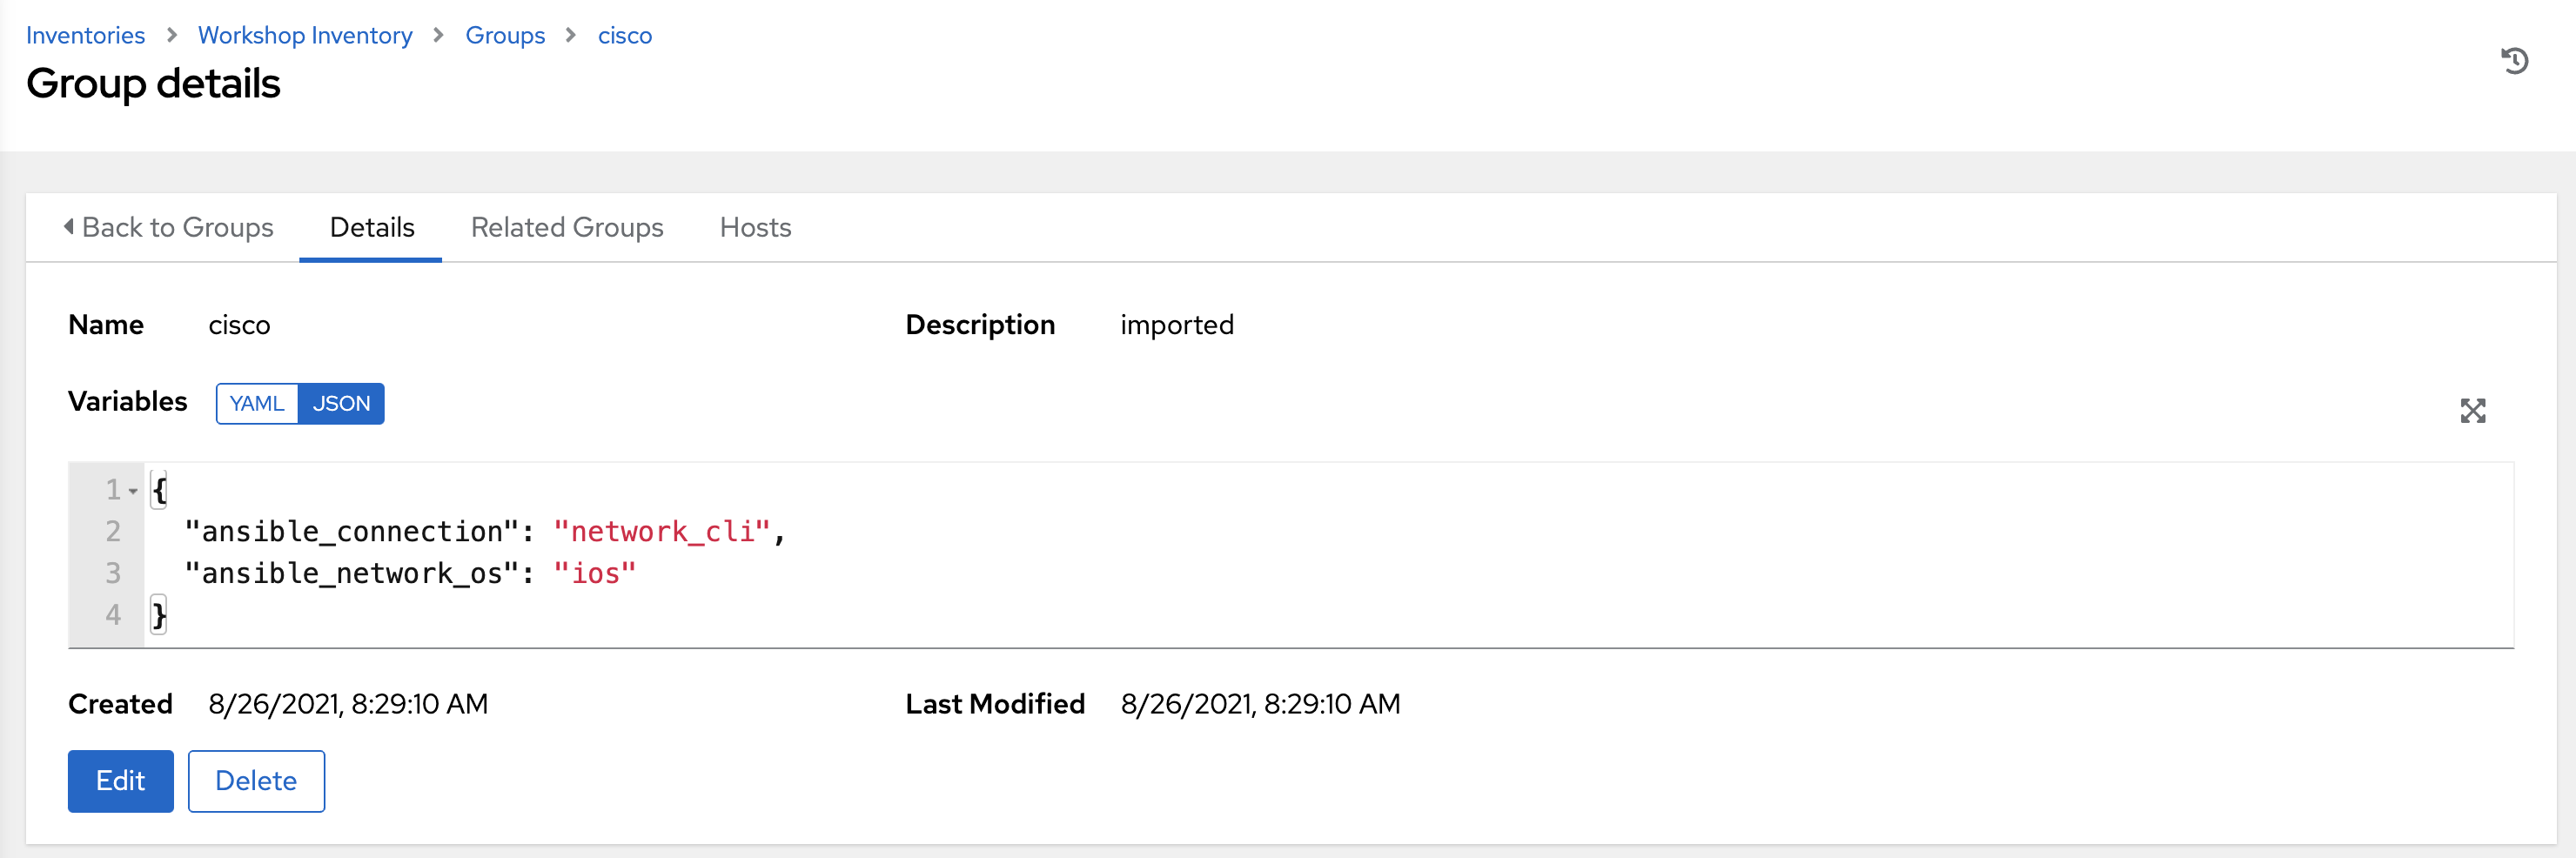
Take note of the VARIABLES field. The
group_varsare set here including theansible_connectionandansible_network_osvariable.
Step 3: Examine the Automation controller Workshop Project
A project is how Ansible Playbooks are imported into Automation controller. You can manage playbooks and playbook directories by either placing them manually under the Project Base Path on your Automation controller server, or by placing your playbooks into a source code management (SCM) system supported by Automation controller, including Git and Subversion.
Note:
For more information on Projects in Automation controller, please refer to the documentation
-
Click on the Projects button under RESOURCES on the left menu bar.

-
Under PROJECTS there will be a
Workshop Project.
Note that
GITis listed for this project. This means this project is using Git for SCM. -
Click on the
Workshop Project.
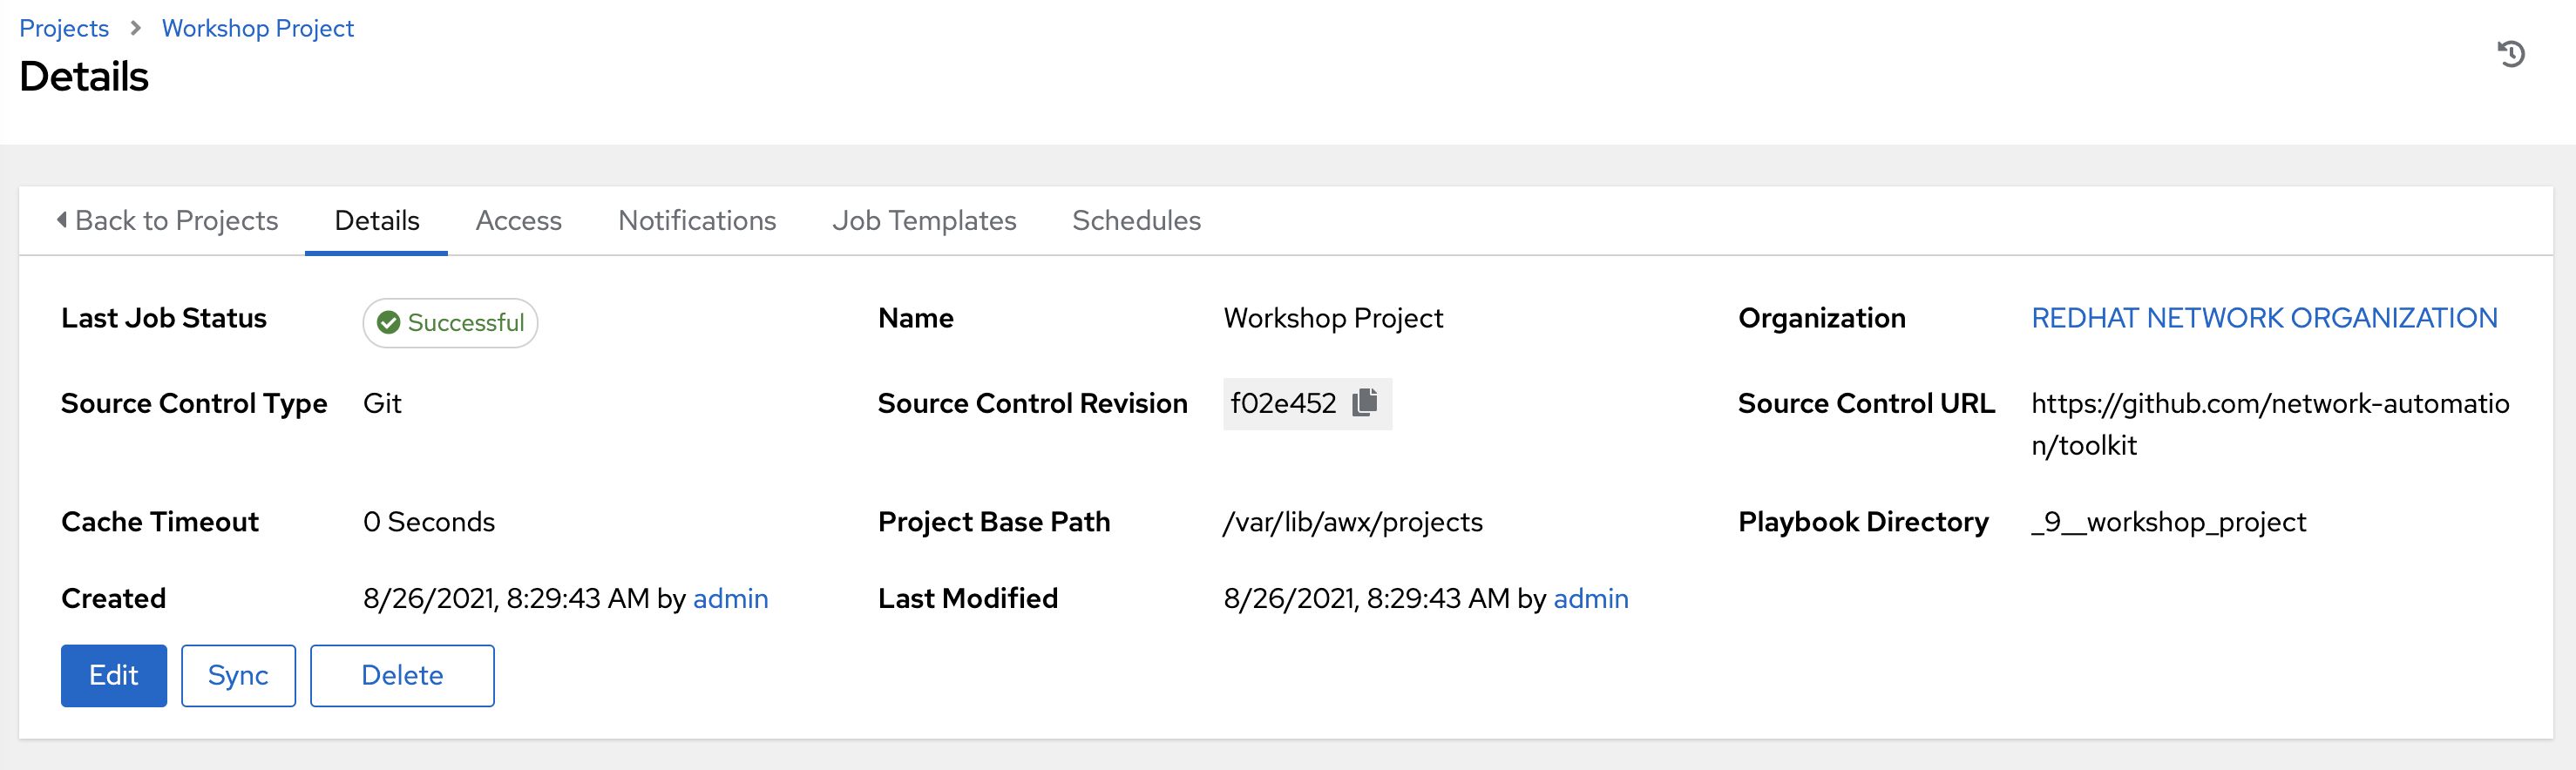
Note that Source Control URL is set to [https://github.com/network-automation/toolkit](https://github.com/network-automation/toolkit )
Step 4: Examine the Automation controller Workshop Credential
Credentials are utilized by Automation controller for authentication when launching Jobs against machines, synchronizing with inventory sources, and importing project content from a version control system. For the workshop we need a credential to authenticate to the network devices.
Note:
For more information on Credentials in Automation controller please refer to the documentation.
-
Click on the Credentials button under Resources on the left menu bar.

-
Under Credentials there will be multiple pre-configured credentials, including
Workshop Credential,Controller Credentialand theregistry.redhat.io credential. Click on theWorkshop Credential.
-
Under the
Workshop Credentialexamine the following:
- The CREDENTIAL TYPE is a Machine credential.
- The USERNAME is set to
ec2-user. - The PASSWORD is blank.
- The SSH PRIVATE KEY is already configured, and is ENCRYPTED.
Automation mesh

Automation mesh is an overlay network intended to ease the distribution of work across a large and dispersed collection of workers. Mesh nodes establish peer-to-peer connections with each other across your existing networks bringing automation closer to the endpoints that need it.
Automation mesh is already configured and ready to use in your workshop environment.
Note
Learning about automation mesh falls outside the scope of this workshop. However, please try our hands-on, interactive labs to learn more about automation mesh and other Ansible Automation Platform features.
Takeaways
- Automation controller needs an inventory to execute Ansible Playbooks again. This inventory is identical to what users would use with the command line only Ansible project.
- Although this workshop already setup the inventory, importing an existing Ansible Automation inventory is easy. Check out this blog post for more ways to easily get an existing inventory into Automation controller.
- Automation controller can sync to existing SCM (source control management) including Github.
- Automation controller can store and encrypt credentials including SSH private keys and plain-text passwords. Automation controller can also sync to existing credential storage systems such as CyberArk and Vault by HashiCorp
Complete
You have completed lab exercise 5
You have now examined all three components required to get started with Automation controller. A credential, an inventory and a project. In the next exercise we will create a job template.
Previous Exercise | Next Exercise
Click here to return to the Ansible Network Automation Workshop