Automated Smart Management Workshop: Configuring the Lab Environment
Read this in other languages:
 English,
  Français.
Objective
The objective of this exercise is to setup the lab environemnt following an Infrastructure as Code process. This exercise will require you to launch (9) playbooks. The playbooks accomplish the following:
- Populate Ansible Controller with an inventory source, add templates, as well as an additional project.
- Publish RHEL7 dev content view in Satellite
- Register servers to the Satellite installation - RHEL7
- Register servers to the Satellite installation - CentOS7
- Populate dynamic inventories - RHEL7
- Populate dynamic inventories - CentOS7
NOTE To save time, Satellite will already have a job executed that configures the proper lifecycle environments, content views, activation keys.
Environment
NOTE The following are example URLs. Your student lab URLs and credentials are provided from the workshops homepage after you signed in with your Name and Email address.
- Ansible Automation Platform URL
- Example:
https://student1.01d1.example.opentlc.com- Ansible Automation Platform login/password from the workshops homepage.
- Satellite URL
- Example:
https://student1-sat.01d1.example.opentlc.com(Note the -sat added to the URL)- Satellite login/password (same as above)
NOTE There are a number of warnings (such as [DEPRECATION WARNING]) in the playbook run output - these can be safely ignored for the purposes of this workshop.
Exercise
1. Logging into the Ansible Automation Platform (AAP)
- Use a web browser on your computer to access the AAP GUI via the link found in the Environment above. And use the username and password provided in your “Workbench Information” on your “Workshops Homepage”.

-
Upon successful login, you will be able to see the Ansible Automation Platform dashboard.
-
Use the side pane menu on the left to select Projects and review the two projects named Automated Management and Fact Scan. These projects, along with the Workshop Inventory (Inventories -> Workshop Inventory) have been set up for you during the provisioning of the lab environment.
2. Launch Ansible job templates
This step demonstrates the execution of job templates. You will be working with various templates as the workshop progresses, however, this step utilizes seven templates to initialize the lab environment configuration.
-
Use the side pane menu on the left to select Templates.
-
Initially, you should see two Templates named SETUP / Satellite and SETUP / Controller.
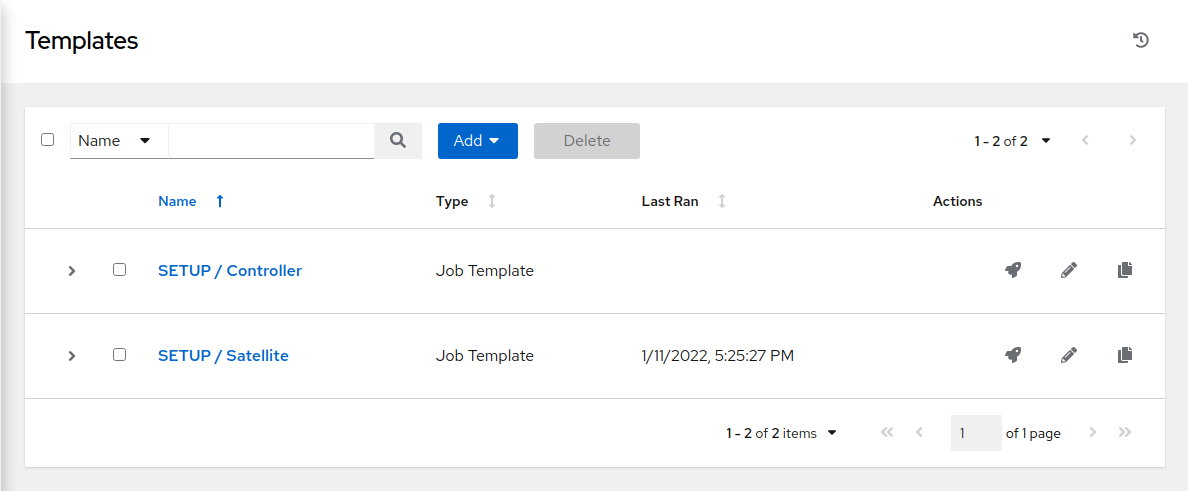
NOTE Notice that the SETUP / Satellite job has already been completed for you.
First, you will need to run the SETUP / Controller job template.
- Click on the
 to the right of the SETUP / Controller job template.
You will be taken to the Jobs > SETUP / Controller output window where you will be able to follow each task executed as part of the playbook. This will take approximately 2 mins to complete.
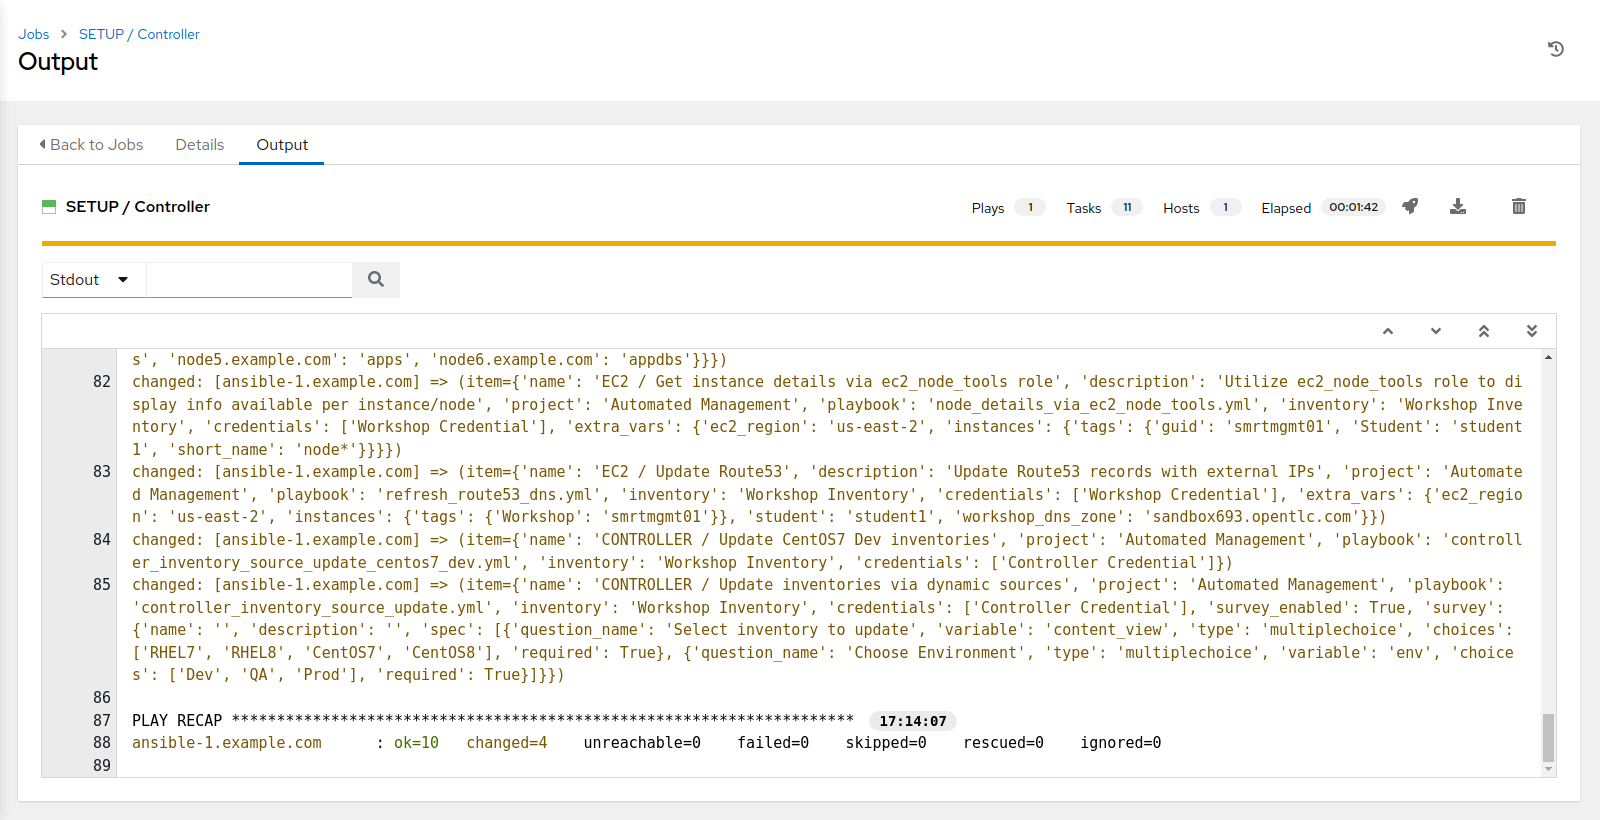
NOTE Please allow the SETUP / Controller job to run to completion before proceeding to execution of the next template.
When complete, you will see a successful status as well as a play recap at the bottom of the screen.
- Navigate back to Templates on the left side pane.
The SETUP / Controller job will create multiple job templates that will be useful throughout the remainder of this workshop.
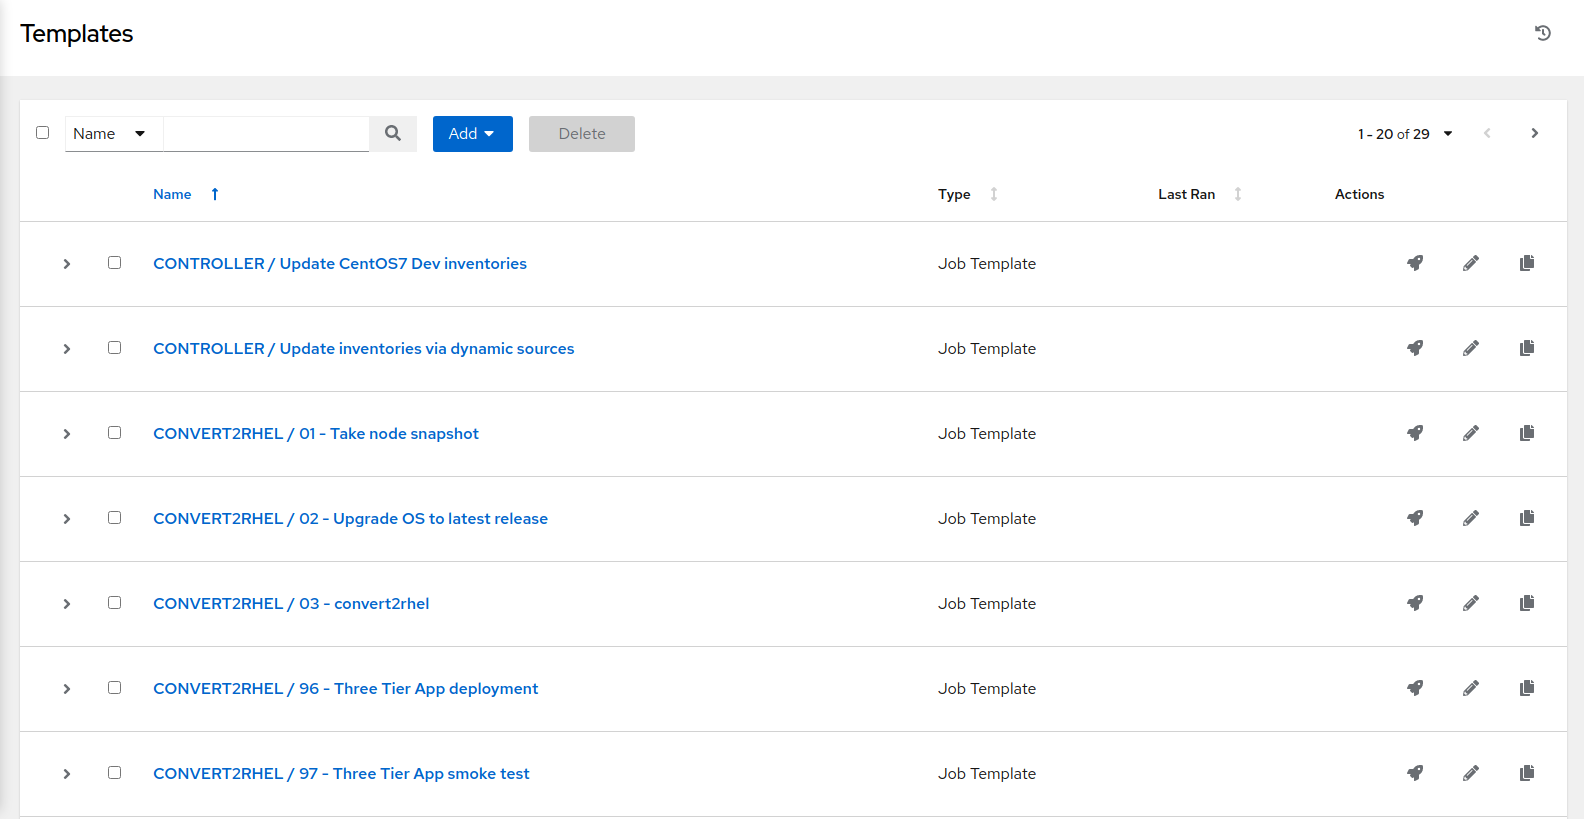
Now that we have several more templates at our disposal we will need to run four more of these in order to complete setup.
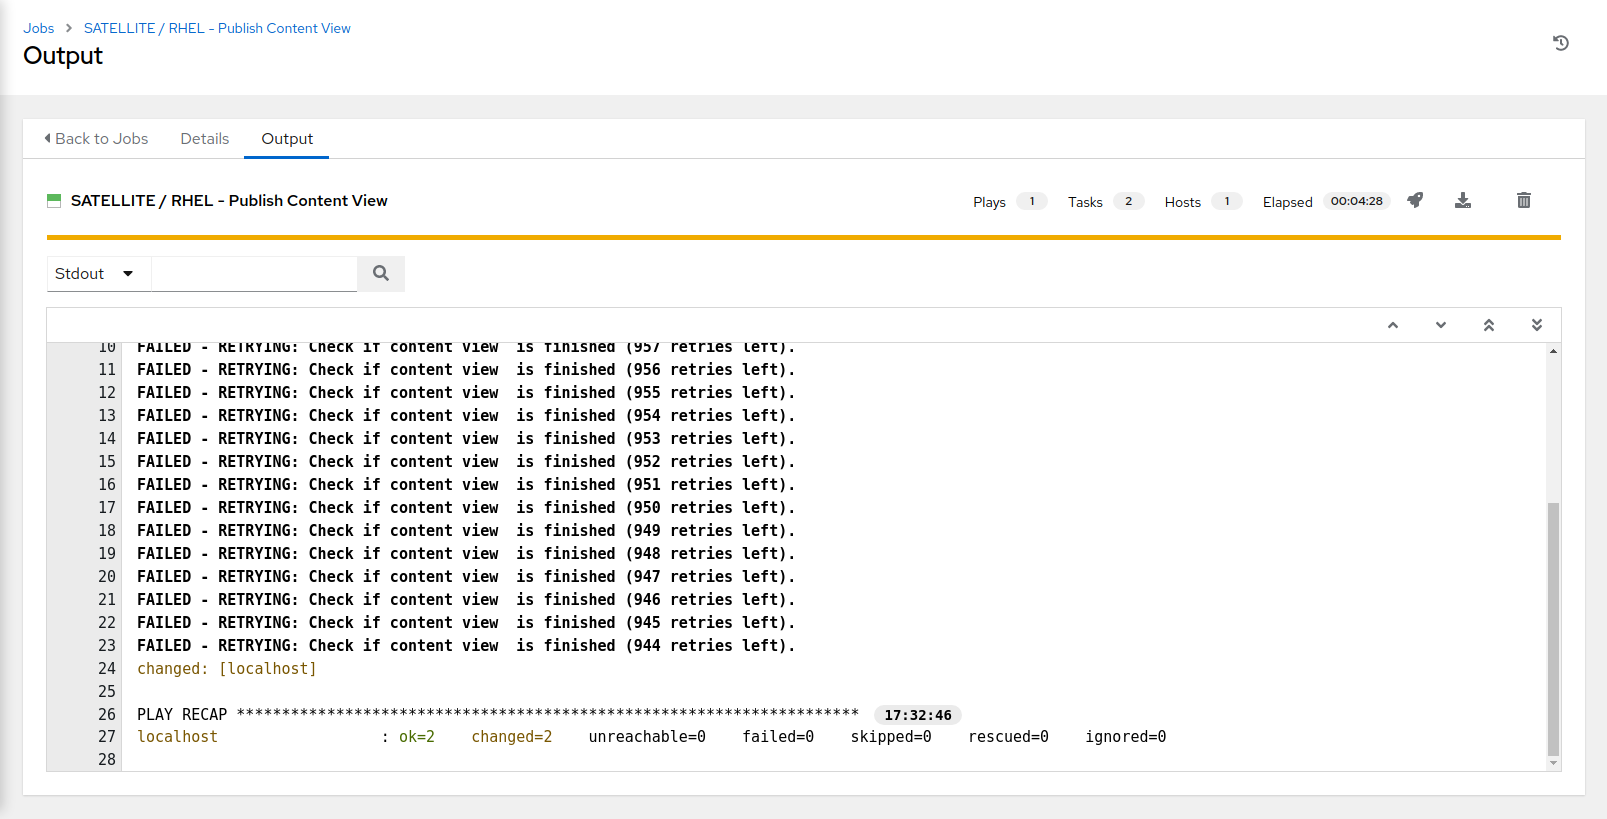
Run the SATELLITE / RHEL - Publish Content View job template by clicking the to launch. When prompted by the survey for the content view to publish, from the drop down menu, select RHEL7
- Select Next to review the setting for the job run, then click Launch the run the job template.
You will be taken to the Jobs > SATELLITE / RHEL - Publish Content View output window where you will be able to follow each task executed as part of the playbook. This will take approximately 1 min to complete.
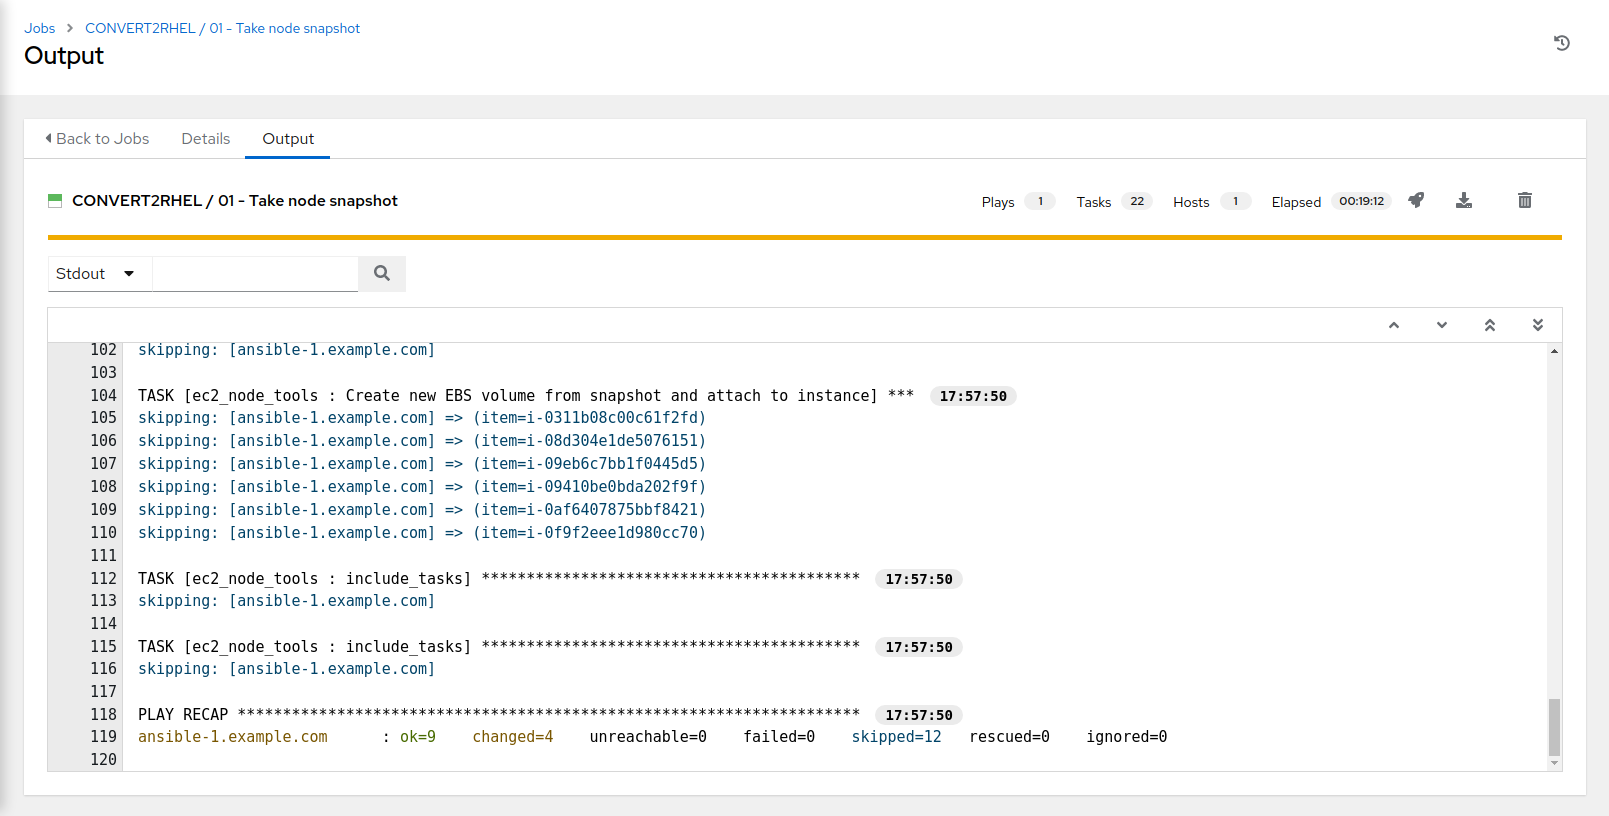
Next, go back to Templates and run the CONVERT2RHEL / 01 - Take node snapshot job template by clicking the to launch.
You will be taken to the CONVERT2RHEL / 01 - Take node snapshot output window where you will be able to follow each task executed as part of the playbook. This will take approximately 7 mins to complete.
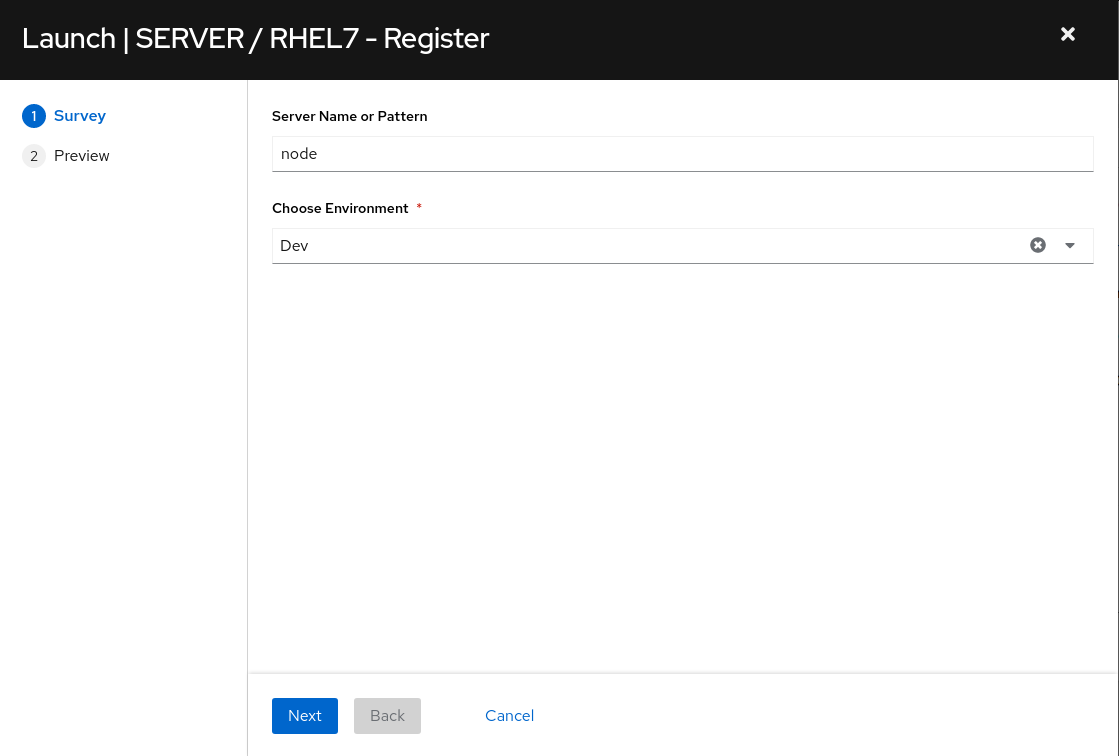
Next, go back to Templates and run the SERVER / RHEL7 - Register job template by clicking the to launch.
- You will be presented with a survey. Fill this out as follows:
- Select Next to proceed to the survey response confirmation.
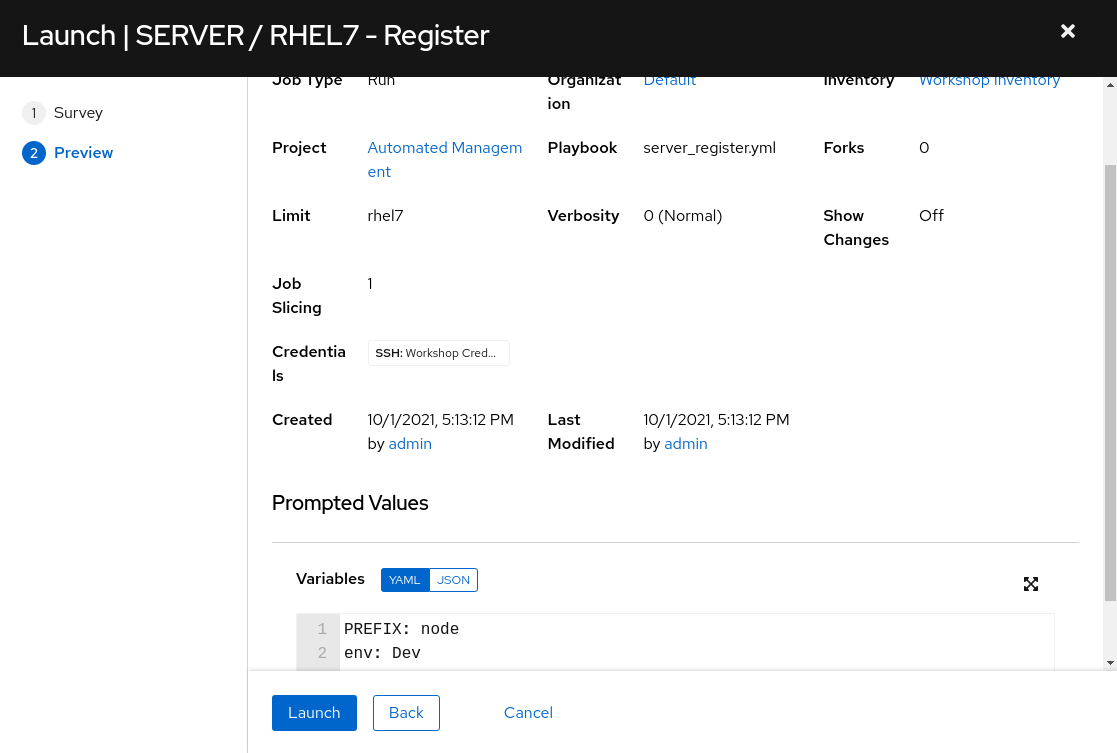
- Select Launch to run the job template.
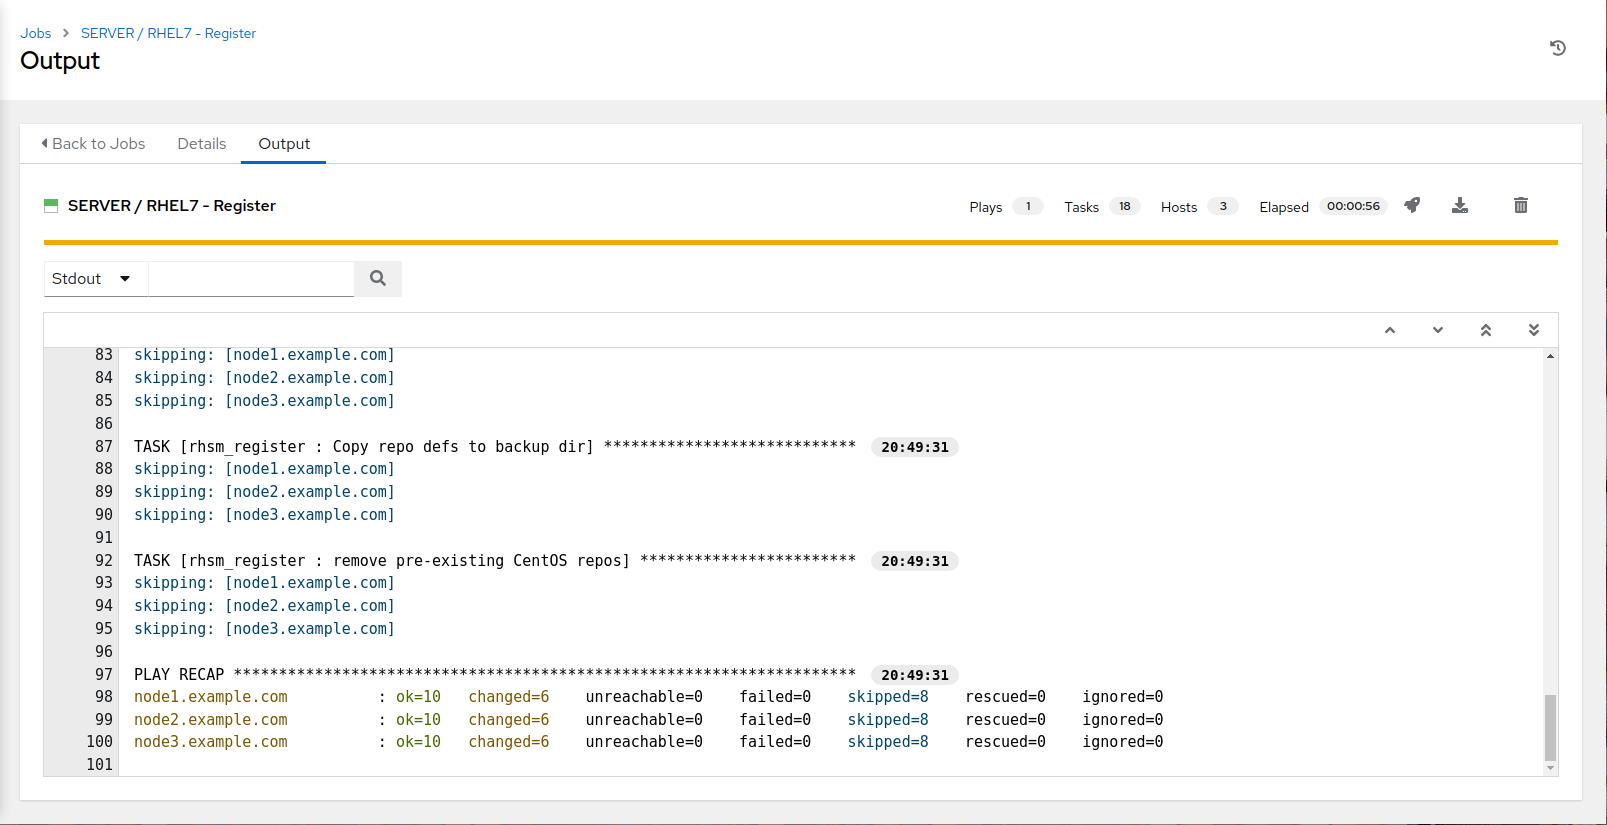
You will be taken to the SERVER / RHEL7 - Register output window where you will be able to follow each task executed as part of the playbook. This will take approximately 1 min to complete.
Next, go back to Templates and run the SERVER / CentOS7 - Register job template by clicking the to launch.
- You will be presented with a survey. Fill this out as follows:
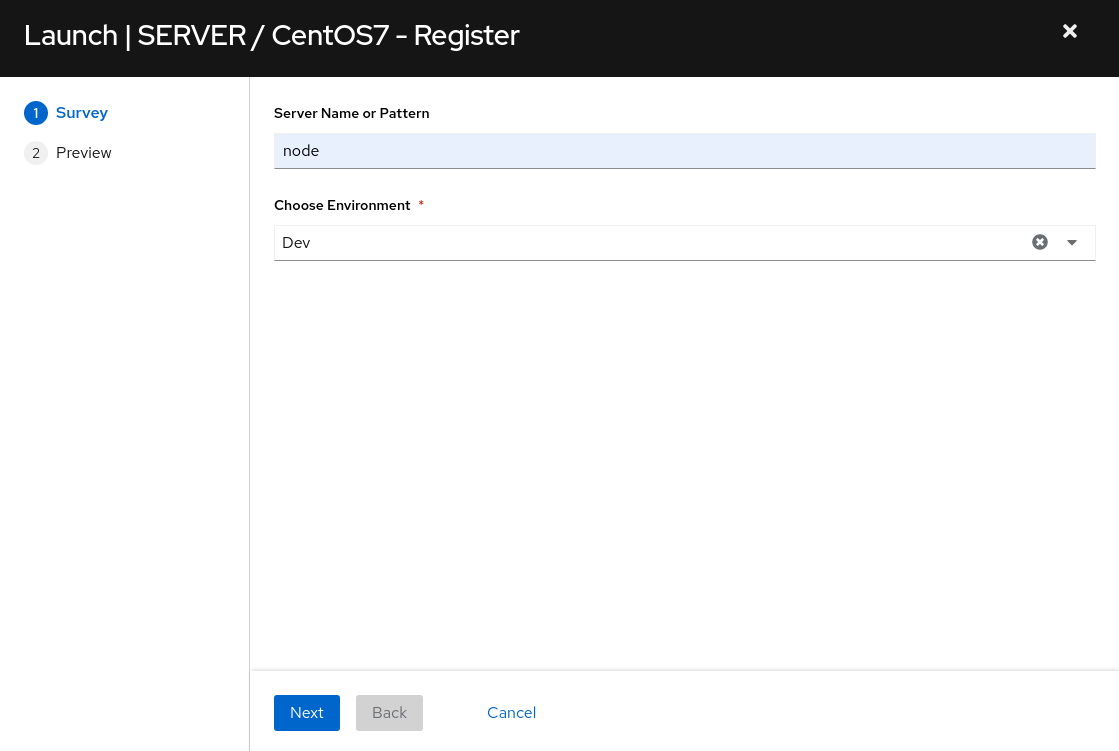
- Select Next to proceed to the survey response confirmation.
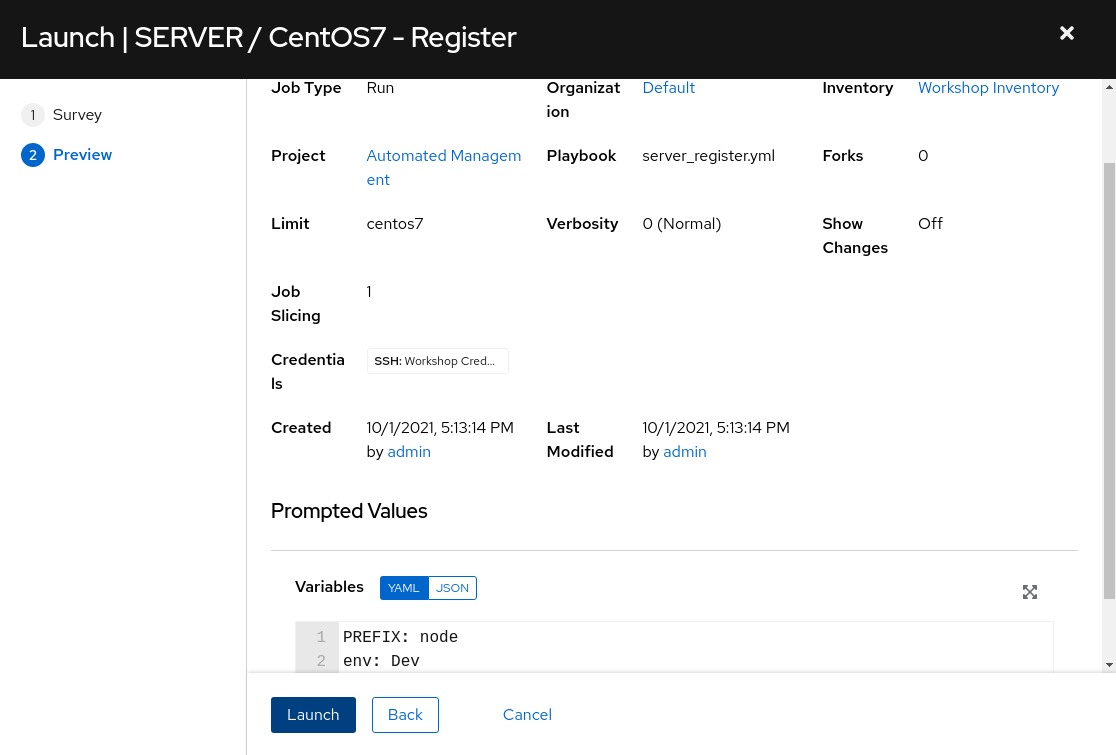
- Select Launch to run the job template.
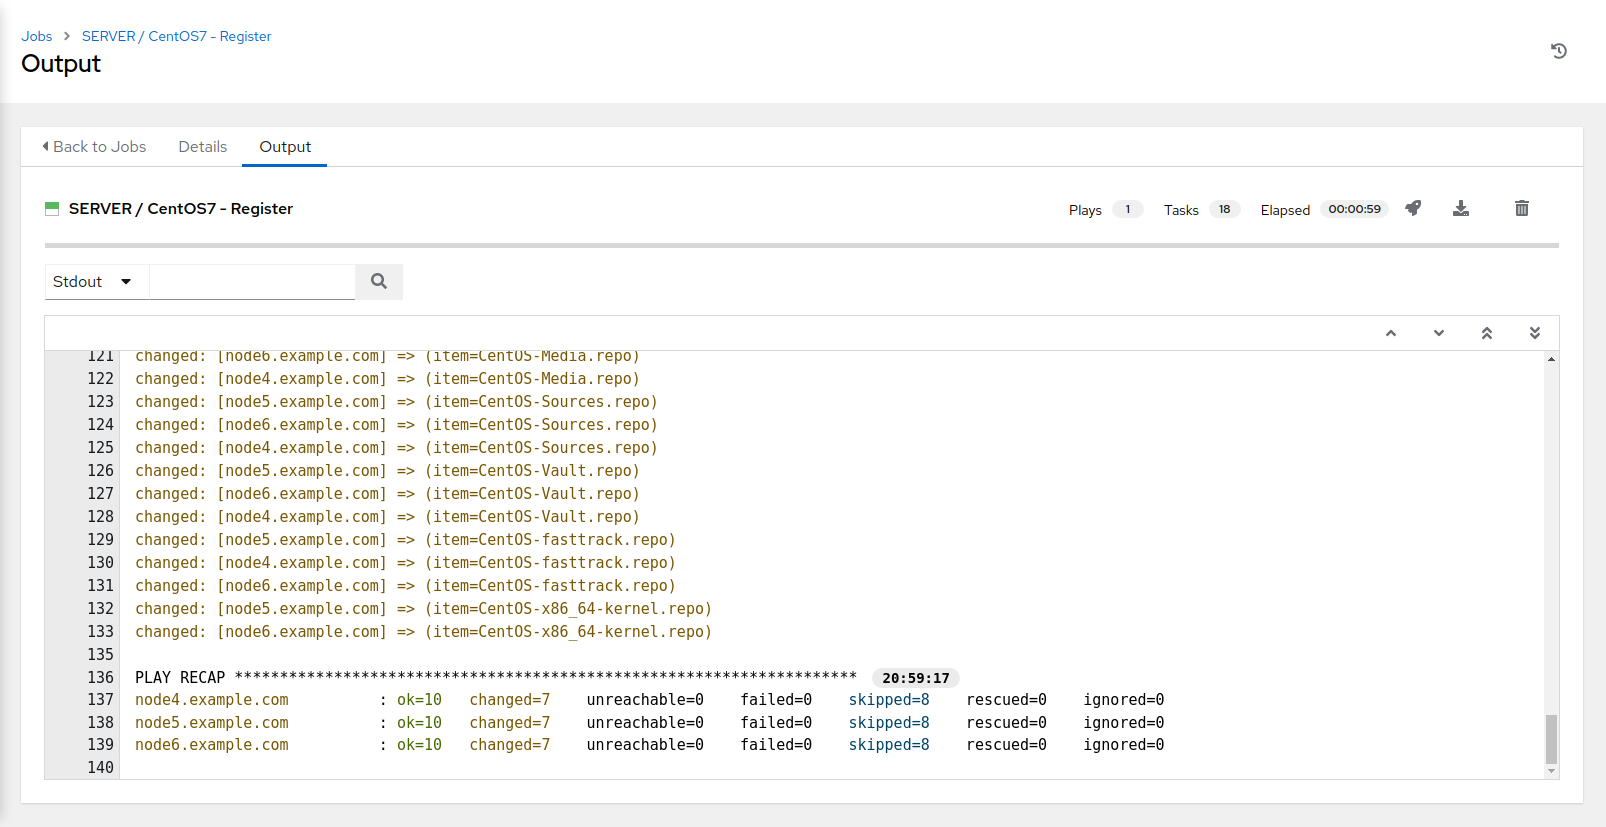
You will be taken to the SERVER / CentOS7 - Register output window where you will be able to follow each task executed as part of the playbook. This will take approximately 1 min to complete.
Next, go back to Templates and run the EC2 / Set instance tags based on Satellite(Foreman) facts job template by clicking the to launch.
You will be taken to the EC2 / Set instance tags based on Satellite(Foreman) facts output window where you will be able to follow each task executed as part of the playbook. This will take approximately 1 min to complete.
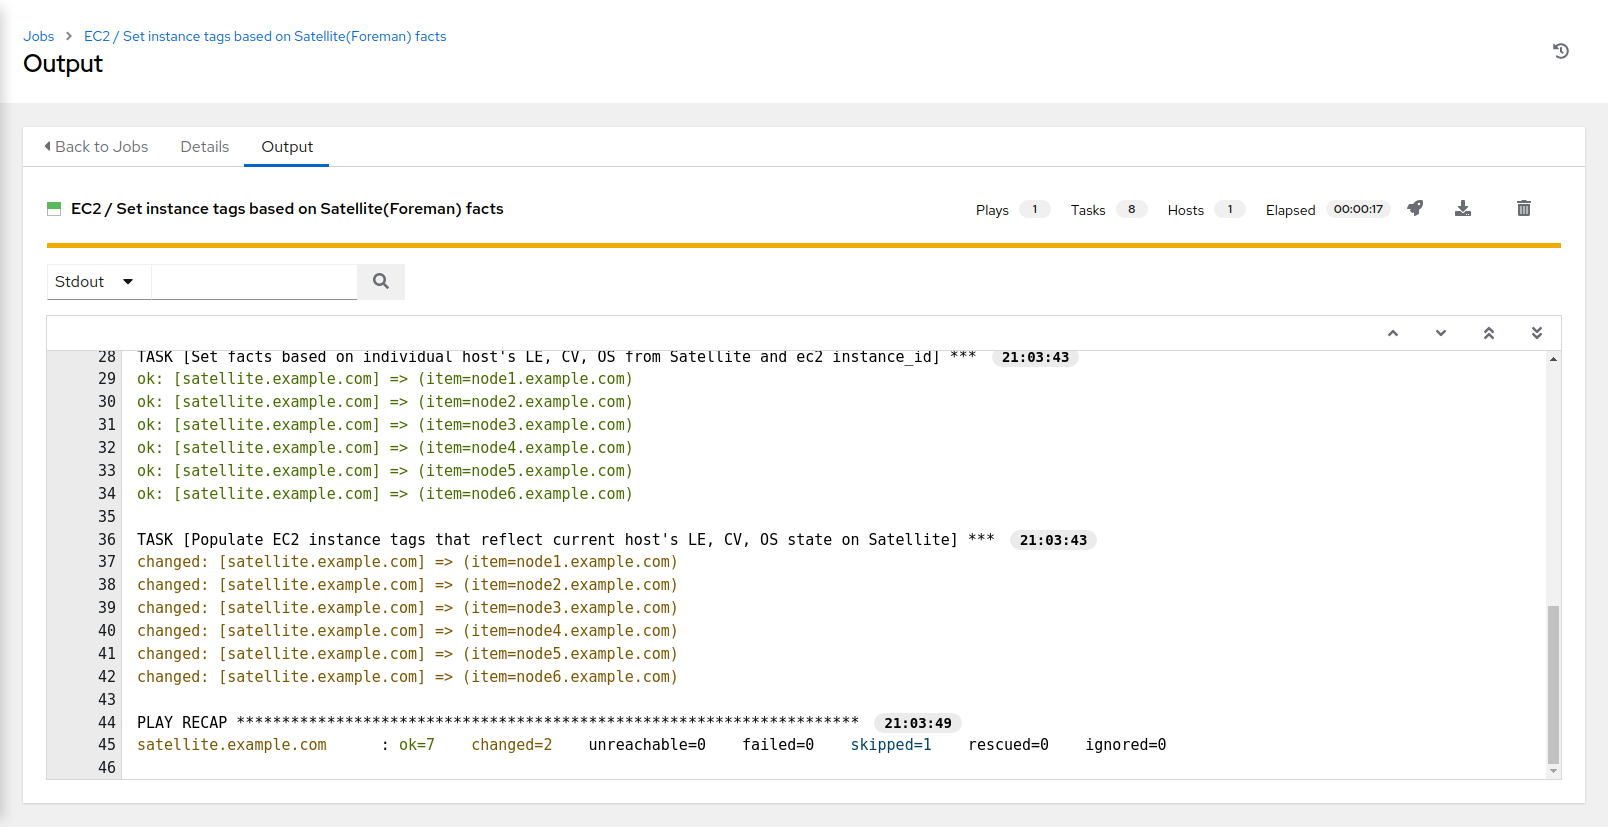
NOTE For the following job template, review the Variables section of the template, paying particular note to the group_tag_map variable. A mapping of nodes to group names is defined. EC2 tags for these group names will be assigned to the nodes defined and this will be utilized later via dynamic inventory building to construct Ansible inventory groups containing the nodes defined, ie. “frontends”, “apps”, “appdbs”.
Next, run the EC2 / Set instance tag - AnsibleGroup job template by clicking the to launch.
You will be taken to the EC2 / Set instance tag - AnsibleGroup output window where you will be able to follow each task executed as part of the playbook. This will take approximately 1 min to complete.
3. Dynamic inventories - understanding inventories populated via dynamic sources
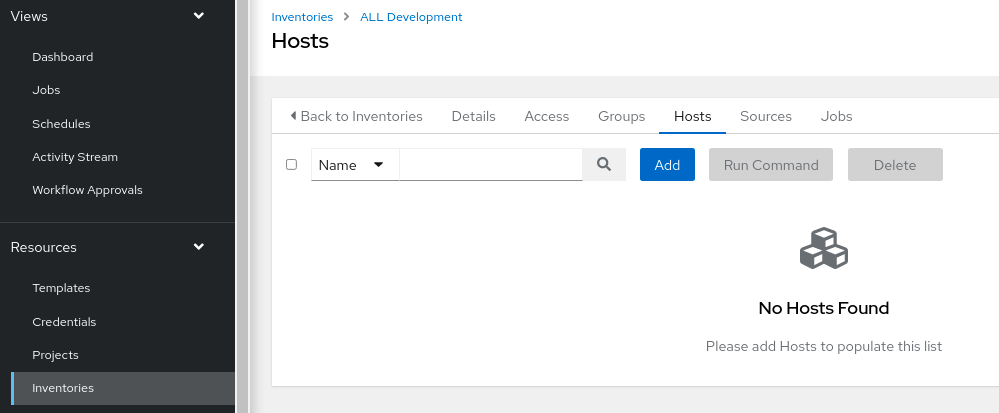
NOTE Before running the dynamic inventory update templates in the upcoming steps, first navigate to the Inventories location in AAP and review the following inventories:
- ALL Development => Hosts
- CentOS7 Development => Hosts
- RHEL7 Development => Hosts
Note that these inventories have yet to be populated. Also, while you are in each of these inventories, click on the “Sources” button and review how each of these dynamic source inventories are configured, taking note of the “SOURCE VARIABLES” section to gain an understanding on how the resultant hosts and groups for that particular inventory are populated.
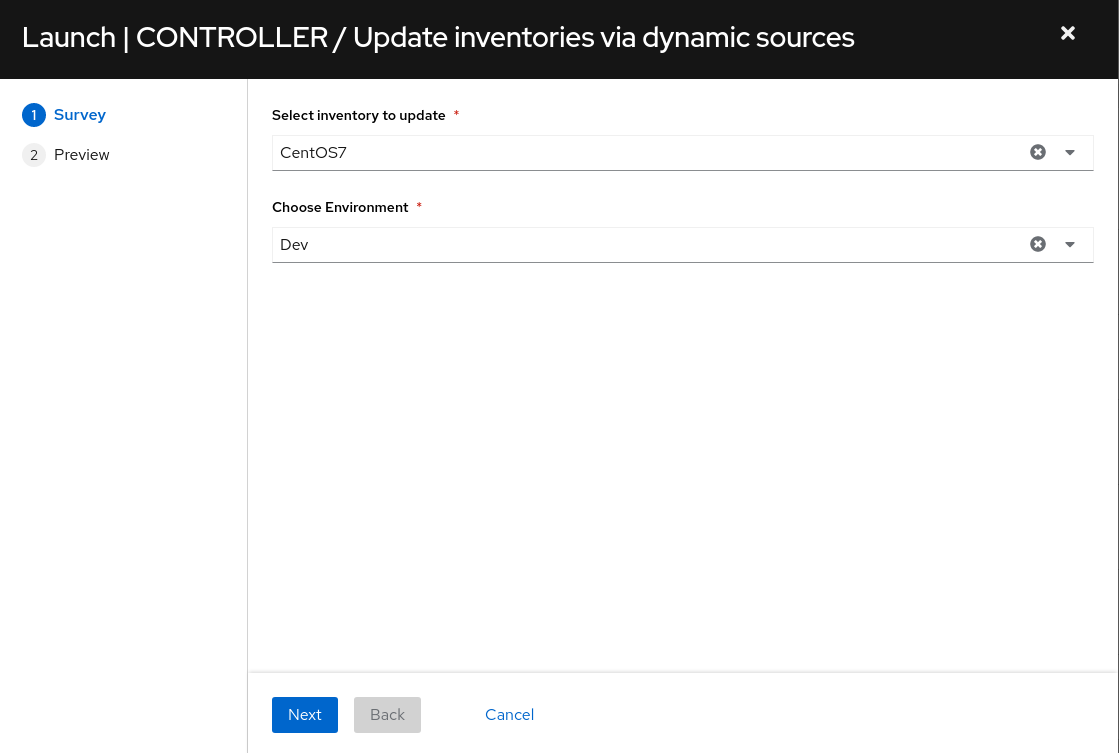
Next, go back to Templates and run the CONTROLLER / Update inventories via dynamic sources job template by clicking the to launch.
- You will be presented with a survey. Fill this out as follows:
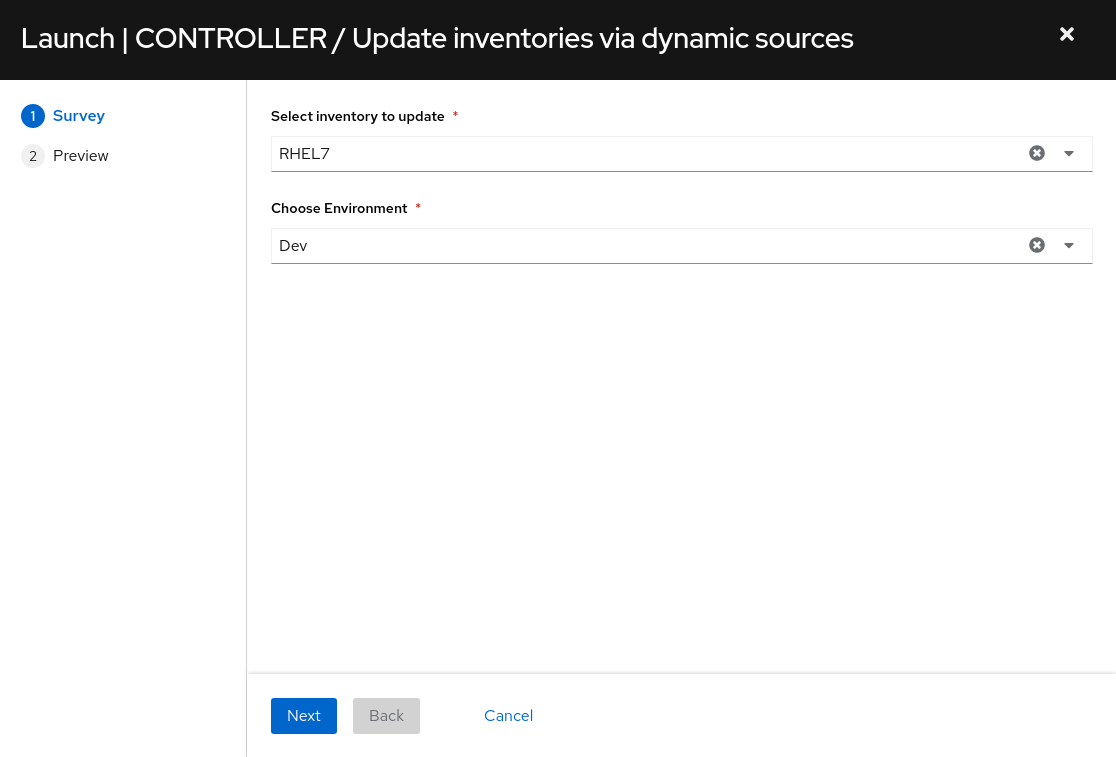
-
Select Next to proceed to the survey response confirmation.
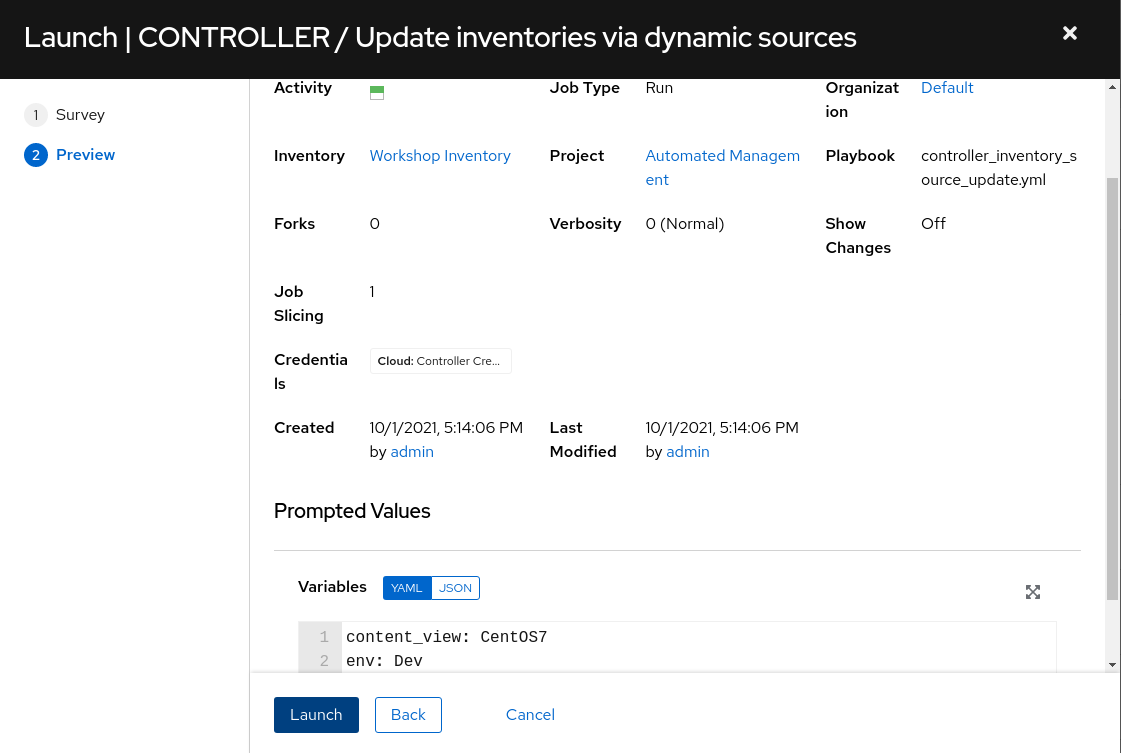
-
Review Extra Variables (you will need to scroll to the bottom of the survey)
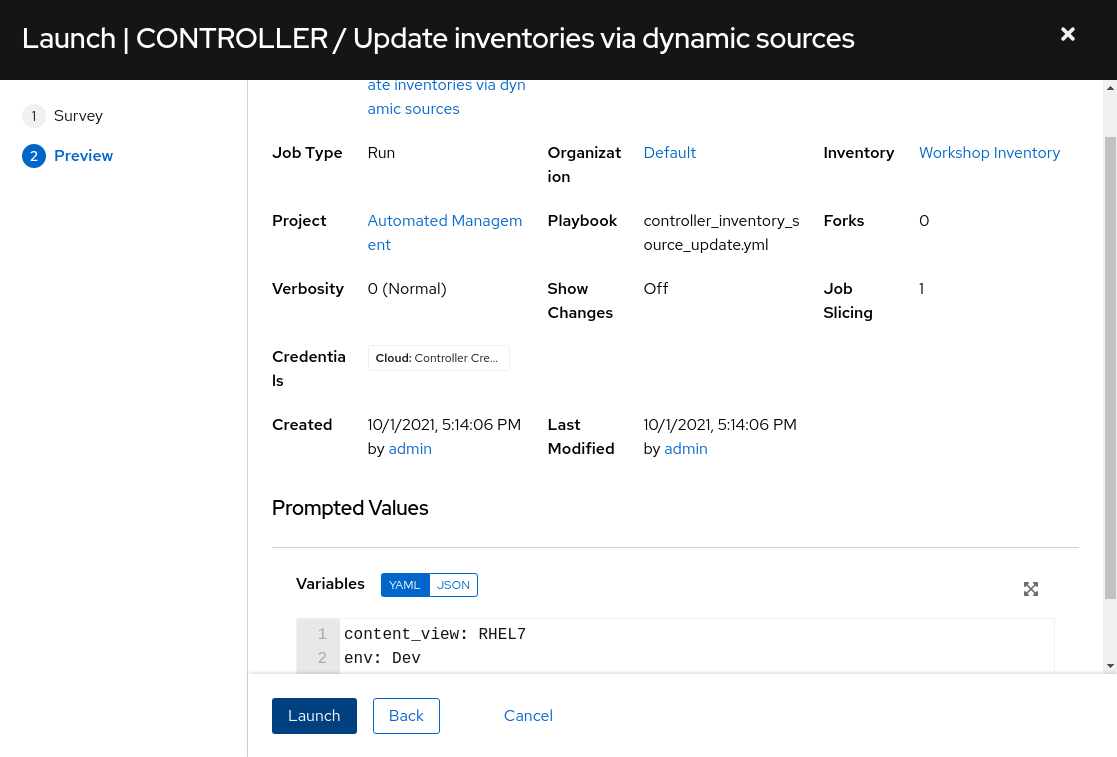
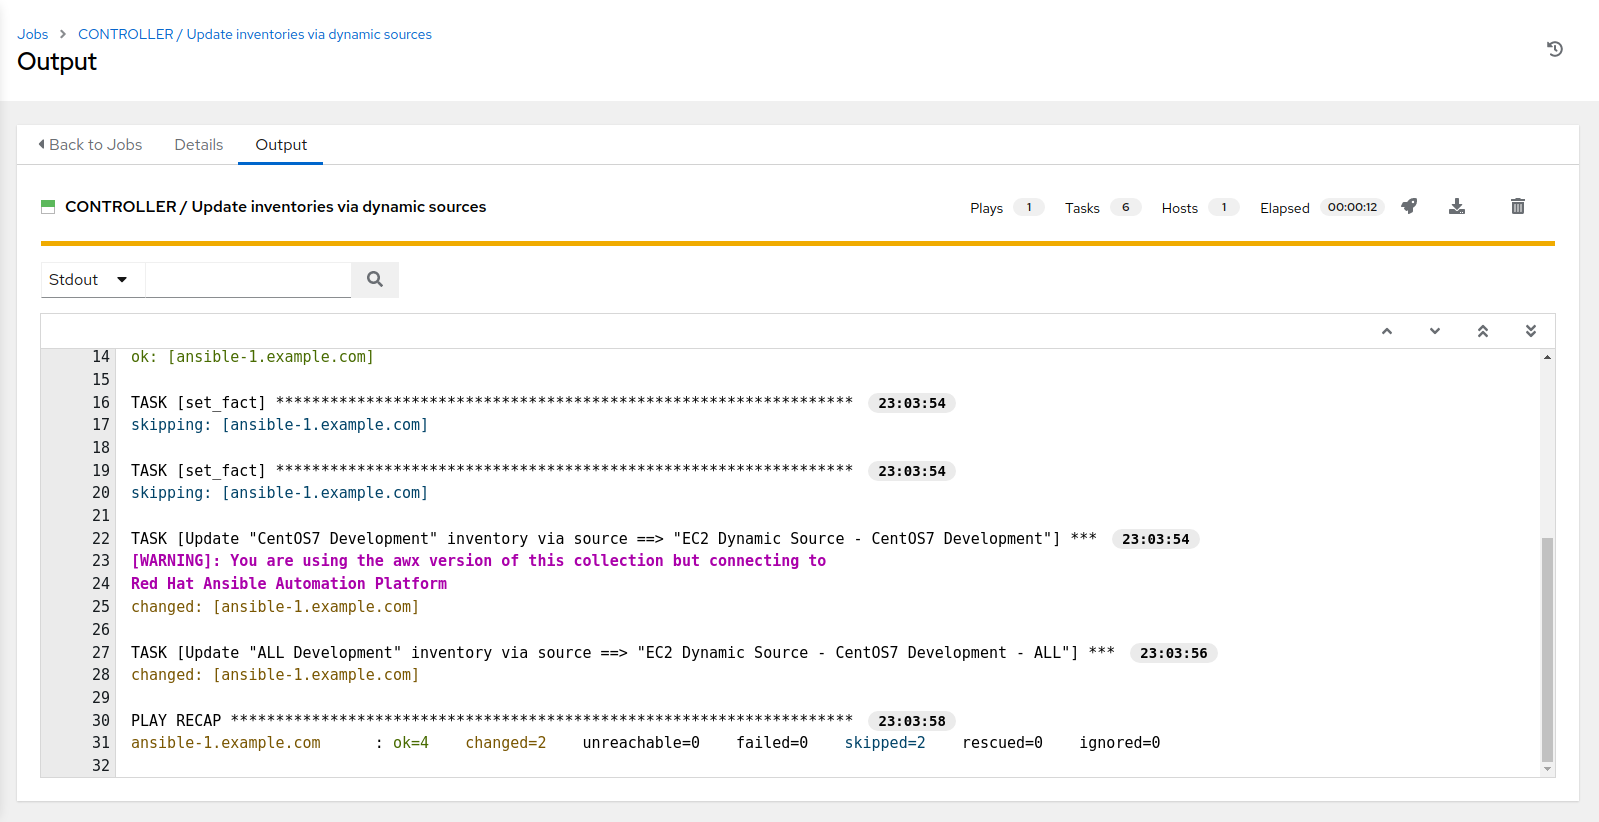
- then select Launch to run the job template. This should take less than 30 seconds to run.
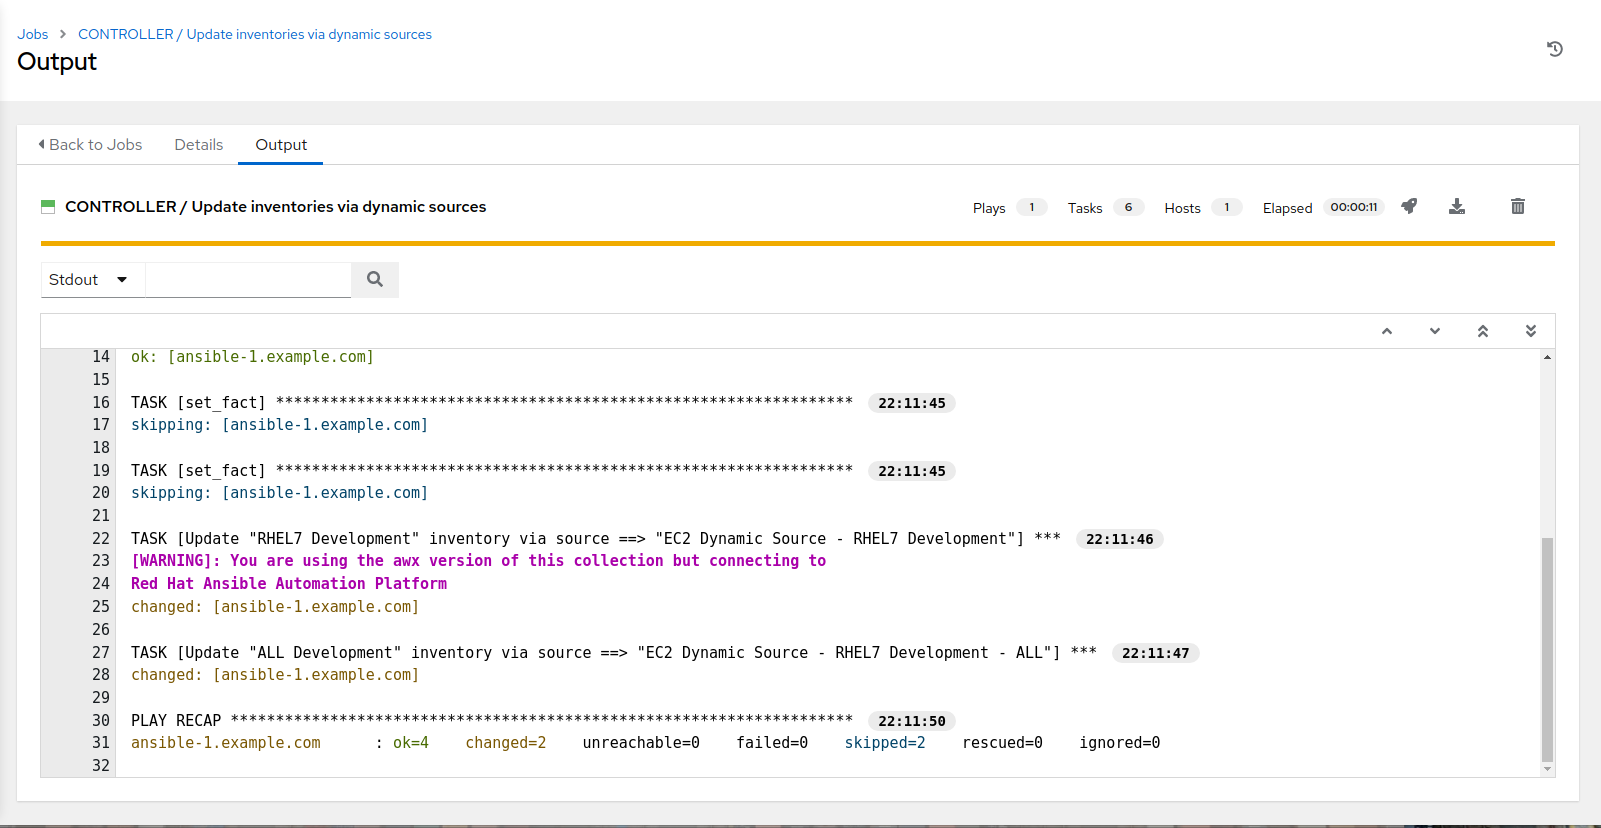
Run the CONTROLLER / Update inventories via dynamic sources job template by clicking the to launch.
- You will be presented with a survey. Fill this out as follows:
-
Select Next to proceed to the survey response confirmation.
-
Review Extra Variables
- then select Launch to run the job template.
4. Dynamic inventories - review inventories populated via dynamic sources - Updated
NOTE Now that the dynamic inventory update templates have been executed, navigate to the Inventories location in AAP and review the following inventories:
- ALL Development => HOSTS
- CentOS7 Development => HOSTS
- RHEL7 Development => HOSTS
Review how the resultant hosts and groups are defined from information based on tags set from earlier Satellite job template queries. Take the time to click on a host and look at the variables that have been collected and defined in the “Variables” section.
Next, login to Satellite to perform verification.
5. Login to Satellite and validate your Environment
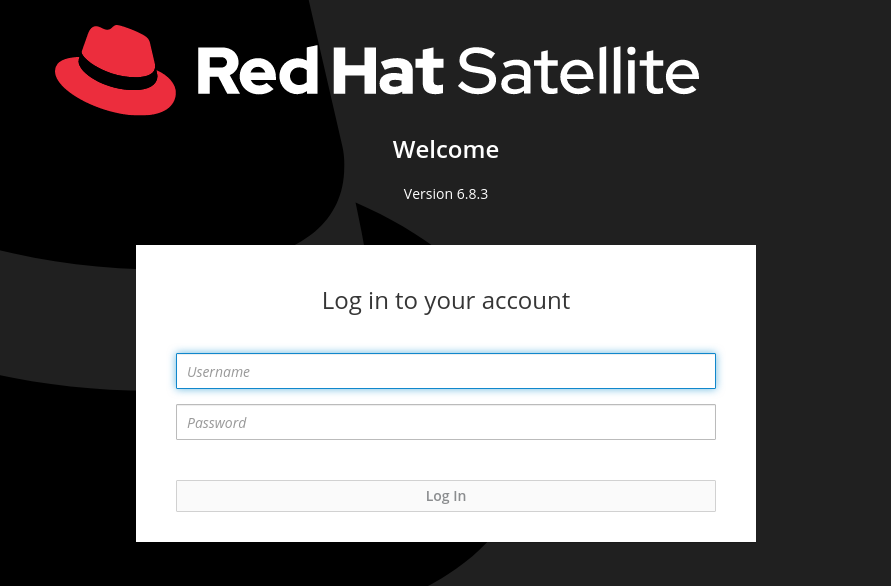
-
Use a web browser on your computer to access the Satellite GUI via the link found in the Environment above. And use the following username and password to login: *admin /
*. Once you have logged in you will see the main Monitor page. -
Click on Hosts -> All Hosts to validate that three RHEL7 and three CentOS7 server nodes are registered to Satellite.

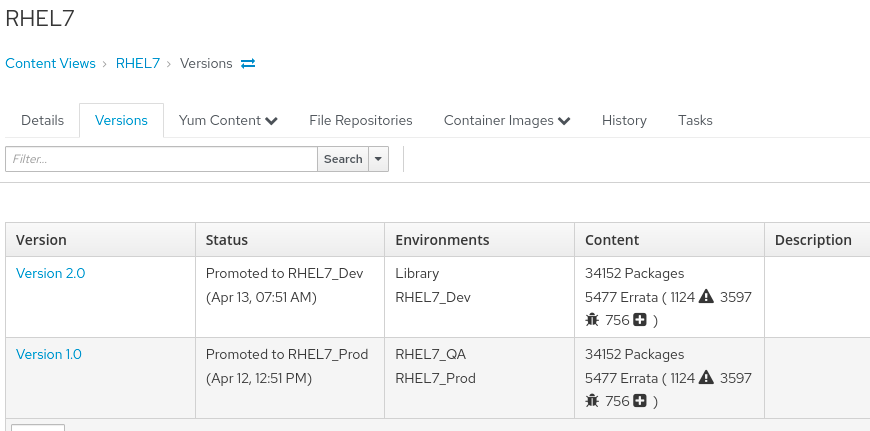
- Click on Content -> Content Views -> RHEL7 to verify that all Dev, QA and Prod environments are accounted for.
4. End of exercise
- You have finished this exercise
- Continue to Exercise 1: Compliance / Vulnerability Management, OR Return to the main workshop page