This exercise is designed to use everything you’ll already put together, into something called a workflow.
You can think of a workflow as an end-to-end automation orchestration process, allowing you to link up automation plays and roles into a logical flow to get something done.
In our case, our flow will be:
- install latest selected Windows Updates
- install IIS (using our advanced role)
- Install additional packages (using chocolatey)
- and finally, checking those chocolatey facts and configuration
We can wrap some basic conditional logic around it all, and you can have things like a rollback mechanism, to cope with when things might not quite work out.
Section 1 - Creating your Workflow
We are going to create a new workflow template, into each we’ll add our existing automation.
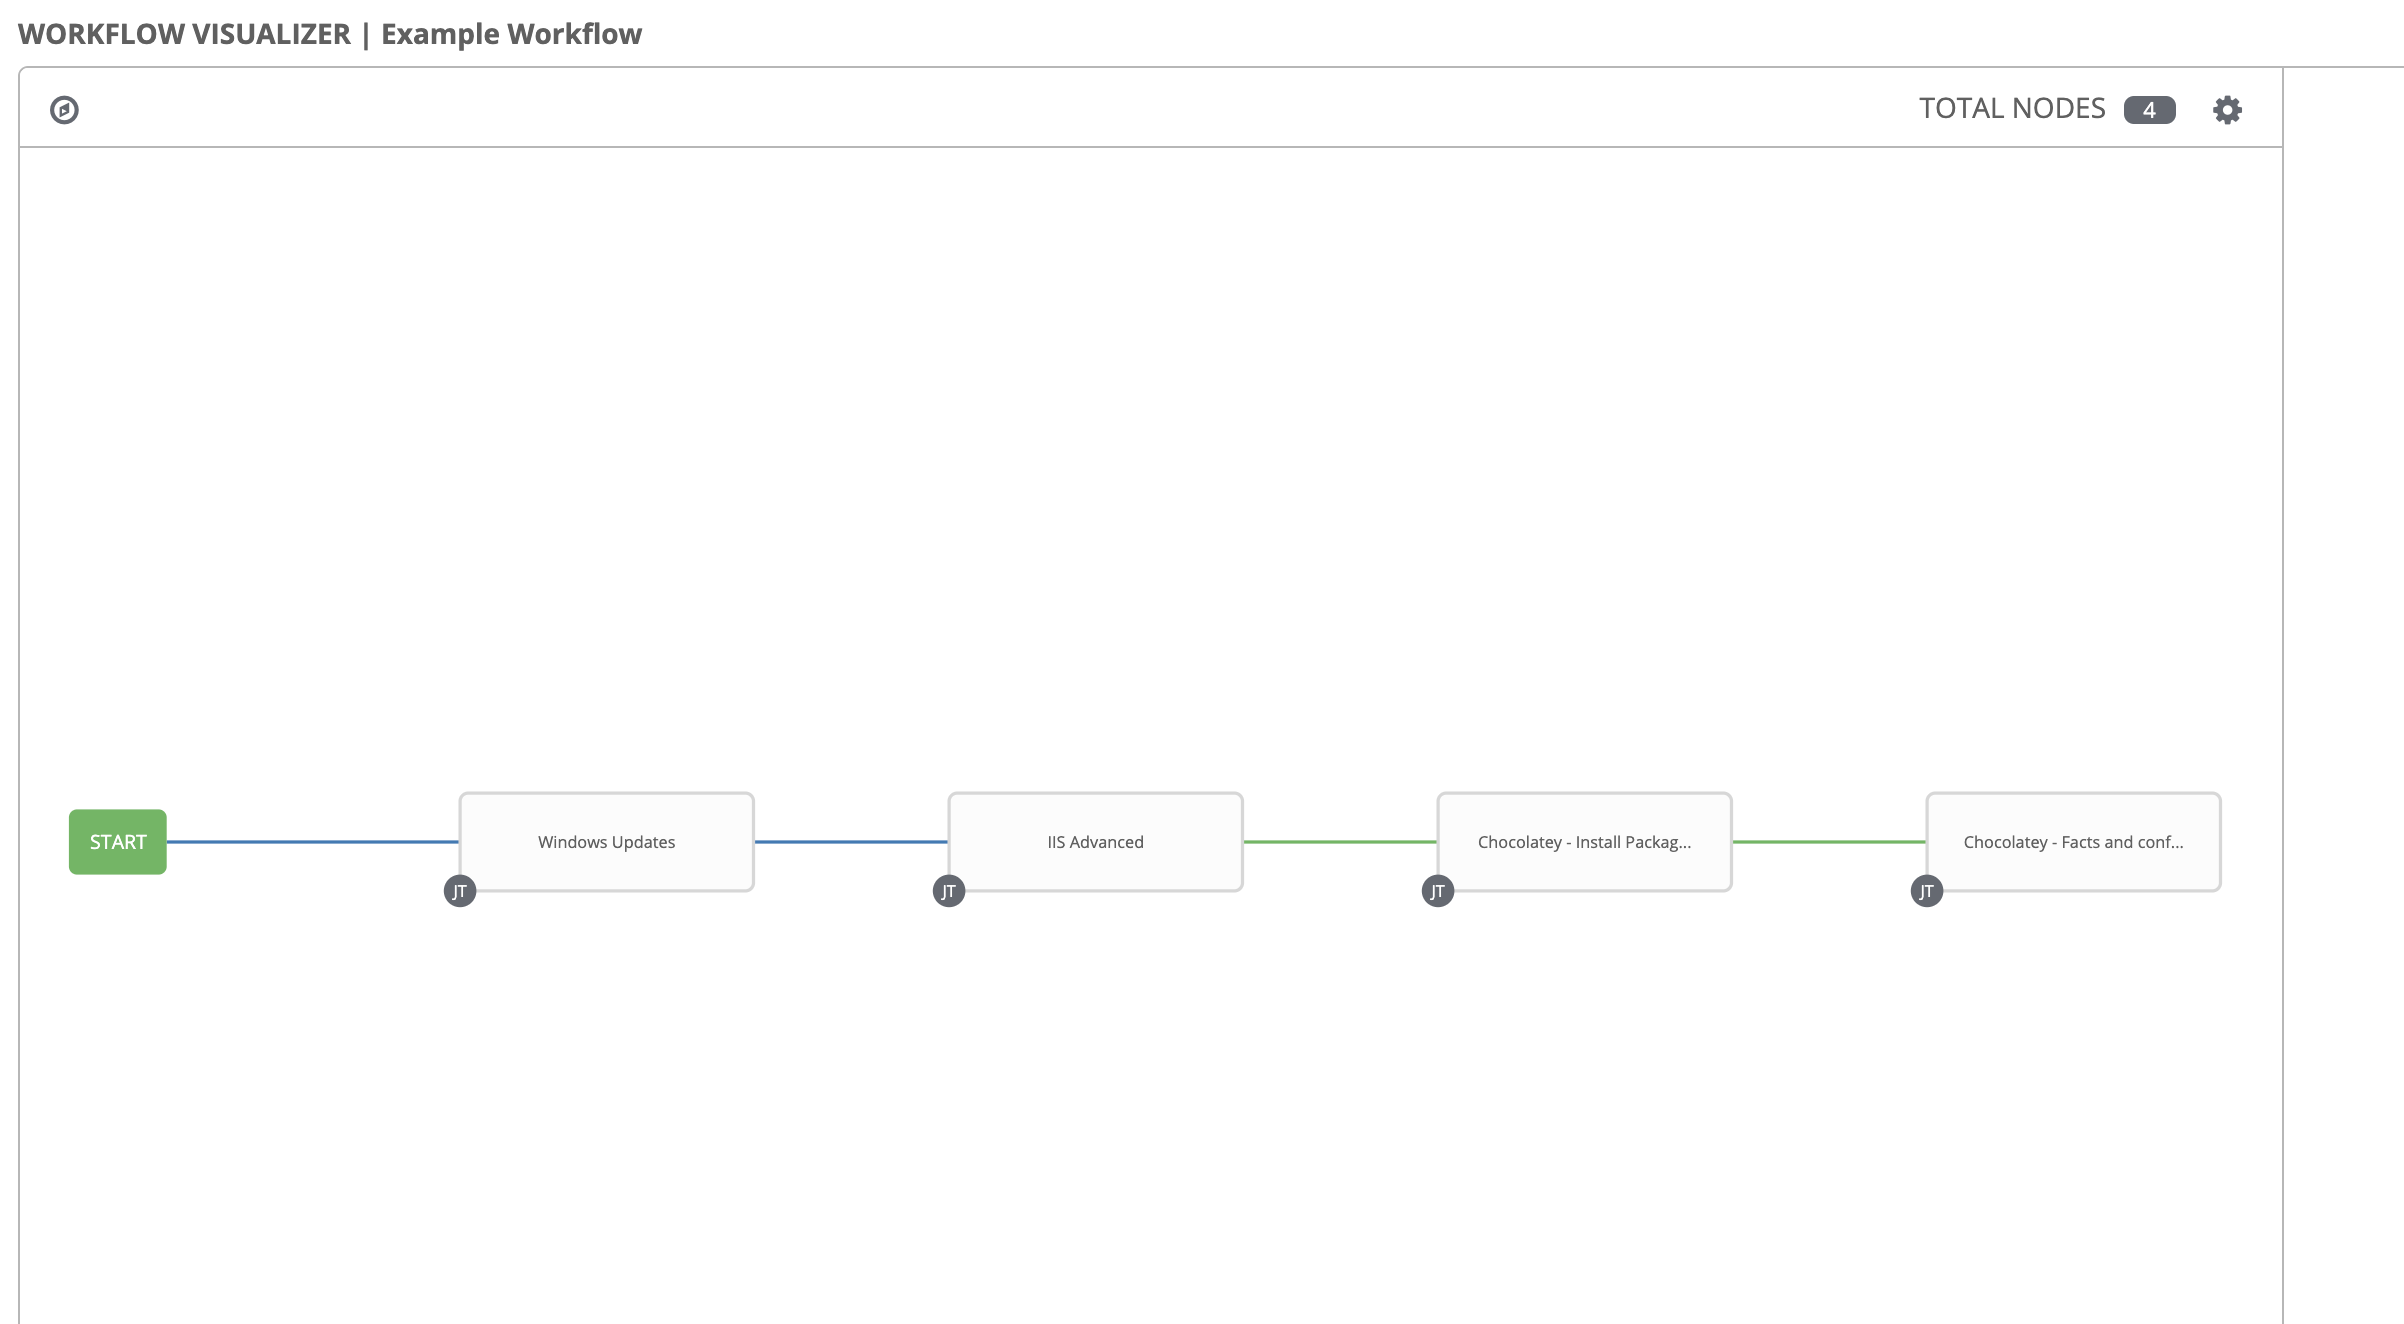
It’ll look like this when we’re finished:
Step 1:
Go to Template, click Add and select Workflow Template to create a new workflow template.
Complete the form using the following values
| Key | Value | Note |
|---|---|---|
| NAME | Example Workflow | |
| DESCRIPTION | End-to-end process | |
| ORGANIZATION | Default | |
| INVENTORY | Windows Workshop Inventory | |
| LIMIT | windows |
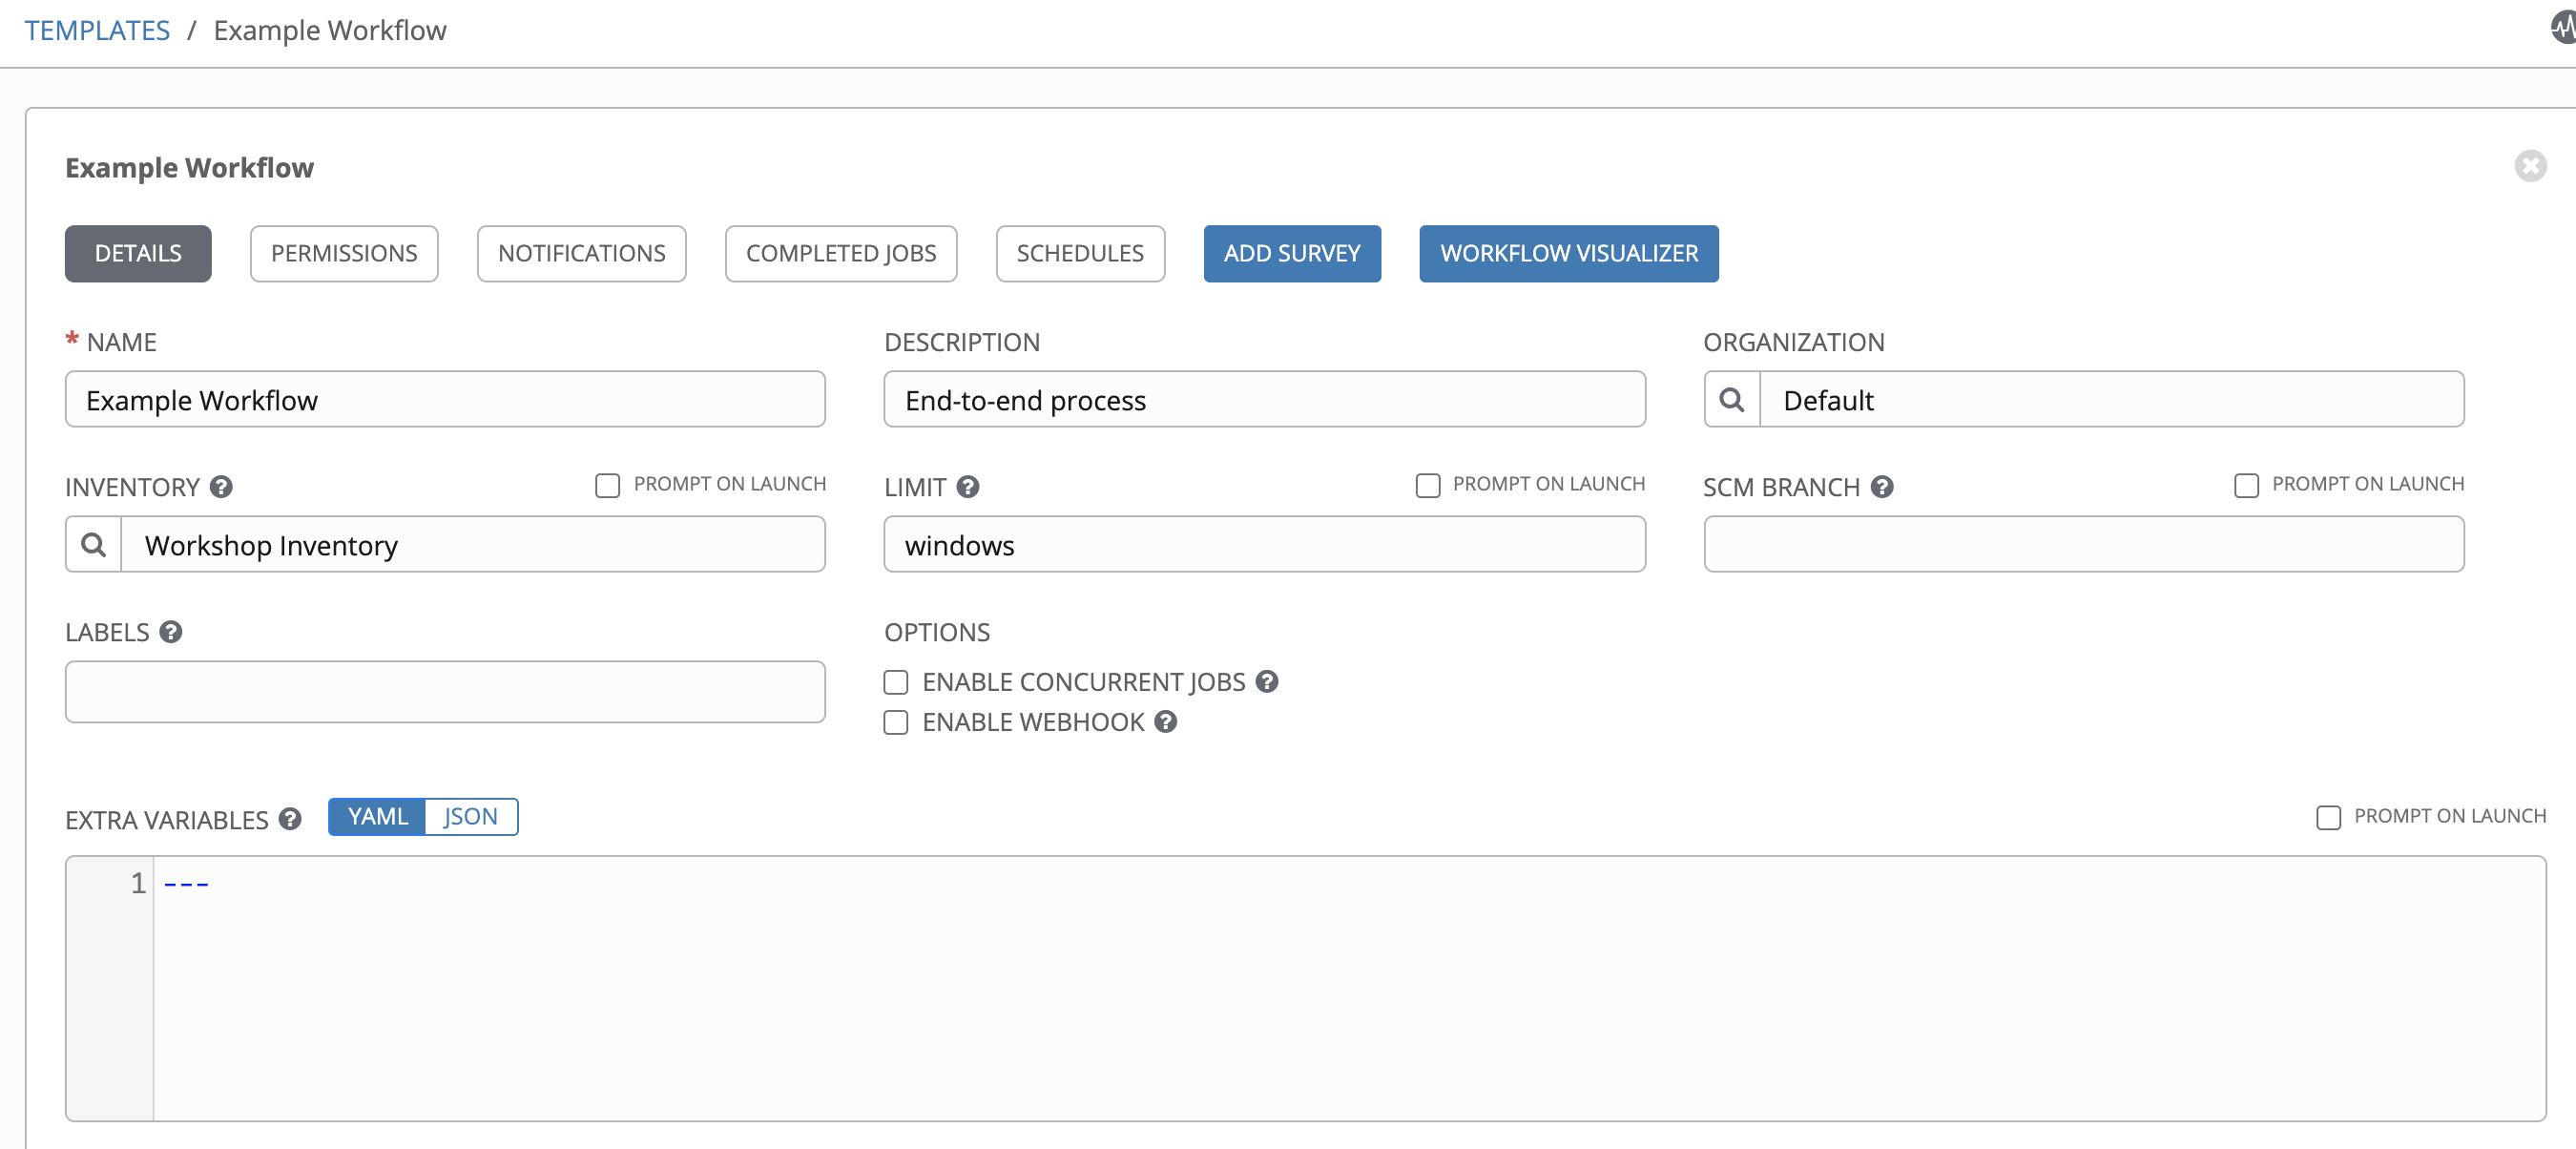
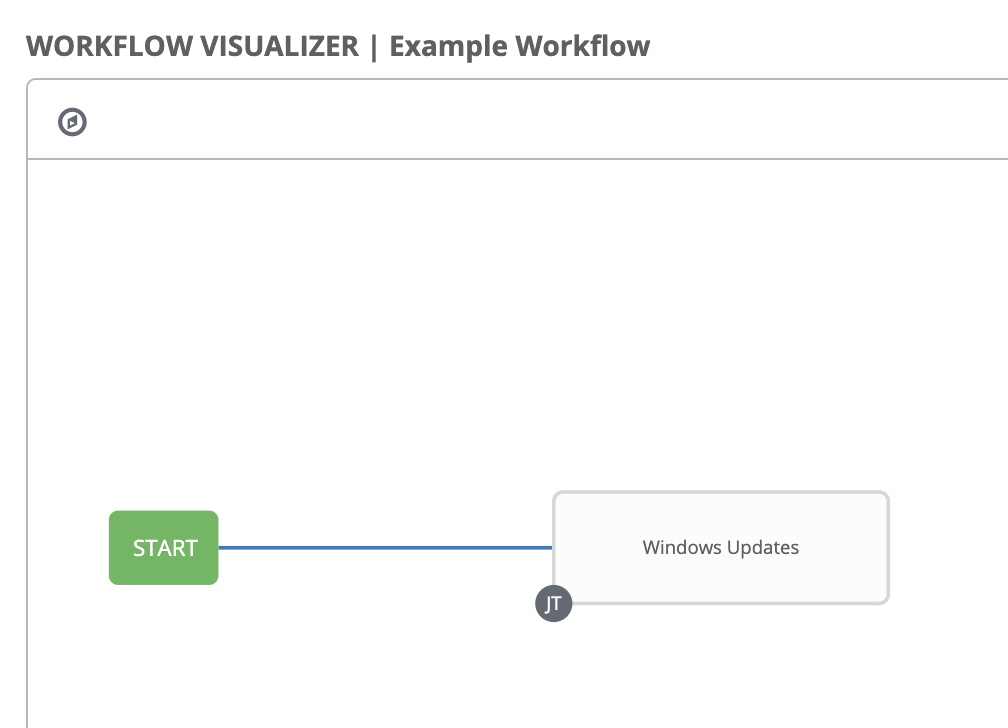
Click SAVE  and you’ll be placed in the workflow visualizer.
Step 2:
Click on the Start box and select Windows Updates from the selection on the right hand side.
Select the following properties:
| Key | Value | Note |
|---|---|---|
| RUN | Always | |
| CONVERGENCE | Any |
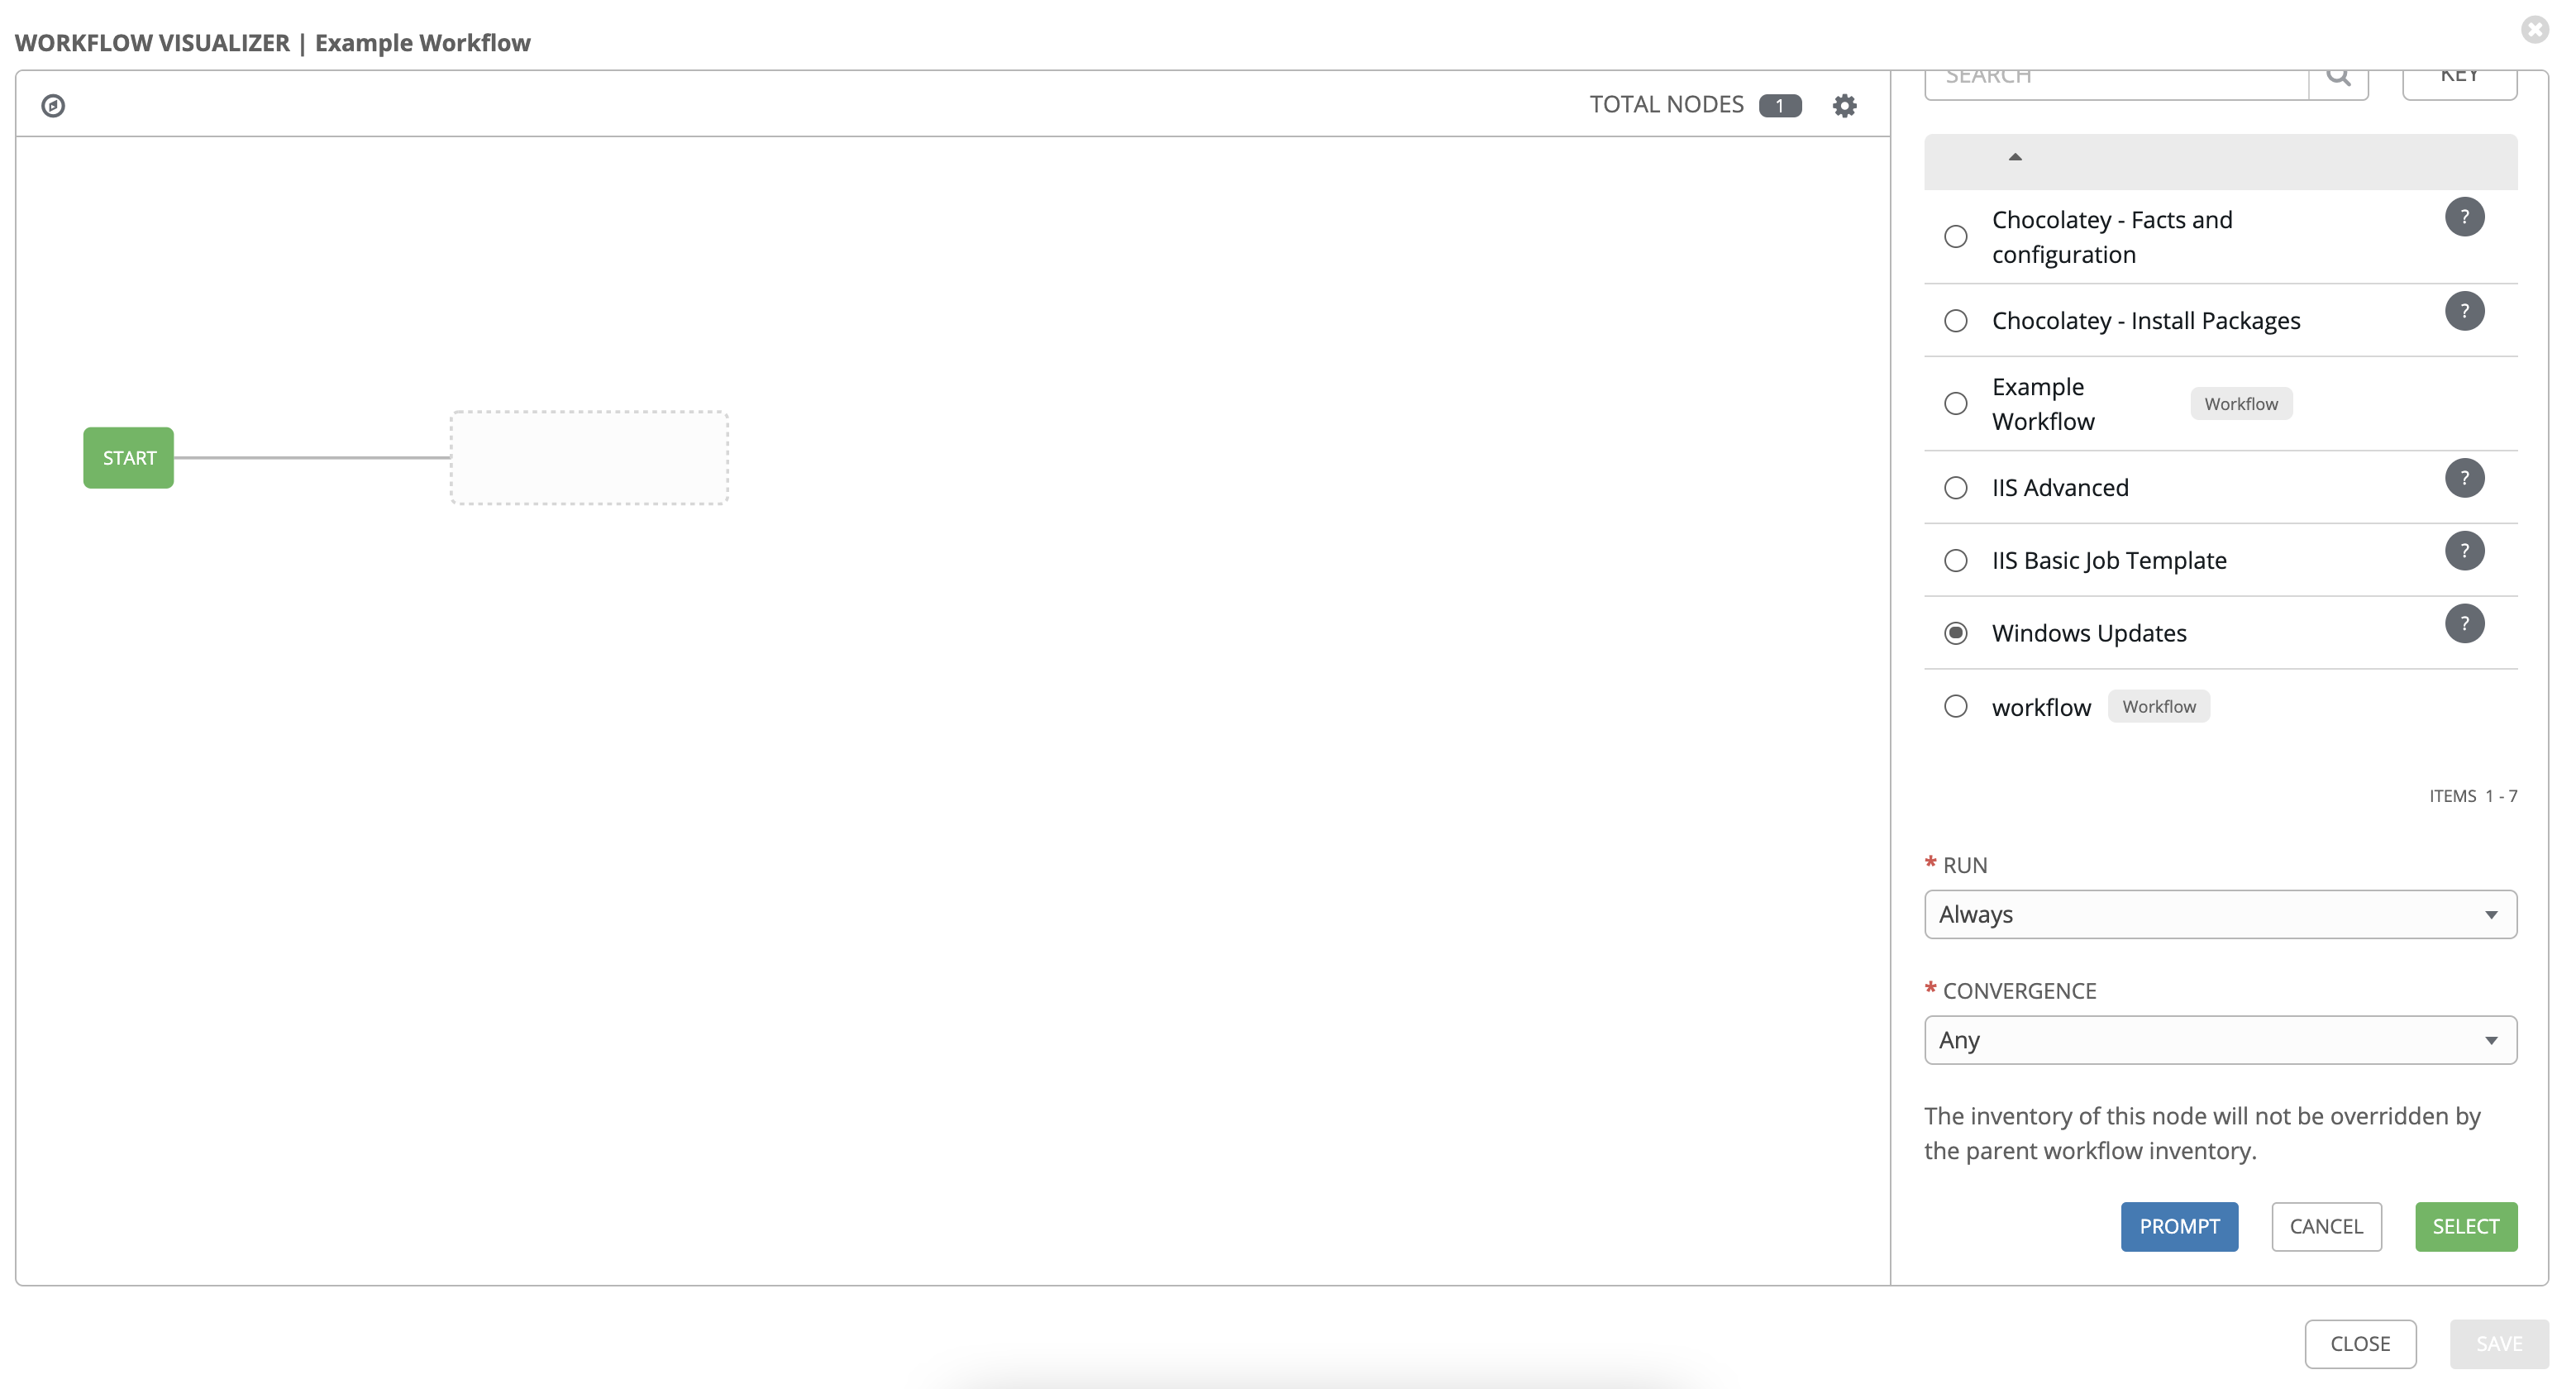
Click on Prompt, Next and Confirm on the pop-up.
Back on the main visualizer screen, click on Select.
Stage one of our workflow added!
Hover over the Windows Update box and click on the green +
In the next box, select the IIS Advanced template.
Select the following properties:
| Key | Value | Note |
|---|---|---|
| RUN | Always | |
| CONVERGENCE | Any |
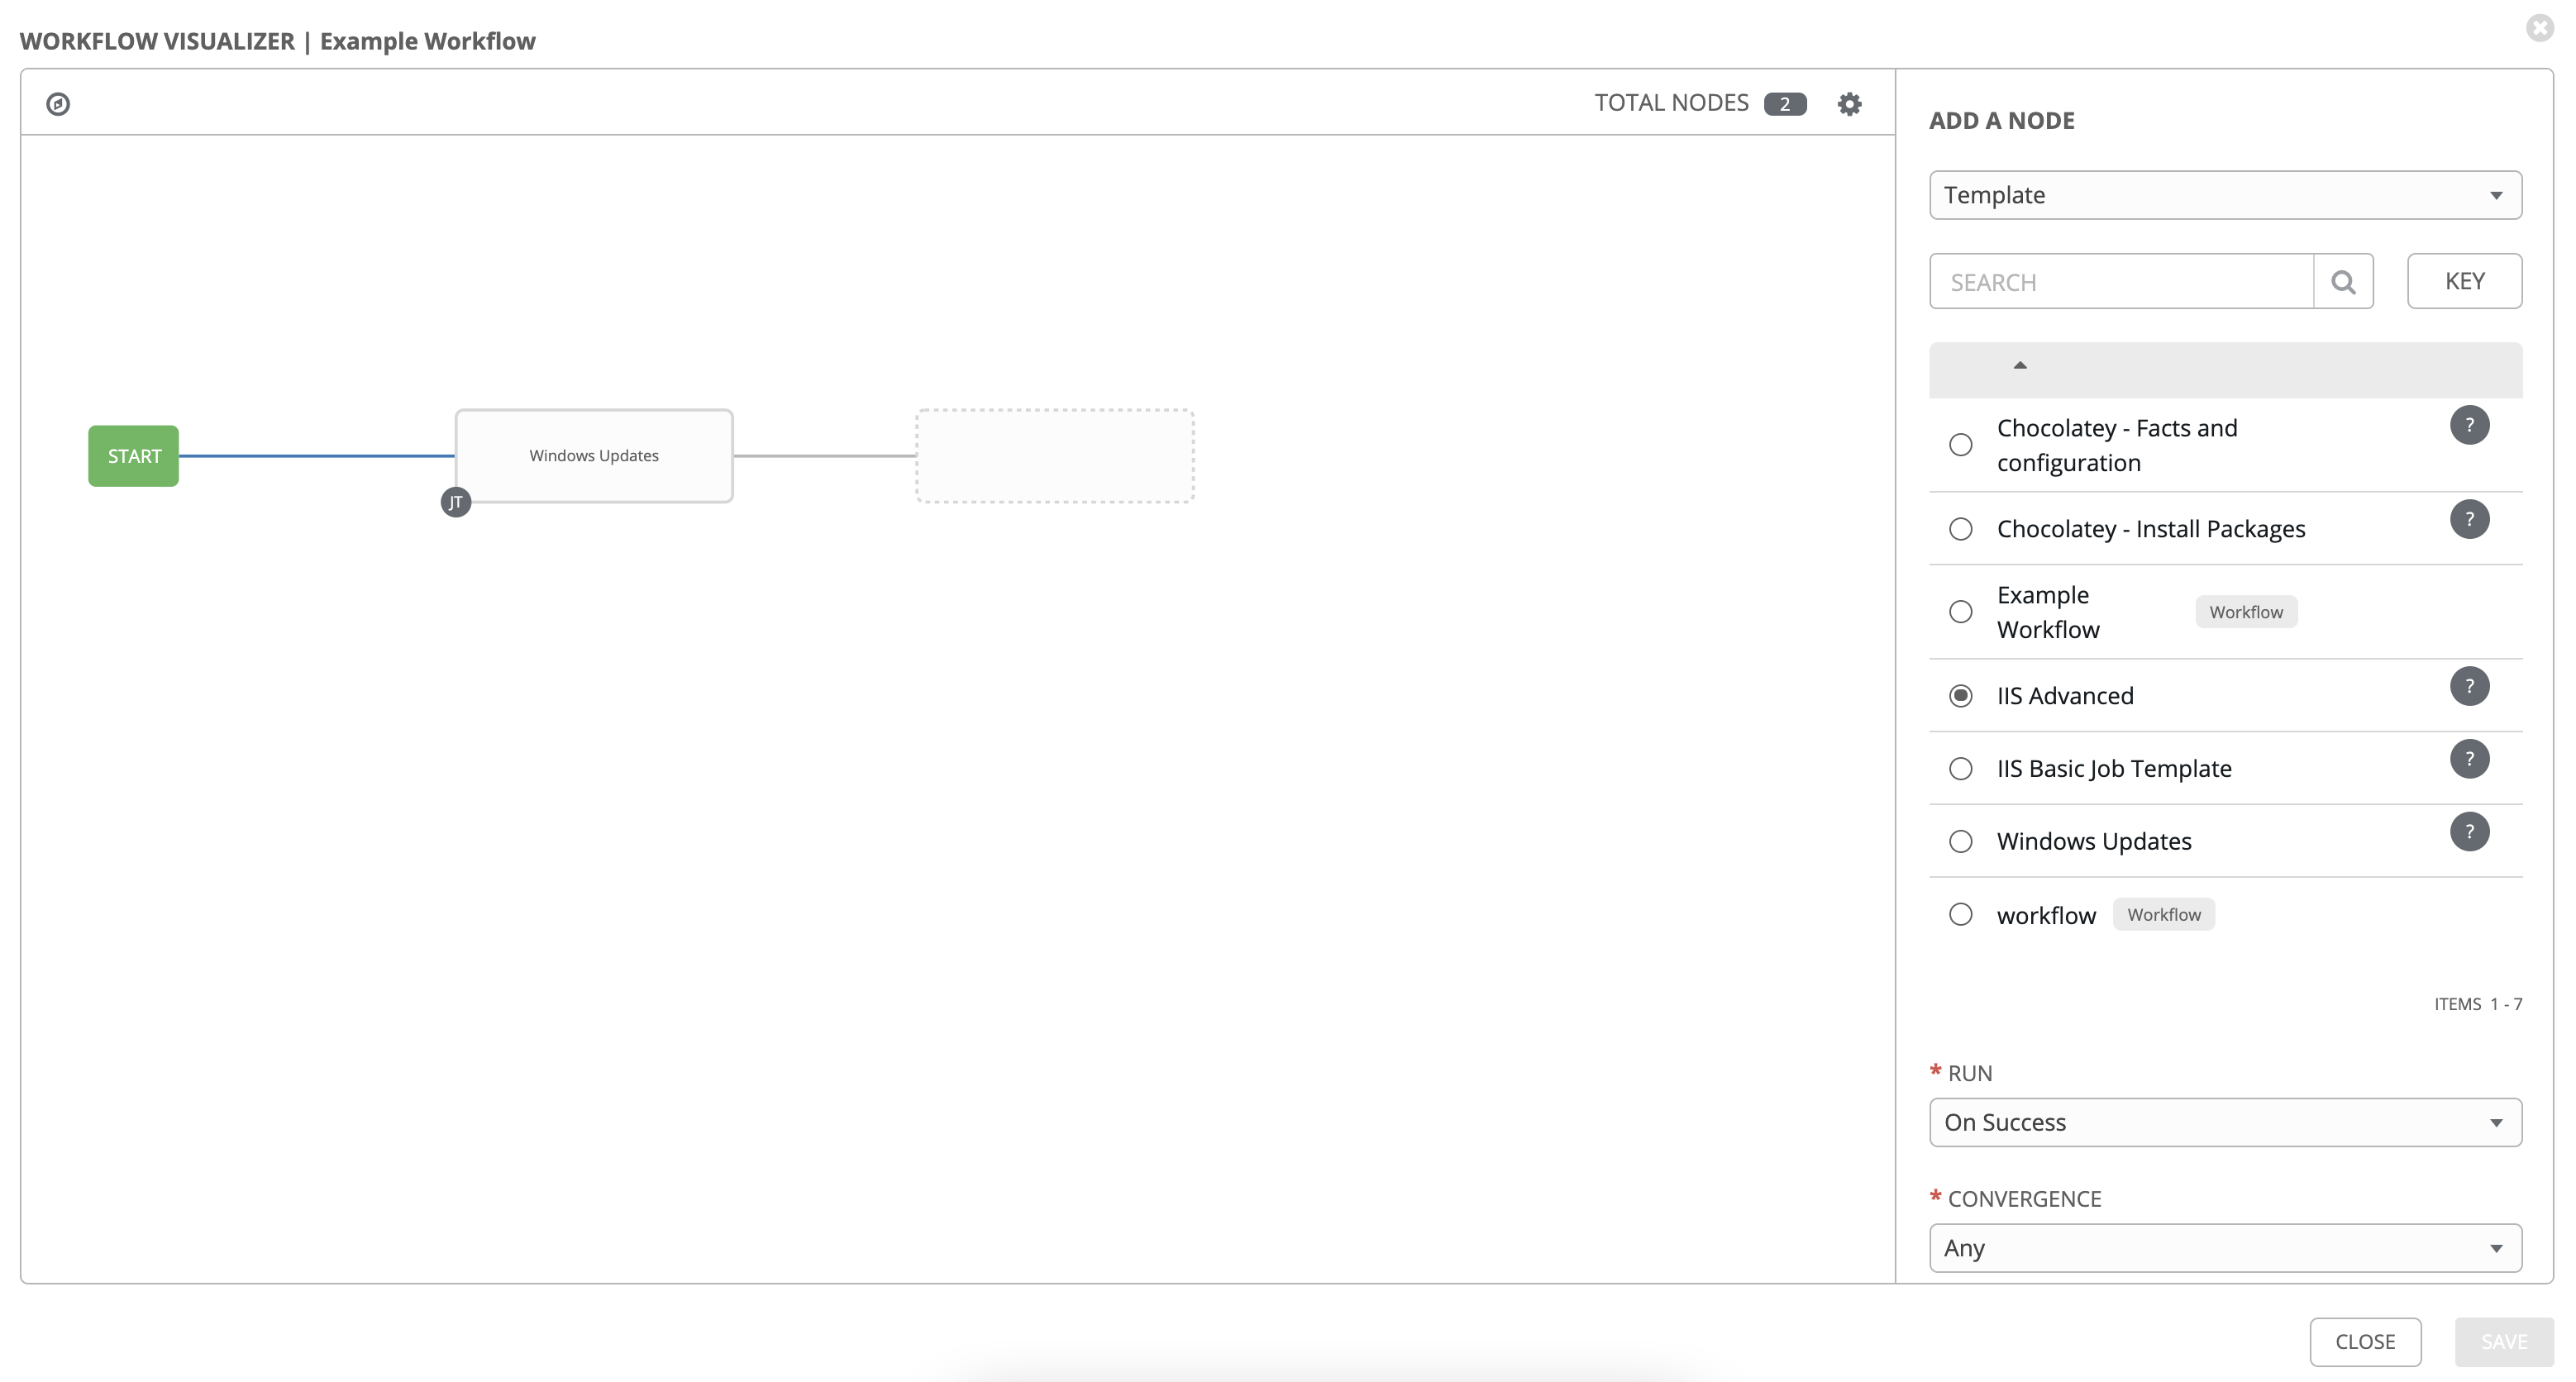
Click on Prompt.
Change the message to read “created in our workflow example” (or similar) and press Next and Confirm on the pop-up.
Back on the main visualizer screen, click on Select.
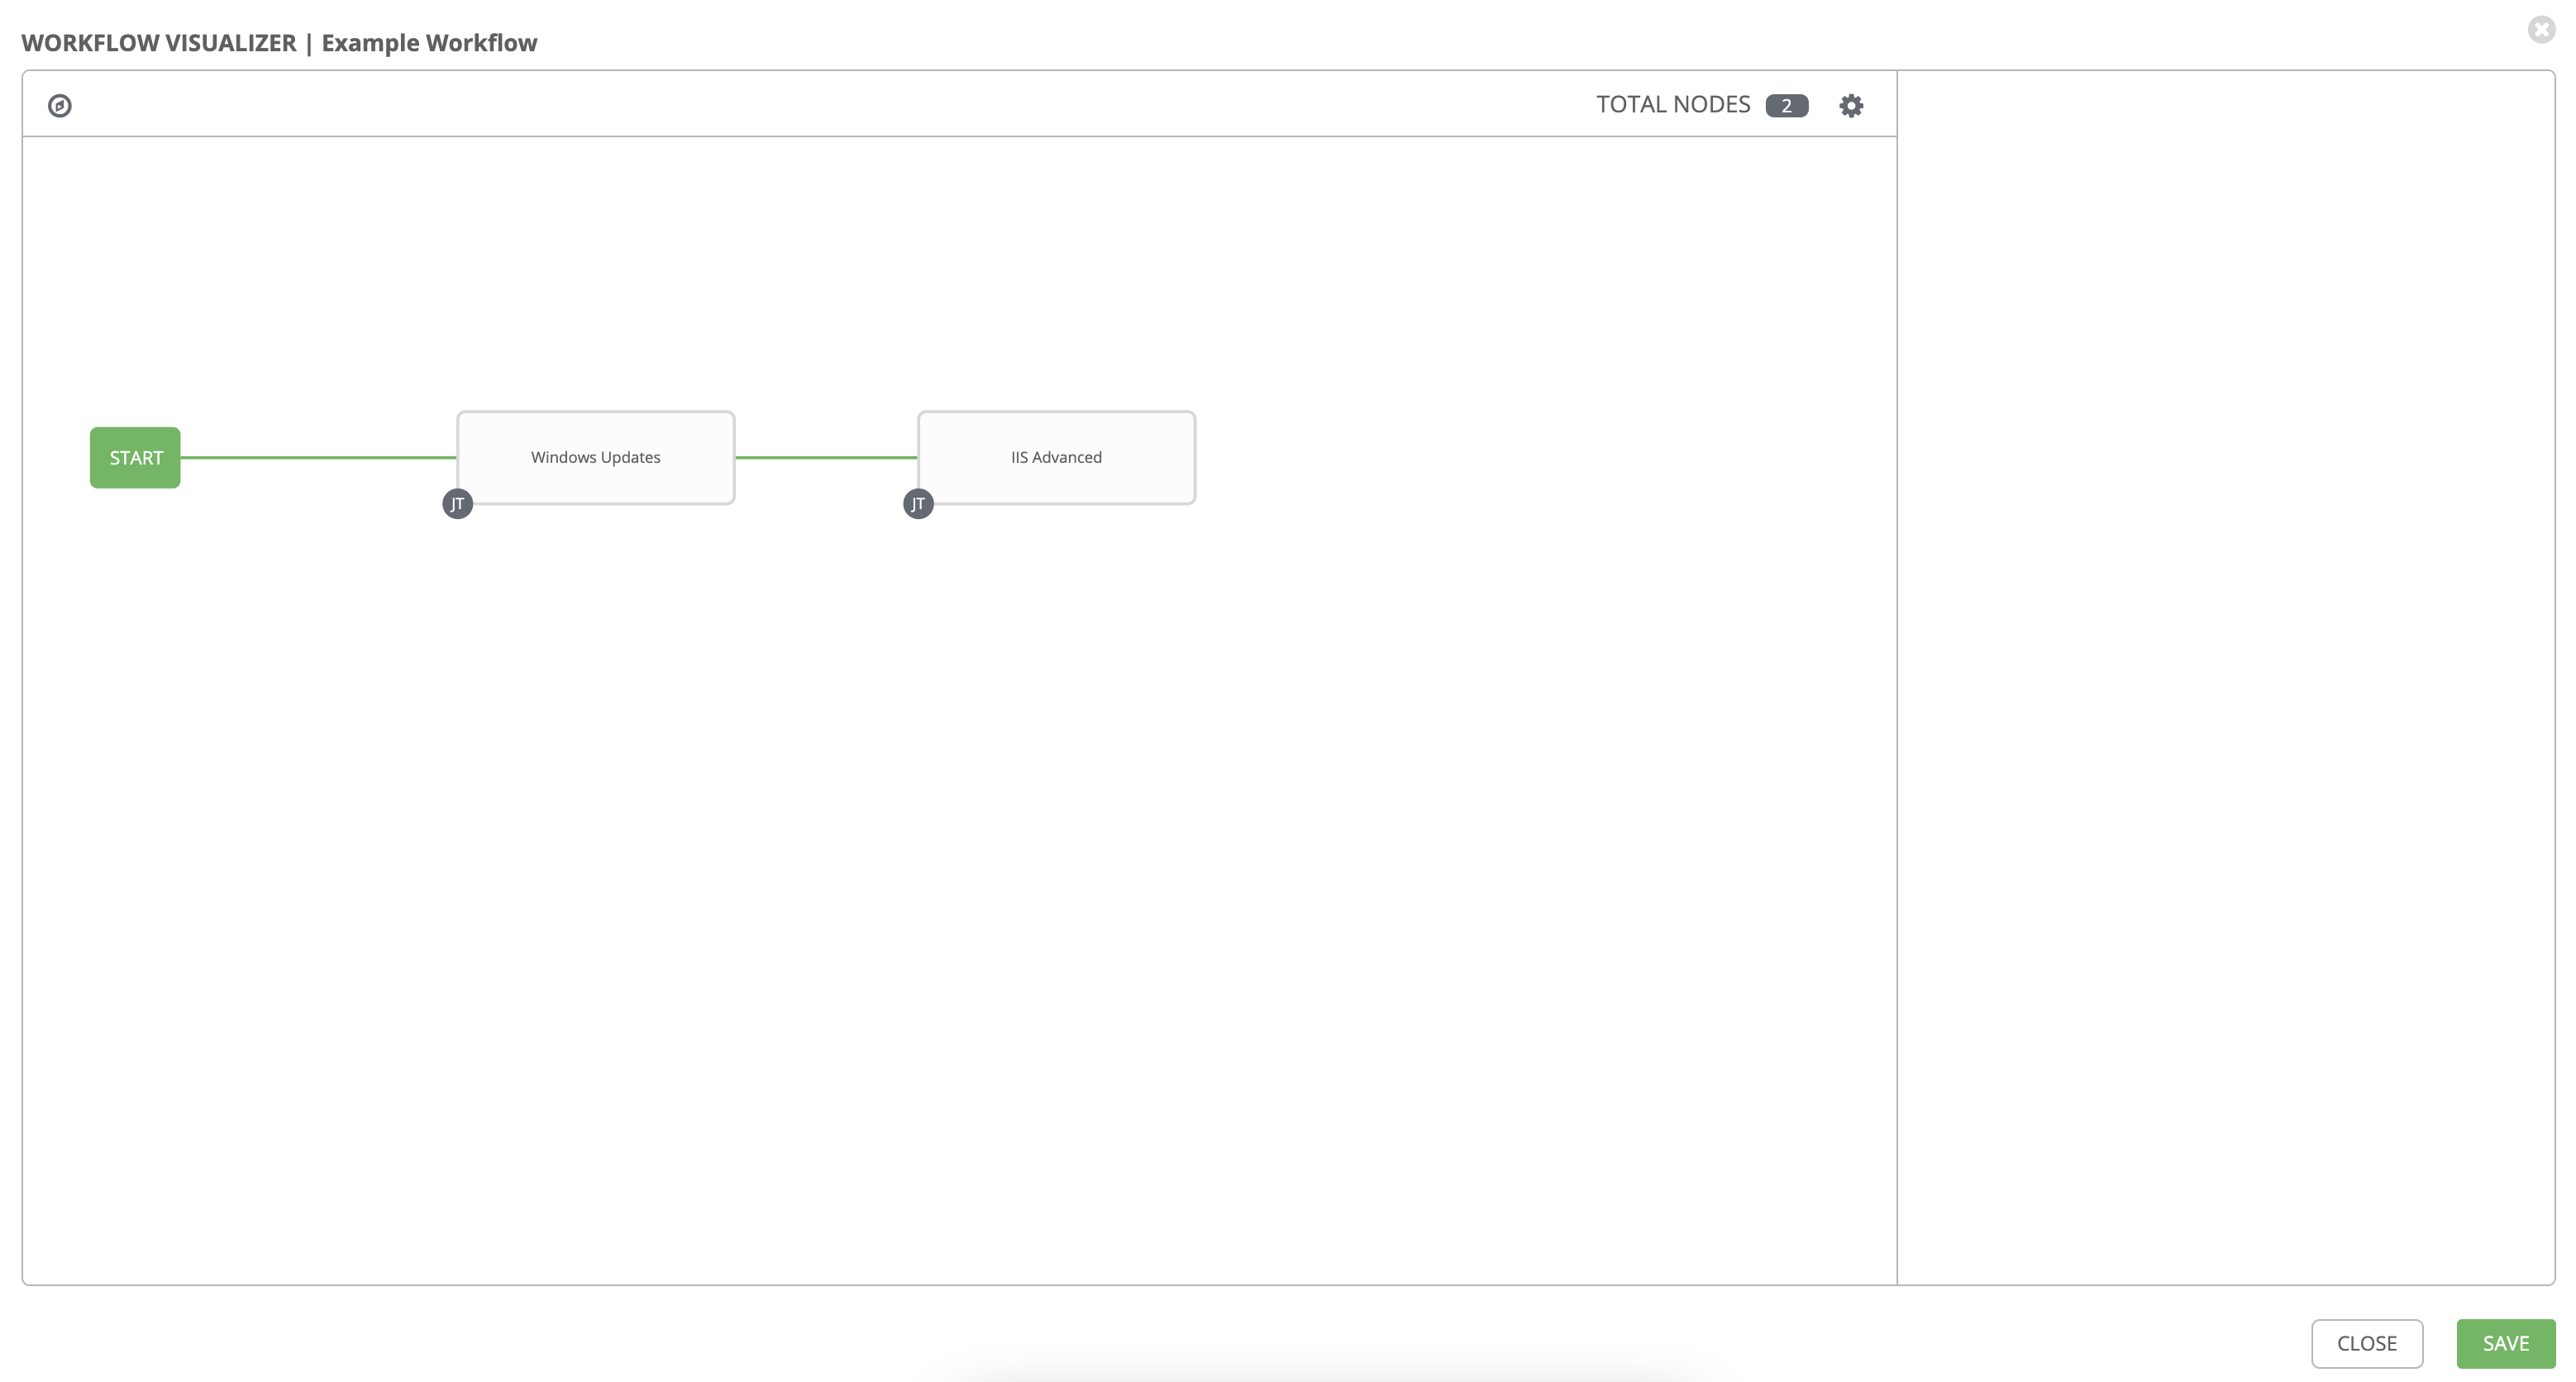
We now have a 2 stage process! First we’ll do a Windows update and then do the IIS advanced install regardless of whether the updates work or not. We may not care at this point if the updates work, but can setup notifications to fire on failure to alert someone/thing.
Let’s add more to could represent some of an application deployment perhaps.
Hover over the IIS Advanced box and click on the green +
In the next box, select the Chocolatey - Install Packages template.
Select the following properties:
| Key | Value | Note |
|---|---|---|
| RUN | On Success | |
| CONVERGENCE | Any |

Back on the main visualizer screen, click on Select.
Hover over the Chocolatey - Install Packages box and click on the green +
In the next box, select the Chocolatey - Facts and configuration template.
Select the following properties:
| Key | Value | Note |
|---|---|---|
| RUN | On Success | |
| CONVERGENCE | Any |
Click on Select.
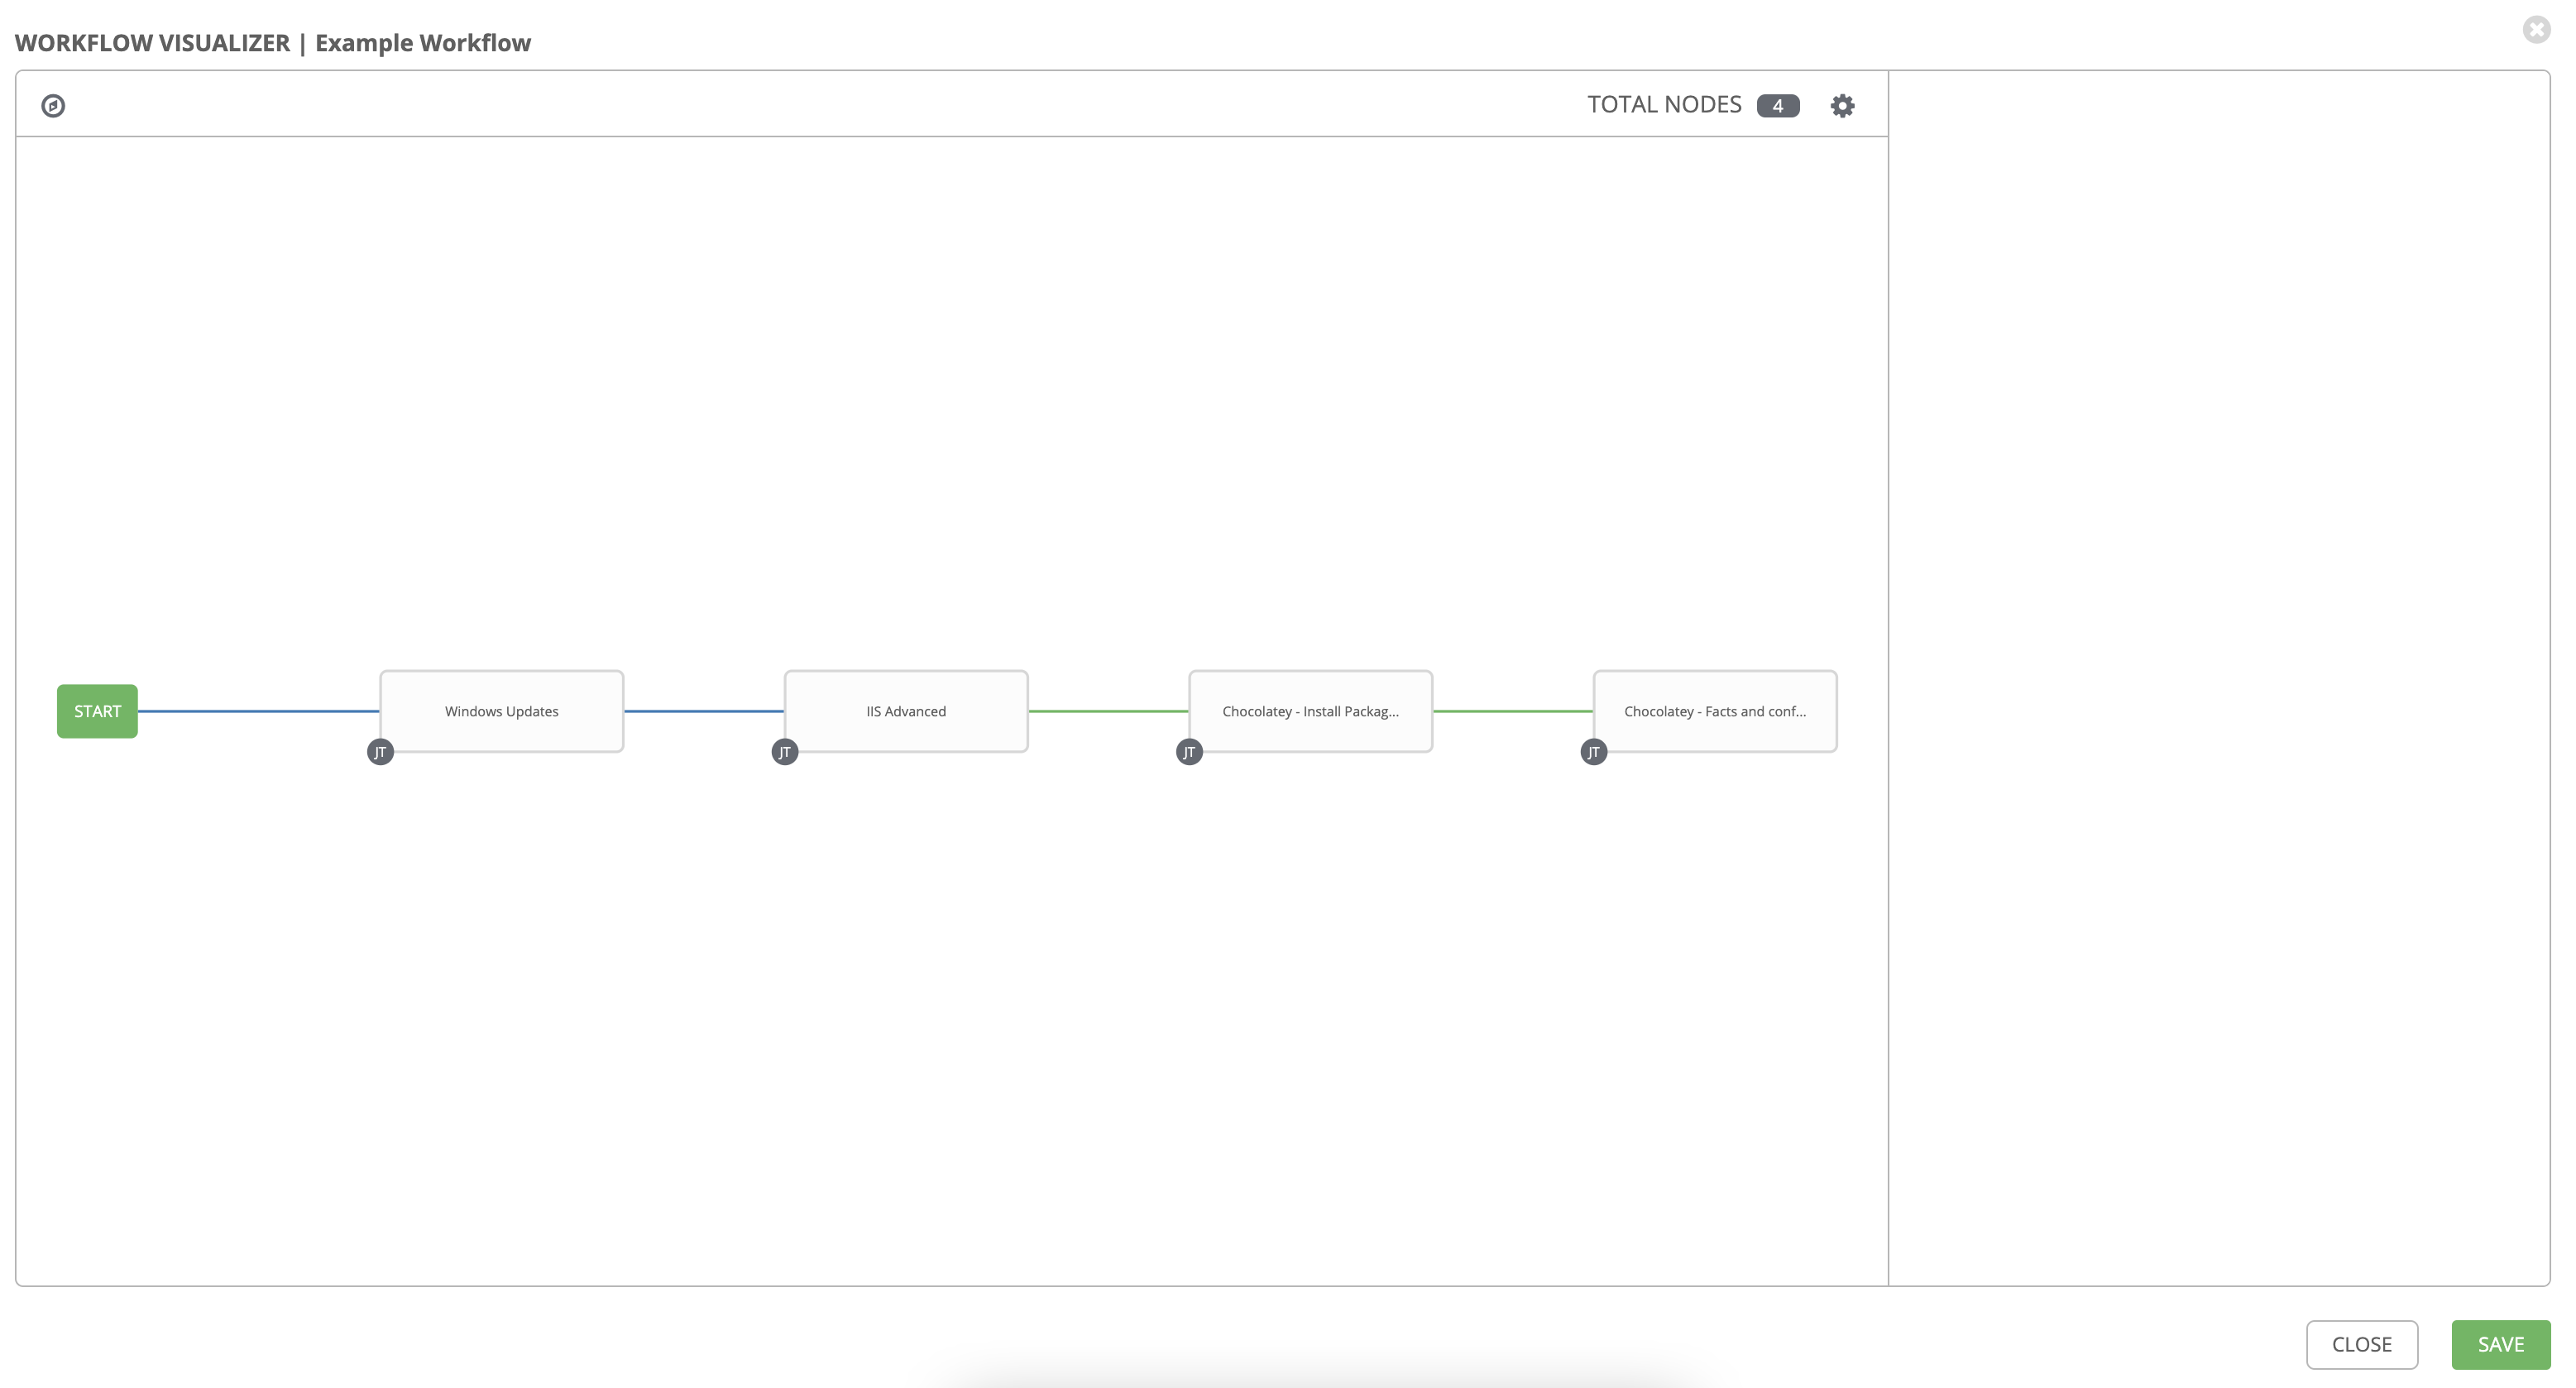
Click on Save.
You will be returned to the Templates Screen - now make sure you click Save here!
Section 2: Running your new workflow
Now let’s run it and see how it works.
Step 1:
Select TEMPLATES
Note
Alternatively, if you haven’t navigated away from the templates creation page, you can scroll down to see all existing templates
Step 2:
Click the rocketship icon ![]() for the
Example Workflow Workflow Template.
for the
Example Workflow Workflow Template.
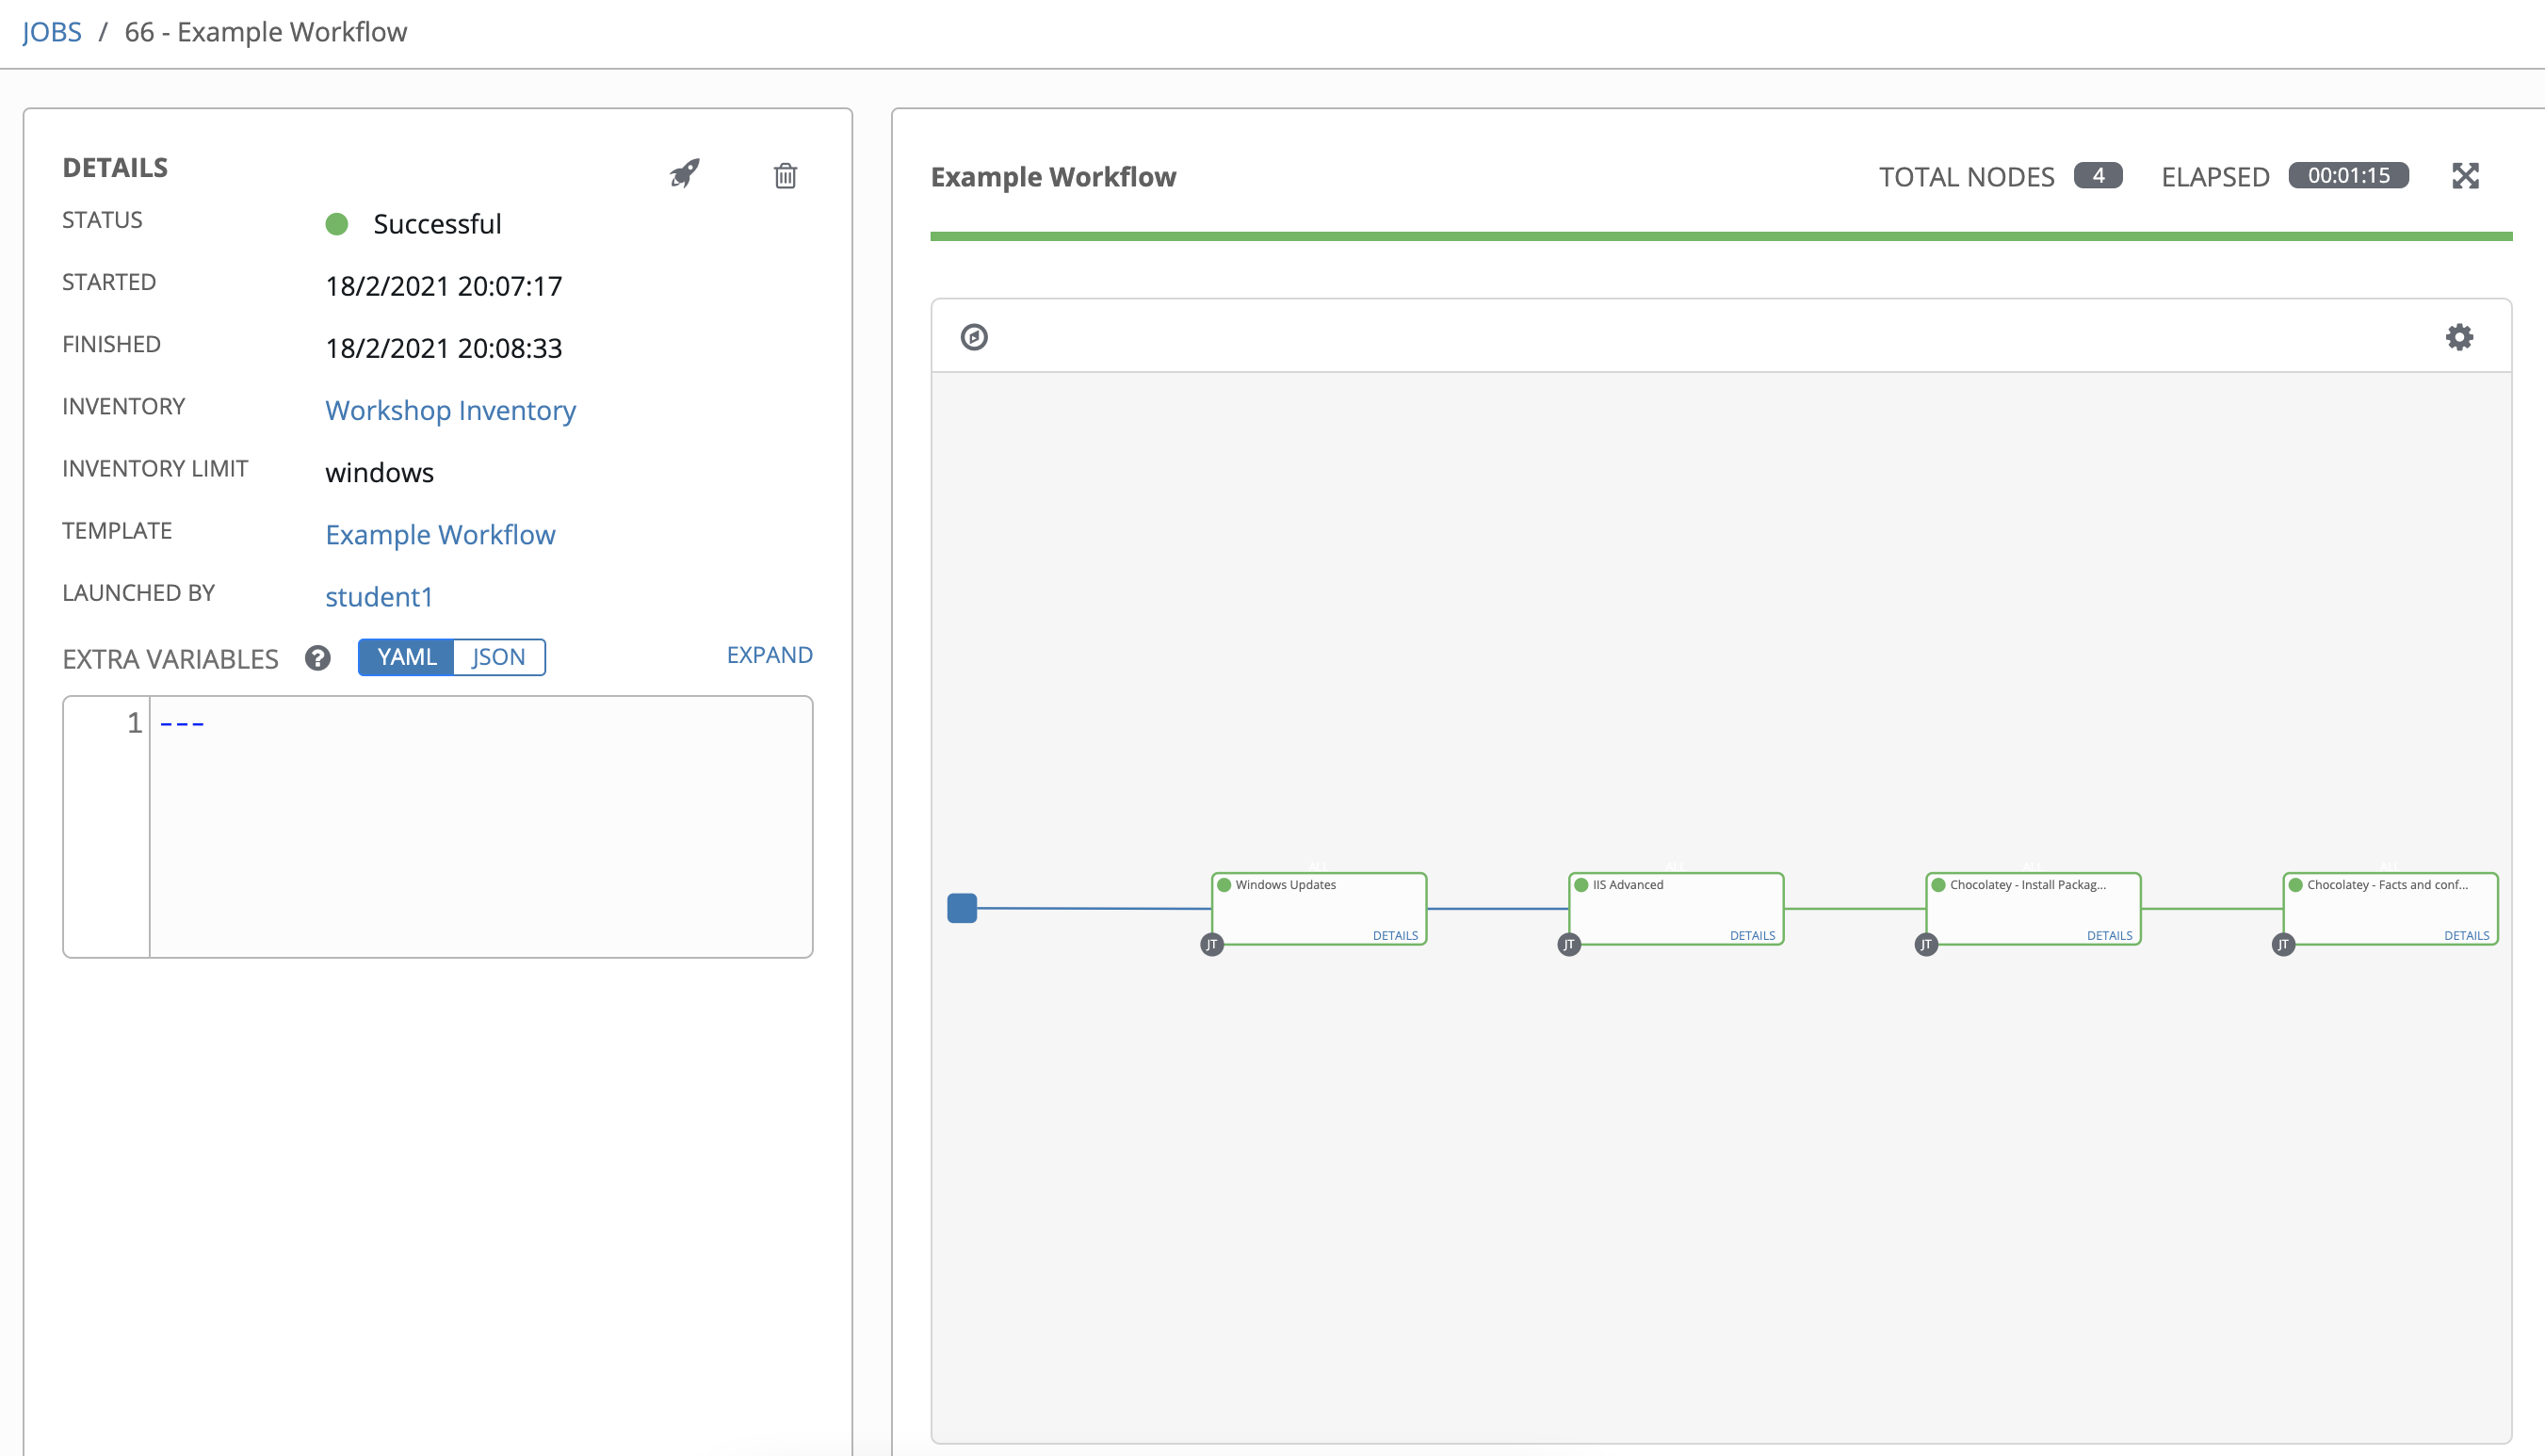
After the workflow launches, you can watch the output of the workflow in realtime.
If all goes well, you should see output resembling the following: